Peanut Butter Jelly Bars are where it’s at. Your favorite childhood snack made into one tasty dessert bar.
This recipe came about because I accidentally contaminated a jar of jelly. My youngest daughter is allergic to tree nuts and I used a spoon that had touched cashew butter in the jam. So I needed to use it up in a recipe.
I made these bars for my husband to take to work for snacks.
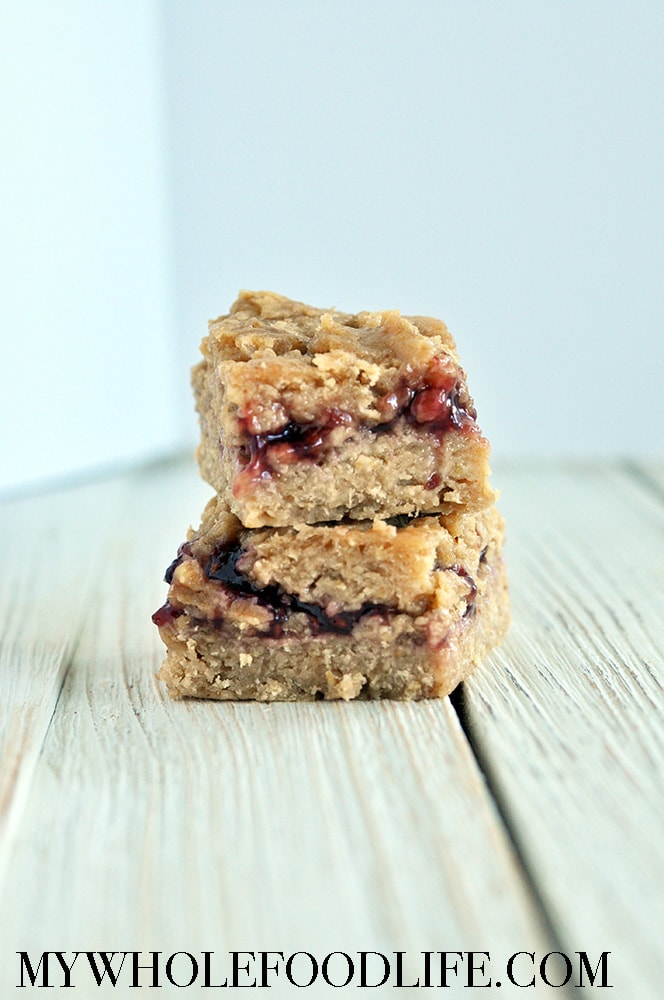
These delicious bars are packed with peanut butter flavor. They also happen to be vegan, gluten free and oil free! I used raspberry jam, but you can use any jam flavor you like. You can also use sunflower butter if you need a nut free option.