Coconut Truffles (Vegan and Gluten Free)

Coconut Truffles that are vegan and gluten free.  Let’s be honest, these coconut vegan truffles are not an everyday treat, but when you want to indulge a bit, it makes the perfect little bite of sweetness with none of the bad stuff!

These were a big hit in our family and I hope you like them too!


coconut truffles


They only take minutes to make too!  I must admit, I rolled these a bit big, so they were more than a bite.  I suggest rolling yours into a bite friendly size.

These should keep in the fridge for quite some time.  I used coconut butter in this so when you take a bite, the coconut literally melts in your mouth.

If you haven’t tried coconut butter yet, you need too!  That stuff is so good!  I get Nutiva Organic Coconut Manna.  If you like my Coconut Cream Larabars, you will love these!

Looking for more truffle recipes?

Coconut Truffles

Coconut Truffles

Prep Time 15 min Serves 15 truffles     adjust servings

Chocolate and coconut make the perfect combination for these delicious truffles!

Ingredients

Instructions

  1. In a food processor , combine the dates and shredded coconut.
  2. Then, add in the coconut butter and coconut oil.
  3. Pulse until a dough starts to form.
  4. When the dough is formed, roll into bite sized balls and place in the fridge on a lined baking sheet . Parchment paper works great for this so the balls don’t stick.
  5. Once the balls are firm, heat your chocolate and milk using a double boiler.
  6. Stir constantly until the chocolate is smooth.
  7. Take each ball and roll into the chocolate and place back on the parchment lined sheet.
  8. Put in the fridge for a few hours so the chocolate can set back up.

by

Recipe Notes

I should add, when you go to eat one out of the fridge, it will seem hard to bite into at first. As soon as you chew it though, the coconut melts in your mouth. Enjoy!

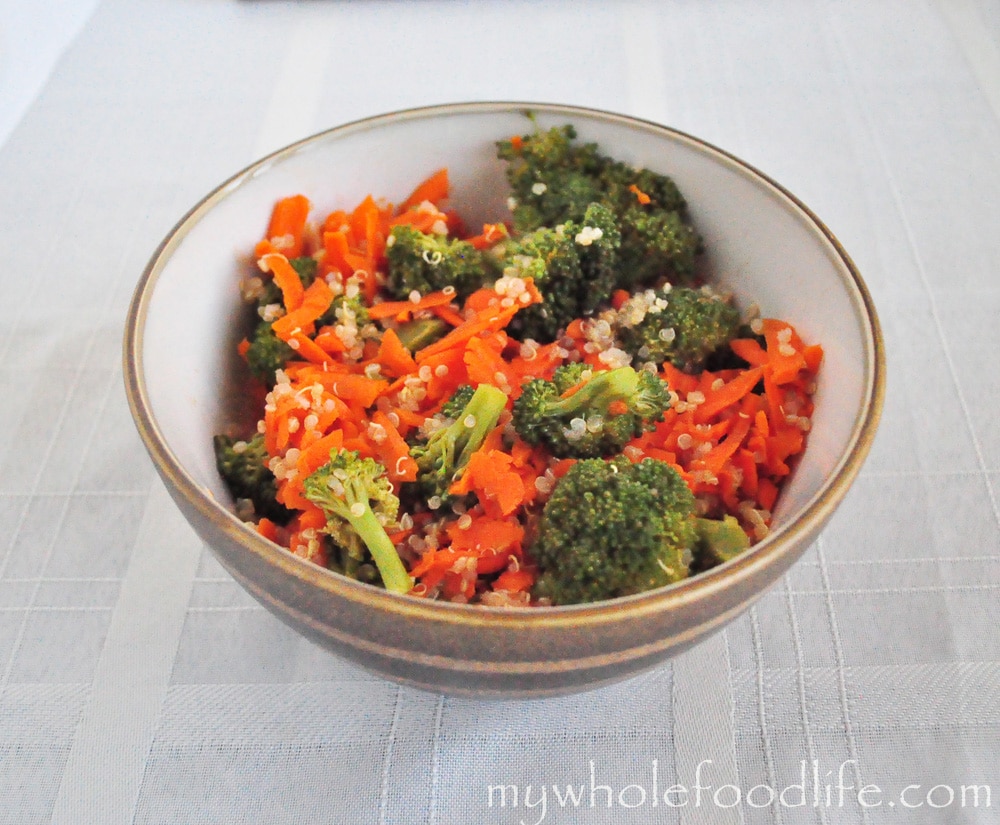
Carrot Ginger Detox Salad (Vegan, Gluten Free)

Carrot Ginger Detox Salad.  On Memorial Day, my daughter wanted to have a picnic at the park.  Since it was a spontaneous decision, we stopped at Whole Foods to get some picnic food.

My husband and I shared two things that day they were absolutely delicious.  The first one was a rice salad.  I re-created that for the blog already with my Wheat Berry Salad with Cranberries.  The other thing we had was a detox salad.  So, this is my version of that.


carrot ginger detox salad


This was amazing!  Super easy too.  I just had to share it with all of you.


Carrot Ginger Detox Salad

Carrot Ginger Detox Salad

Ingredients

    For the salad

    • 1-2 heads of broccoli
    • 3 carrots shredded
    • 2 cups cooked quinoa

    For the dressing

    • 2 cloves garlic minced
    • 2 T toasted sesame oil
    • 1/4 cup apple cider vinegar
    • 1/4 cup mirin
    • 1 T soy sauce or Bragg's Aminos (for GF) (I used organic SanJ shoyu )
    • 2 tsp fresh grated ginger
    • salt to taste

    Instructions

    1. Steam the broccoli. I used a rice cooker/steamer to do this. 
    2. In a sauce pan , cook the quinoa according to the package instructions.  I already had some quinoa in my fridge.  We always have some kind of grain in the fridge to make our meals stretch longer. 
    3. While the broccoli is steaming and the quinoa is cooking, throw all the ingredients together for the dressing. 
    4. Whisk them in a small bowl
    5. Once the quinoa and broccoli are done throw everything together in one big bowl .

    by

    Recipe Notes

    This should last at least a week in the fridge. I think it tastes great hot or cold. I got about 4-5 servings out of my batch. Enjoy!

    Strawberry Rhubarb Sorbet

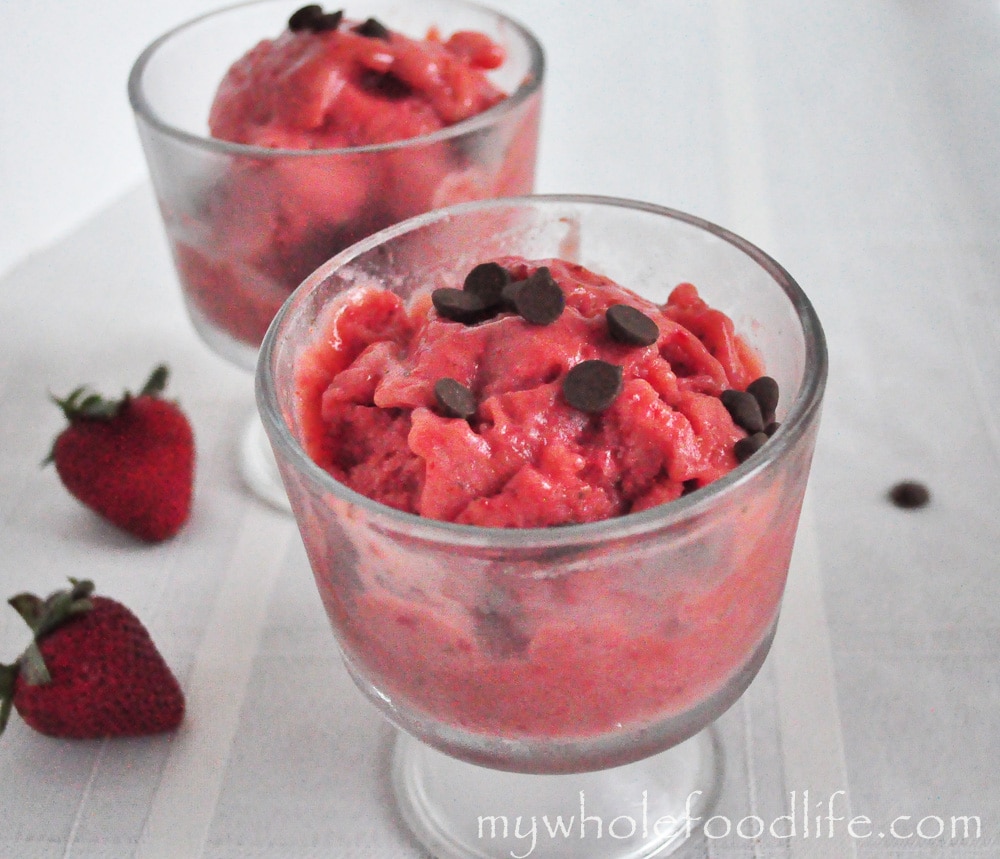
    Sorbets are so perfect for this time of year.  Light and refreshing.  I have been wanting  to make a strawberry rhubarb sorbet ever since I got my ice cream machine.  I can honestly say that this is the very first time I attempted anything with rhubarb.  I have eaten it, but I had been intimidated to cook with it.  I know both rhubarb and strawberry are seasonal ingredients so now was the time to make a strawberry rhubarb sorbet recipe. I think this rhubarb sorbet with the strawberry came out pretty good.

    strawberry rhubarb sorbet watermark

    Yesterday was the perfect day to try.  It was super hot and humid and I had just walked all over the mall with the two kids.  We are doing a family photo this weekend and they needed matching shirts for that.  I was super hot when I got home, so I popped this in the machine real quick.  I must admit, my older daughter was not a fan. Not sure why since my younger daughter and I loved it!  I threw a few carob chips on top for some crunch.  This recipe couldn’t be easier.  If you don’t have an ice cream machine, you can pour the mixture into popsicle molds.  🙂

    Strawberry Rhubarb Sorbet

    Strawberry Rhubarb Sorbet

    Strawberry Rhubarb Sorbet

    Prep Time 2 hr Serves 4-5 servings     adjust servings

    Ingredients

    • 2-3 large stalks of rhubarb
    • 1 16oz package of strawberries
    • 1/4 cup maple syrup
    • Juice of 1/2 an orange
    • 1 cup water

    Instructions

    1. In a sauce pan , add the rhubarb, orange juice, water and maple syrup.
    2. Bring to a boil. Then turn down and simmer, stirring occasionally, until the rhubarb has turned to a mush. Mine took about 10 minutes.
    3. Once it is mushy, turn it off the heat and let it get back to room temp.
    4. Once at room temp, place the mixture in a container in the fridge for a few hours.
    5. Once cooled in the fridge, pour the mixture into a blender with the strawberries. Blend until smooth.
    6. Take a taste test. Mine came out a bit tart. I liked that, but if you prefer a more sweetened sorbet, you can add a few tablespoons of maple syrup or honey and blend for another 30 seconds.
    7. Pour the mixture into the ice cream machine. Mine took about 15 minutes to get to a soft serve consistency. If you like a harder sorbet, you can put it in the freezer for an hour before eating.
    8. Enjoy!

    by

    Gluten Free Snickerdoodles

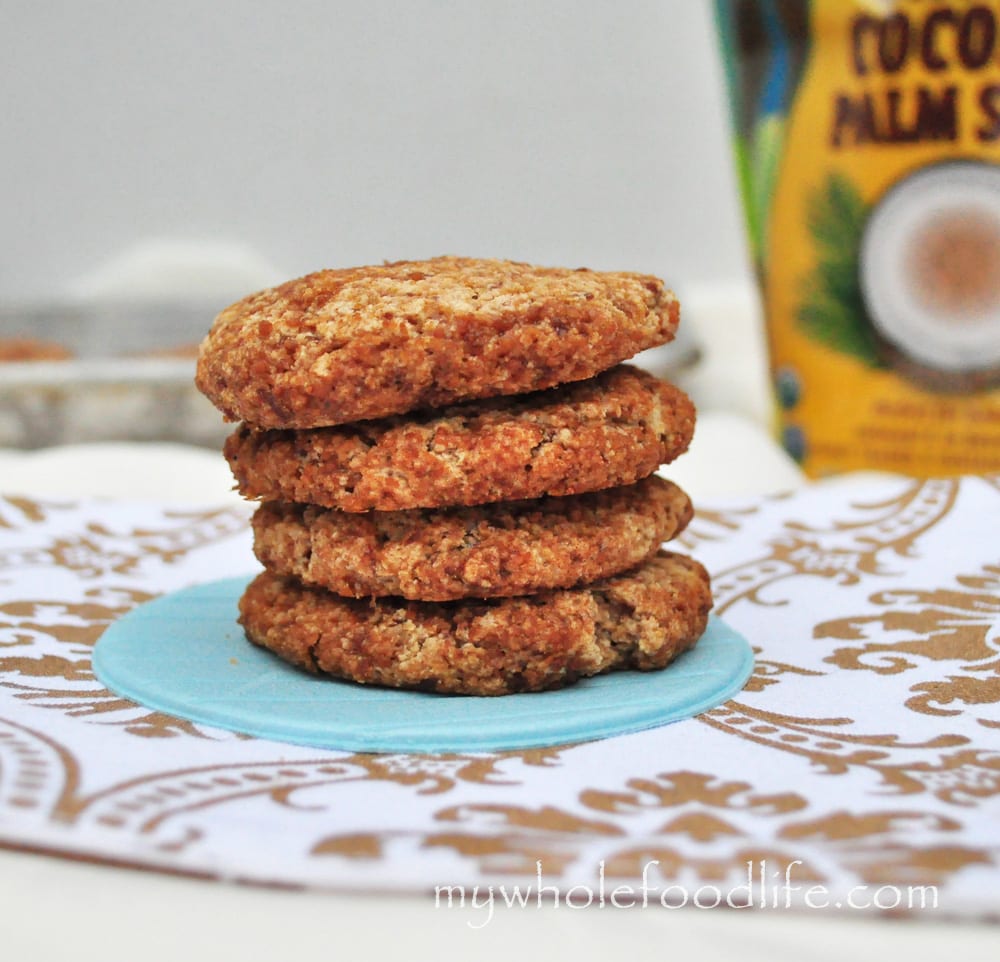
    Gluten Free Snickerdoodles.  I have had a lot of requests for a cleaner version of the snickerdoodle.  So when Wholesome Sweeteners sent me a sample of all their products, I knew that now was the time to make a healthy gluten free snickerdoodle.

    These gluten free snickerdoodles came out really good!
    gluten free snickerdoodles

    These came out really good!  Between my husband and older daughter, they didn’t last long!  I got about 12 cookies in my batch.  They should last a week or so, but if you plan on keeping them longer, you can refrigerate or even freeze them.

    Gluten Free Snickerdoodles

    Gluten Free Snickerdoodles

    Prep Time 10 min Cook Time 15 min Serves 12 cookies     adjust servings

    The classic cookie made gluten free!

    Ingredients

      For the cookies

      For the sugar coating

      Instructions

      1. Preheat oven to 350.
      2. In a large bowl , combine all the dry ingredients.
      3. In another bowl , combine all the wet ingredients.
      4. Add dry to wet and mix until combined.
      5. Roll dough into balls and coat them in the sugar/cinnamon mix.
      6. Place onto a lined baking sheet .
      7. Once all the balls are rolled and coated, use your palm to flatten them out.
      8. Bake in the oven for 13-17 minutes, depending on your oven. Enjoy!

      by

      Recipe Notes

      To get the oat flour, I just used my Vitamix to grind up rolled oats into a flour. If you do that, make sure the rolled oats you buy are gluten free. Some are produced in factories that also produce wheat.

      Blueberry Chia Jam (Vegan)

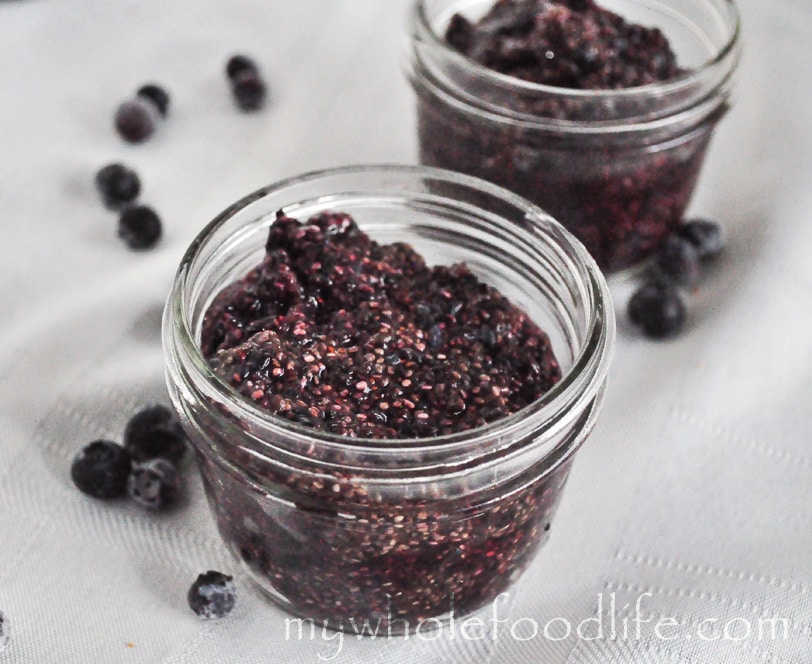
      Blueberry Chia Jam is super easy to make! I first got the idea of doing a chia seed jam from my friend Miryam over at eatgood4life.com. Did I mention she is also selling an ebook? Check it out if you get the chance.

      Her recipes are great! Anyway, she came up with this recipe and I knew I had to make it! I used blueberry instead of raspberry for mine.

      Blueberry Chia Jam


      On Saturday, we picked up our co-op basket. This week, there was an optional add-on for 12 pints of organic blueberries. So we took it! I already had used some of them to make my Grain Free Blueberry Tart. So with some of the remaining blueberries, I made this jam. Adapted from eatgood4life.com

      This healthy chia jam should last at least a week in the fridge.  You can also freeze it for longer. It makes about 2 cups worth.  It also makes a great filling for my Blueberry Crumb Bars or my homemade Nutri-Grain Bars.

      You can really use any fruit you like to make this.  I have also used apples and peaches and both jams turned out great.  The apple spice jam was great for Fall.  You can also put it in overnight oats.  Yum!

      Blueberry Chia Jam

      Blueberry Chia Jam

      Prep Time 5 min Serves 1 cups     adjust servings

      Ingredients

      Instructions

      1. Combine all ingredients in a food processor and pulse until everything is well mixed.
      2. Put the mixture in a covered container and place in the fridge for a good 3 to 4 hours.

      by

      Recipe Notes

      Once it’s set, use it as a topping for yogurt, on toast or even on waffles instead of syrup. My two year old absolutely loved it. Then again she does love anything chia seed related. She tears up my chia seed pudding . Enjoy!

      Crock Pot Baked Beans

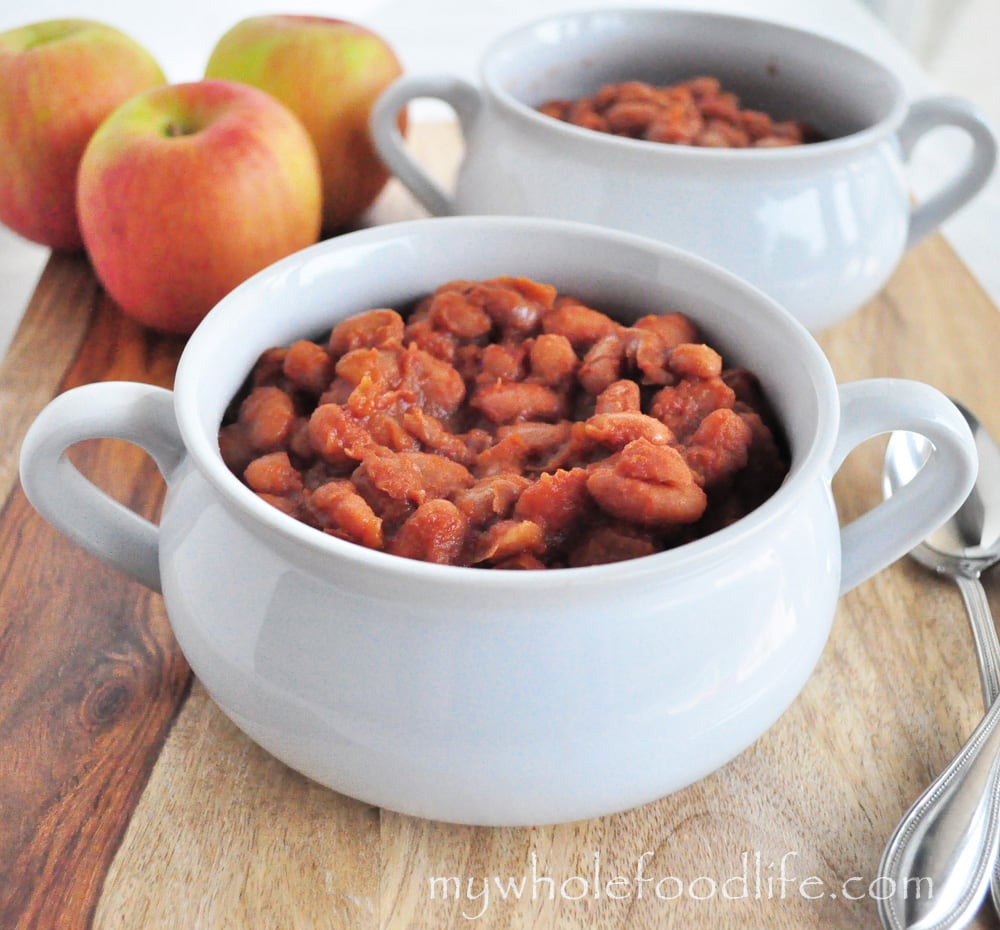
      I just love crock pot meals.  I am more of a baker than a cook, so I tend to make my cooking recipes super easy.  I have had a lot of requests lately for toddler friendly recipes.  This is one!  When I was a little girl, my favorite meal was baked beans.  Of course back then, I ate the pork and beans in a can.  No pork in this, but I promise it is delicious! I also have my Healthy Toddler Crackers.

      baked beans watermark

      Crock Pot Baked Beans

      Crock Pot Baked Beans

      Prep Time 8 hr Cook Time 4 hr

      Ingredients

      Instructions

      1. Soak the beans overnight.
      2. In the morning, add all the ingredients to the crock pot. 
      3. Cook on high for the first hour and turn down to low for an additional 3 hours.

      by

      Recipe Notes

      You can cook it longer if you like. The longer it cooks, the more the flavors develop. This made at least 4-5 servings. You can eat it right away, store it for later, or even freeze it. Enjoy!