Dairy Free Fudgsicles. My daughter is allergic to dairy, so I wanted to create a dairy free fudgsicle recipe, that she could enjoy.
I already have a dairy free Blueberries and Cream Popsicle. Now I will be able to add dairy free fudgsicles to the list. Let’s just take a look at the ingredients in the 100 calorie Fudgsicles that I got off their website:
Ingredients: nonfat milk, sugar, corn syrup, whey, high fructose corn syrup, water, palm oil, cocoa processed with alkali, tricalcium phosphate, mono and diglycerides, cellulose gum, guar gum, malt powder, salt, polysorbate 80, polysorbate 65, carrageenan
I have highlighted all the unnecessary ingredients that you would not use in your own kitchen. My dairy free fudgsicle recipe contains much more simple ingredients and can be enjoyed by kids with dairy allergies.

I used coconut milk in these popsicles. That’s they key to getting the rich and creamy texture of fudgsicles. You can use almond milk, but the texture will be more icy than creamy.
I used cacao powder in my recipe, so these are loaded with healthy antioxidants as well. Cocoa powder will work well too.
Looking for more frozen treats?
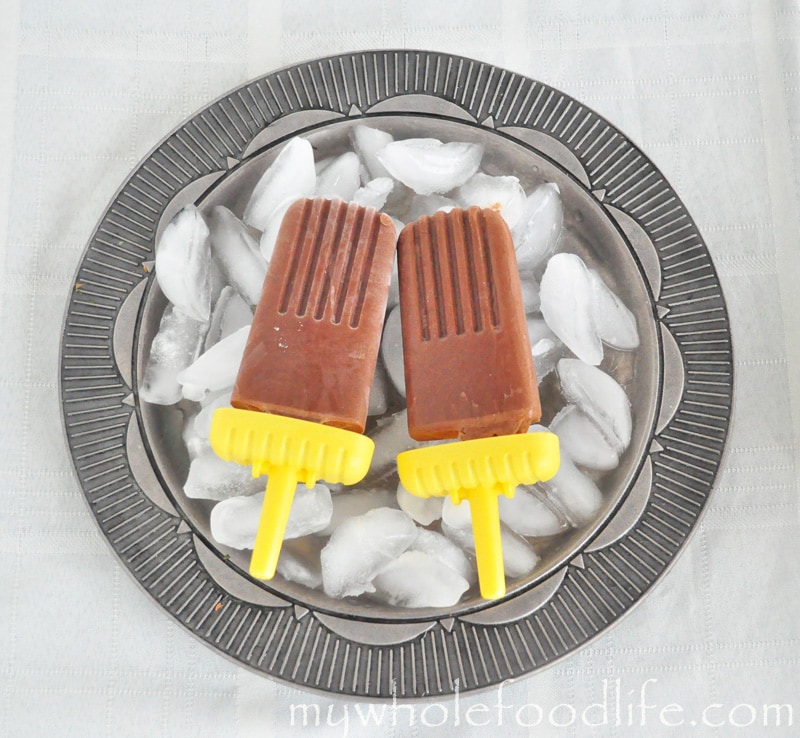
Dairy Free Fudgsicles
Dairy Free Fudgsicles
Ingredients
- 1 can full fat coconut milk (I used Organic Thai )
- 1/2 cup cacao or cocoa powder
- 1/4 cup maple syrup
Instructions
- Mix all ingredients in a blender and blend for about 1 minute.
- Pour into ice cream pop molds and put in the freezer to solidify.
Recipe Notes
If you want an extra rich flavor, you can add some dark chocolate in as well. You can also use push pop molds . Enjoy!