Chocolate Pumpkin Mousse (Vegan)

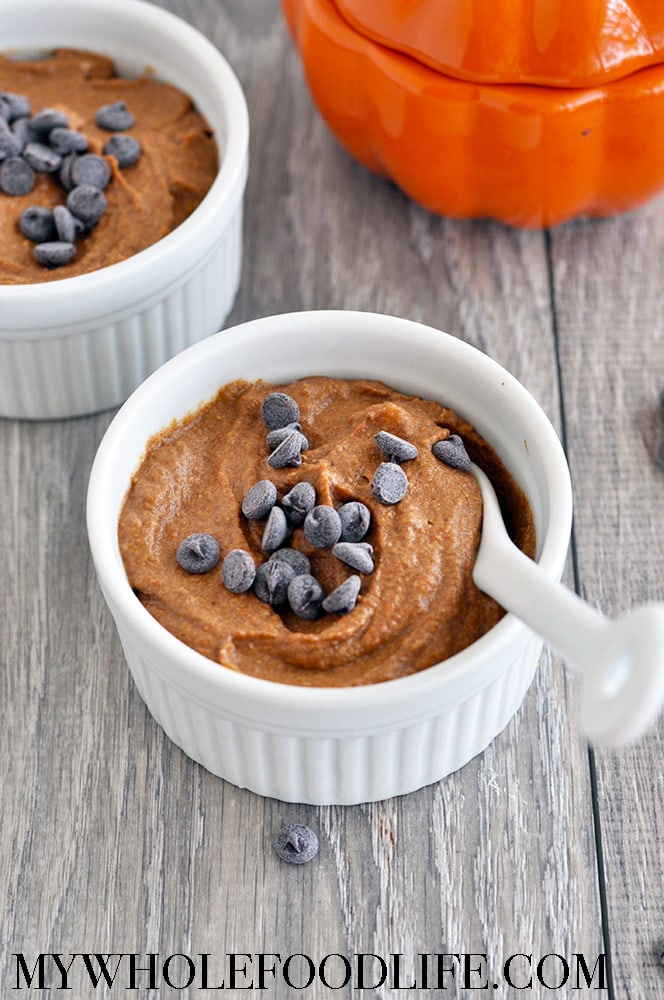
This Chocolate Pumpkin Mousse is so decadent, no one would ever guess it was made healthier.  Since everyone is all about the pumpkin recipes this time of year, I created another one for you. Chocolate and pumpkin make the best combination ever.

All you need is 4 simple ingredients and just a few minutes.  I just love recipes with small ingredient lists.


Chocolate Pumpkin Mousse


This healthy pumpkin mousse is vegan, gluten free and paleo.  There is very little added sugar.

I topped mine with chocolate chips, but you can definitely eat it plain too.  This would also be a great frosting recipe.

Read More

Pumpkin Coconut Mousse (Vegan and Paleo)

Pumpkin Coconut Mousse.  Pumpkin and coconut.  The two flavors are very different, but they go so well together.  I whipped up this light and healthy pumpkin mousse in practically no time at all.

It would be great for Thanksgiving.  A new twist on your typical pumpkin desserts and mousse recipe.  I used a mousse recipe very similar to my Grain Free Pumpkin Tart filling.


pumpkin coconut mousse

If you don’t care for the taste of coconut, you can certainly try this recipe using heavy whipping cream as well.

I also already have an Almond Butter Mousse recipe on my blog that is equally delish!  It’s like pumpkin pie without the crust.

Pumpkin Coconut Mousse

Pumpkin Coconut Mousse

Prep Time 20 min Serves 4 - 6 servings     adjust servings

Ingredients

Instructions

  1. The night before you go to make this, place an unopened can of coconut milk in the fridge.
  2. The next morning, pull out the can and open it.
  3. Scoop out the solid white part and place it in the mixture. You can save the leftover liquid for smoothies.
  4. Using the whipping attachment, whip the coconut into a cream. I did this with my KitchenAid mixer .
  5. While that is whipping, make the pumpkin mixture. In another bowl, combine the pumpkin, spices and maple syrup and mix well.
  6. Once the “cream” is done, gently fold it into the pumpkin mixture.
  7. Chill in the fridge until it is ready to be eaten. Enjoy!

by