Coconut Caramel Tartlets

You guys these coconut caramel tartlets are so good!  And super easy to make too!  If you have tried my Salted Caramel Chocolate Cups, then you know how yummy a caramel made with dates is.  These little tartlets are perfectly proportioned too.  Just a little bite of sweetness.

Coconut Caramel Tarts - My Whole Food Life

This tartlet recipe also makes a very small batch so you don’t have to worry about having too many sweets in your house at once. Very easy recipe as well.

Read More

Homemade Nutri-Grain Bars

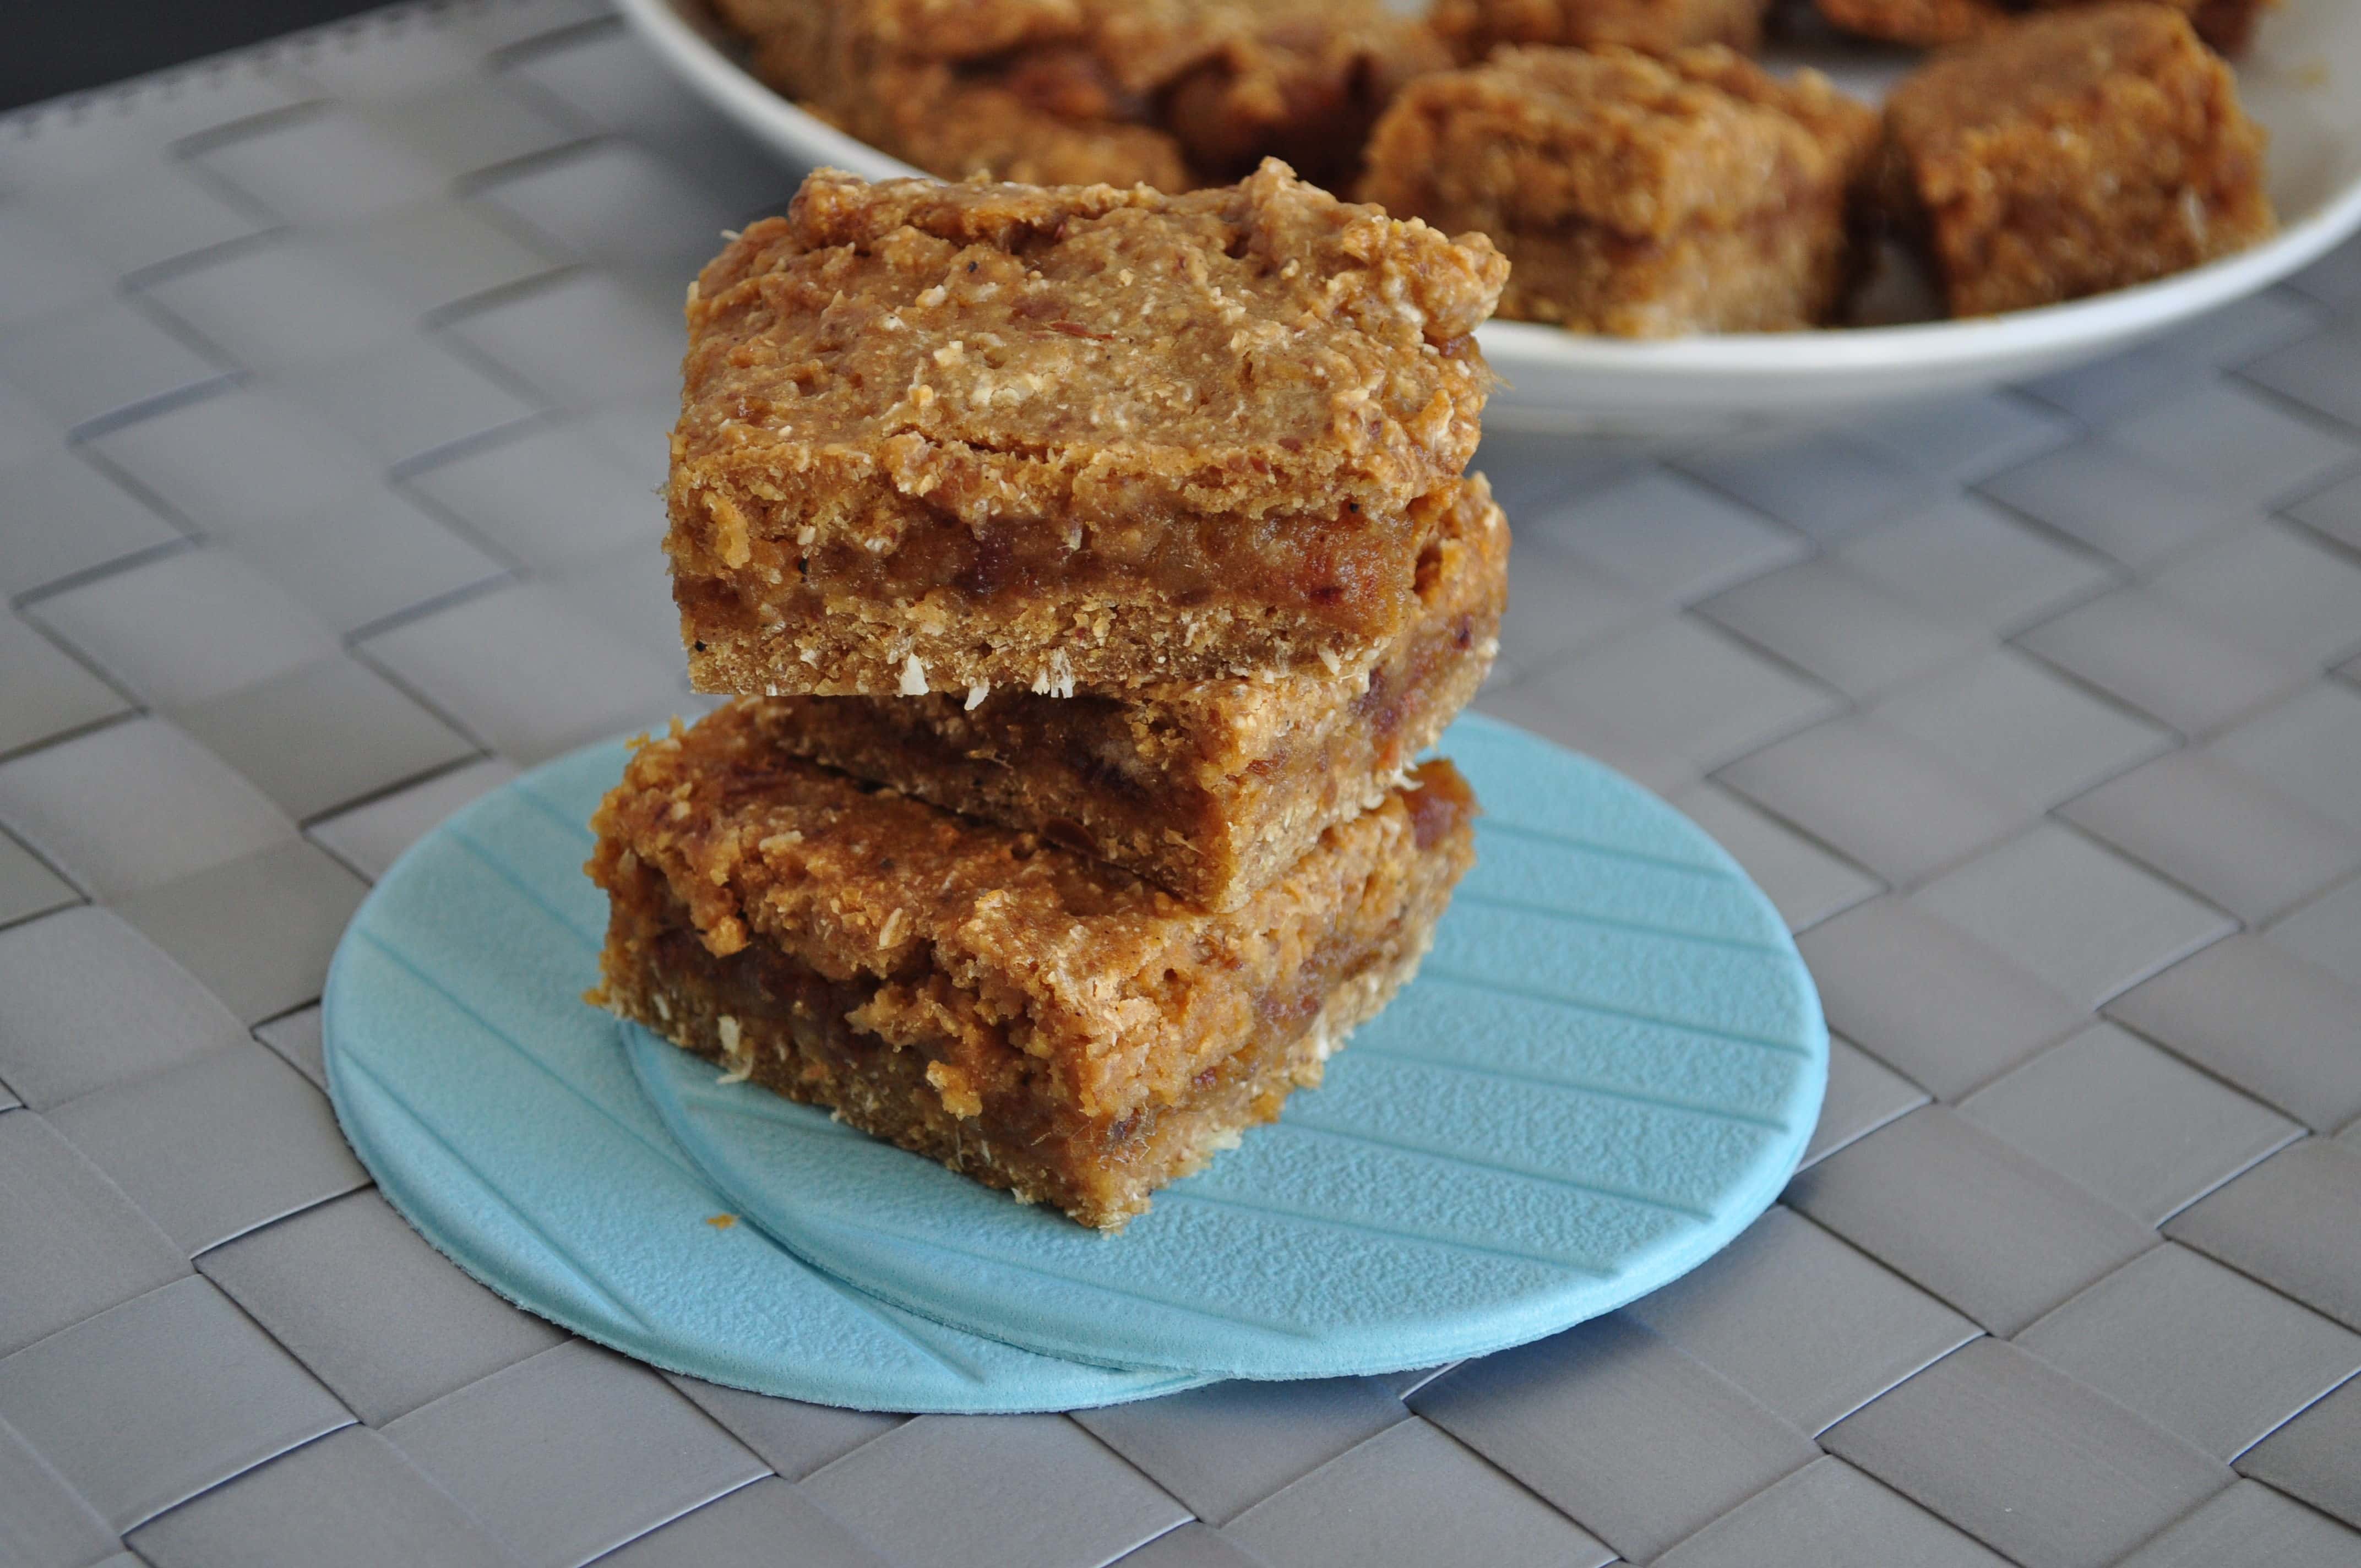
Who doesn’t like a Nutri-Grain bar? I made you Homemade Nutri-Grain Bars!  I used to eat them like crazy until I liked at all the ingredients in them.  If you read it as well, you probably know that they are laden with way too many chemicals and artificial dyes.

So naturally I had to create my own homemade nutri-grain bars.  My homemade nutrigrain bars tastes so much better and it’s made from wholesome ingredients.

Homemade Nutri-Grain Bars

Sadly, it took me two tries.

I did some tweaking the second time around and they still didn’t look that pretty, but I thought, what the heck, I will post them!  The second time I learned from my mistakes so hopefully, these will be easy for you to make.

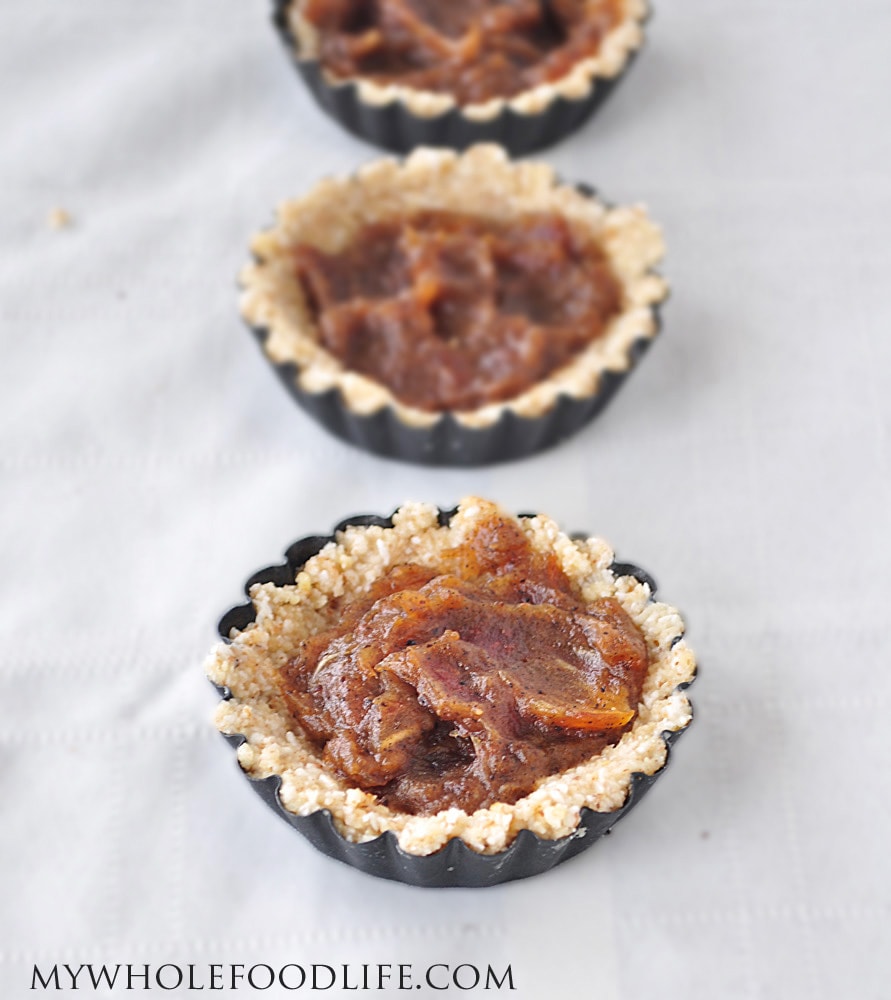
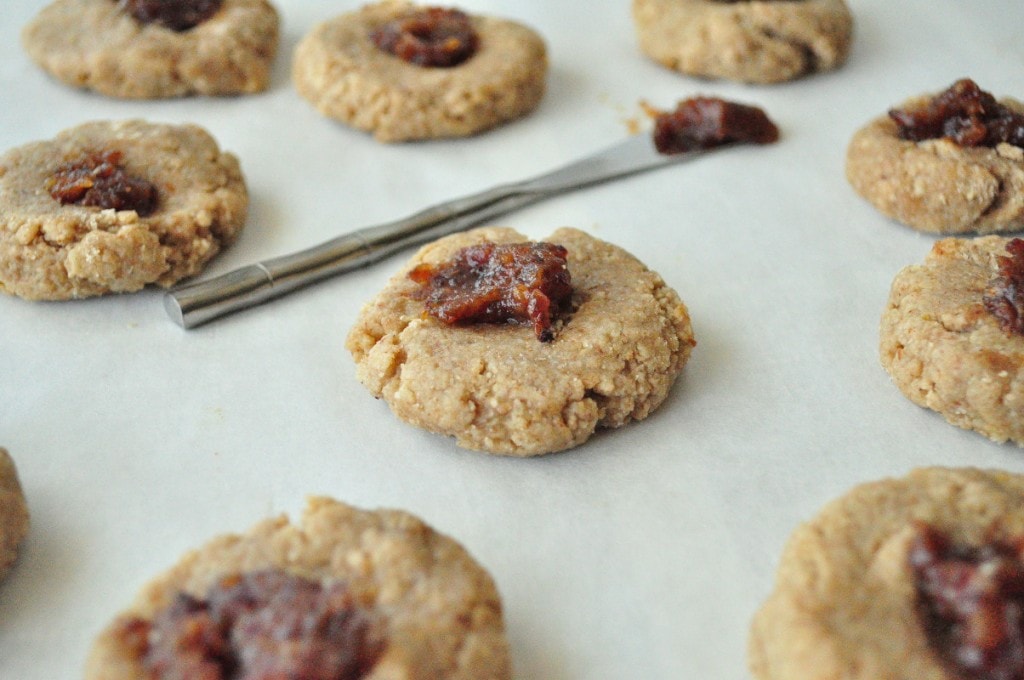
I filled them with pureed dates and also with a fruit spread. I personally liked the dates better as a filling, but use what ever you like.  I know many people have said they filled them with homemade Nutella.  I bet that is amazing too! I’m not sure I trust myself with something like that haha.

Homemade Nutri-Grain Bars

Homemade Nutri-Grain Bars

Prep Time 30 min Cook Time 13 min

Ingredients

    For the bars

    For the filling

    • Your favorite fruit spread or 12 medjool dates blended up into a caramel with a bit of water

    Instructions

    1. Preheat oven to 350.
    2. In a food processor, grind up the almonds and oats. Measure them before grinding. 
    3. Once they are ground into a slightly course consistency, add them to a bowl with the rest of the dry ingredients. 
    4. In another bowl, add the wet ingredients. 
    5. Add dry to wet and mix just until combined. 
    6. Gather the dough into a ball.  It will be a bit sticky. 
    7. Wrap it in plastic and place in the fridge for about 30-60 minutes to firm up. 
    8. Once firm, cut a piece of parchment paper the size of a baking sheet, and lay it on the counter.
    9. Cut the dough ball in half.  I used a bench scraper to cut mine. 
    10. Take one piece and roll it out onto the parchment, putting some plastic wrap between the rolling pin and dough. 
    11. Roll it until it is about 1/4-1/2 inch thick. 
    12. Spread jam onto the top. 
    13. Roll the second ball of dough the same way onto another piece of parchment. Place that onto the dough with the jam. I made sure all the sides were sealed up. Then slice into squares with a pizza cutter. Bake for about 13 minutes. These should last a week or two. You can freeze them as well.  Remember to save your parchment paper.  You can re-use the same piece over and over again.  Enjoy!

    by

    Grain Free Energy Bites (Vegan)

    I made you some Grain Free Energy Bites.  Vegan too!  So the other day I made some Hazelnut Milk.  It was delicious!


    Grain Free Energy Bites


    When you make nut milk, you are left with a “meal.”  You can dry it out in the oven and use it in gluten free baking.

    I have not had much success with my leftover almond meal in the past.  I had always tried making baked goods, but could never really get anything to bind.

    Then an idea came to me.  Make some energy bites.  The dates helped with the binding.  Success!

    These are vegan, dairy free, grain free and gluten free. I would love to hear other success stories when it comes to re-purposing leftover meal.  Please share in the comments!

    Grain Free Energy Bites

    Grain Free Energy Bites

    Prep Time 10 min

    Ingredients

    Instructions

    1. Throw everything in the food processor and mix until a dough forms. If it seems a bit dry, you can add more water. 
    2. Roll into balls and chill in the fridge for an hour to set.

    by

    Recipe Notes

    This also would work with leftover almond meal as well. I would like to note that these are mildly sweet, so if you like an extra sweet flavor you probably want to add a few tablespoons of liquid sweetener. I liked them just the way they were.

    Coconut Date Bars

    I have been having a love affair lately with all things coconut.  It is just so yummy!  So, I am sharing another delicious coconut creation that was inspired by my Coconut Strawberry Muffins.  These are my Coconut Date Bars!

    date bars

    For these I used chickpea flour again.  After I made my Strawberry Coconut Muffins, I thought the dense texture that the chickpea flour produces was much more suited for a brownie/bar type recipe.  So here goes.

    Coconut Date Bars

    Coconut Date Bars

    Prep Time 10 min Cook Time 20 min Serves 9 squares     adjust servings

    Ingredients

      For the bars

      For the filling

      Instructions

      1. In a small food processor or magic bullet , mix the dates and water until you get a paste-like consistency.
      2. Set aside.
      3. Preheat oven to 350.
      4. Mix all the dry ingredients for the bars in a large bowl.
      5. Mix all the wet into a medium bowl.
      6. Add wet to dry.
      7. Line an 8X8 pan with parchment leaving enough room for a bit of parchment to come out the sides. This will make the bars easier to remove when cooled.
      8. Spread a thin amount of batter so the whole bottom of the pan is covered. The batter will be a bit sticky.
      9. Once the bottom is covered, spread the date paste on top.
      10. Finish with the remaining amount of batter and place in the oven for 15-20 minutes.
      11. Let the bars cool completely before removing from the pan and cutting.
      12. Once they are cooled, grab the ends of the parchment paper and lift the whole thing out.
      13. Cut with a pizza cutter into squares.

      by

      Date Filled Thumbprint Cookies

      These Date Filled Thumbprint Cookies are so good!  I seriously could not stop eating them! Let me start out by saying I love the thumb print cookie. I always have.

      thumbprint cookies

      I may, or may not have eaten 3-4 of them when they were done.  Okay, I am lying.  More like 4-5!  They were just too yummy! I have made thumbprint cookies similar to this before.  I have Cranberry Filled Thumbprint cookies on my blog already. This was the first time making thumbprint cookies in my vita mix.  Previously, I had used my magic bullet.  They came out so much better in the Vitamix.  I had never even had a date until a few days ago.  I bought them to make This Rawsome Vegan Life’s vegan raw snickers.  Up until now, I thought they were similar to raisins.  They are so delicious and creamy and not what I expected.

      Date Filled Thumbprint Cookies

      Date Filled Thumbprint Cookies

      Prep Time 10 min Cook Time 13 min Serves 18 Cookies     adjust servings

      Ingredients

      Instructions

      1. Preheat oven to 350.
      2. In a blender, combine the almonds and the oats into a fine powder.
      3. Place that mixture in a bowl with the flour.
      4. Add all the wet ingredients minus the water in a bowl.
      5. Add wet to dry.
      6. In a food processor or magic bullet, mix the dates and a bit of water until they form into a paste and set aside.
      7. Roll the cookie batter into little balls and place on a lined baking sheet.
      8. Once all the balls are rolled, press them flat with your palm.
      9. Once all the cookies are flat, take your thumb and put a print in each cookie.
      10. Spoon a bit of the date paste into each thumbprint and bake in the oven for 11-13 minutes.

      by