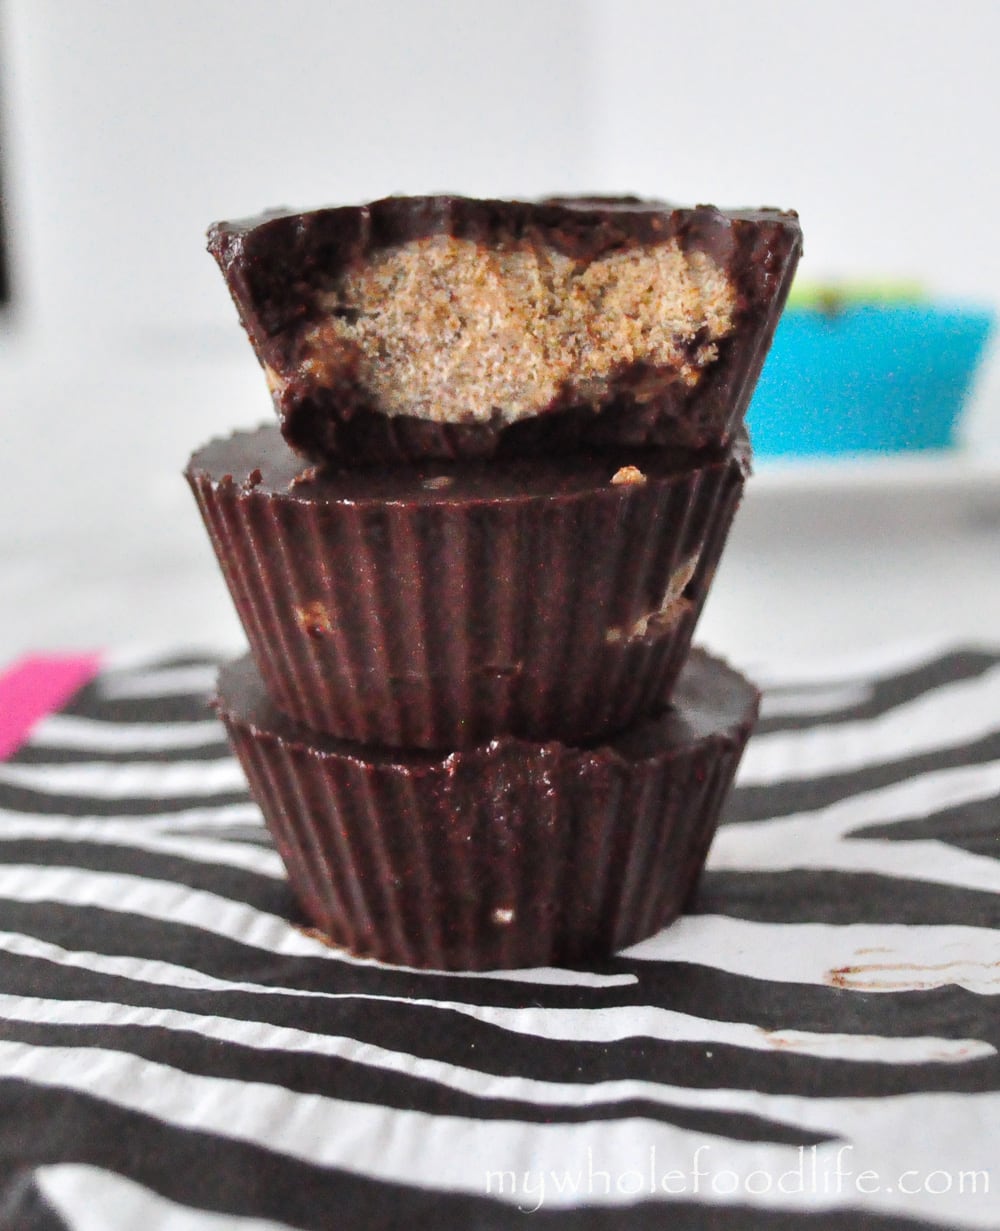
Clean Eating Peanut Butter Cups. Let’s face it. We all need a little something sweet every once and a while. Who says you need to give up peanut butter cups? While I will never eat Reese’s Peanut Butter Cups again, I will have a homemade peanut butter cup every now and then!
I made these with homemade peanut butter and also almond butter. Both worked out well, but I think I liked the peanut butter cups better. Most homemade peanut butter cup recipes call for powdered sugar. This does not. I just dropped some freshly made peanut butter in the middle of these.
So much better that way and also much less sugar too! The chips I used are from Enjoy Life. You can also make your own chocolate with 1 cup coconut oil, 1/2 cup cacao powder and a few tablespoons of liquid sweetener. Or you could melt a couple of bars of dark chocolate with a bit of milk. Any way works.
The Enjoy Life chips have a pretty clean ingredient list and are gluten free as well. They do contain a bit of processed sugar which is why I gave some other options. I have tried the chips and the coconut oil chocolate.
I chopped one of these homemade peanut butter cups and ate it in my 5 Minute Banana Ice Cream. OMG! Best.Thing.Ever. A healthier dessert option.
If you don’t want to use chocolate chips, you can use my 3 ingredient chocolate recipe in this video.
Looking for more candy recipes?
- Copycat Reese’s Peanut Butter Eggs
- 3 Ingredient Homemade Chocolate Bars
- 4 Ingredient Healthy Buckeyes
- 4 Ingredient Peppermint Fudge
Clean Eating Peanut Butter Cups
Clean Eating Peanut Butter Cups


It's a healthier version of a Reece's Cup.
Ingredients
- 1 bag chocolate chips (I used Enjoy Life gluten free and soy free chips)
- 3/4 cup almond milk
- Roughly 3/4 cup peanut butter or almond butter
Instructions
- Get out a couple of muffin tins and line them with paper or silicone cups. . I used standard sized muffin pans, but the mini cups would work well too.
- Using a double boiler, melt the chips and milk in a glass bowl, stirring constantly to get the lumps out. It makes a great arm workout.
- Once the chocolate and milk have combined and are smooth, pour a little bit of chocolate in the bottom of each muffin cup.
- Place them in the freezer for about 20 minutes to set.
- When they are hard, pull them out and put a dollop on nut butter on top of each one.
- Fill the remaining cup with chocolate.
- Repeat until all the cups are filled.
- Place back in the freezer.
Recipe Notes
I would give them a few hours to set. Actually, I store mine in the freezer as well. I think they would get too soft in the fridge. That’s it!
