Tips for Photography

Okay, let me first start by saying I am no expert.  However, I have learned some tricks along the way that have some of my photos to finally get on sites like Foodgawker and Tastespotting.  When I first found out about these sites, I was super excited.  I thought all I had to do was submit my photos and they would publish them.  Boy was I wrong.  I got rejection after rejection. Why is it important to get on these sites?  Because they will drive major traffic to your blog.  They also archive all the accepted photos so you will keep getting hits, even after yours have left the home page.  It is possible to take nice pictures even without a fancy camera.  The camera I shoot with is a Nikkon D5000.  I love it!  If you learn the settings on your camera, you will not need to do much editing at all.

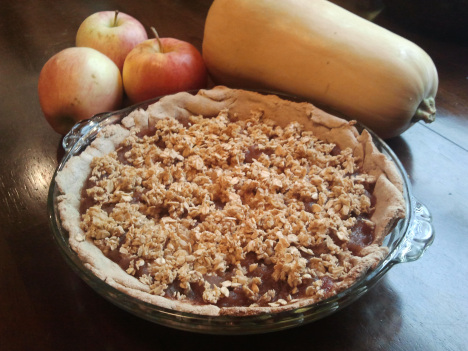
Here is an example of my very early work.

SAMSUNG

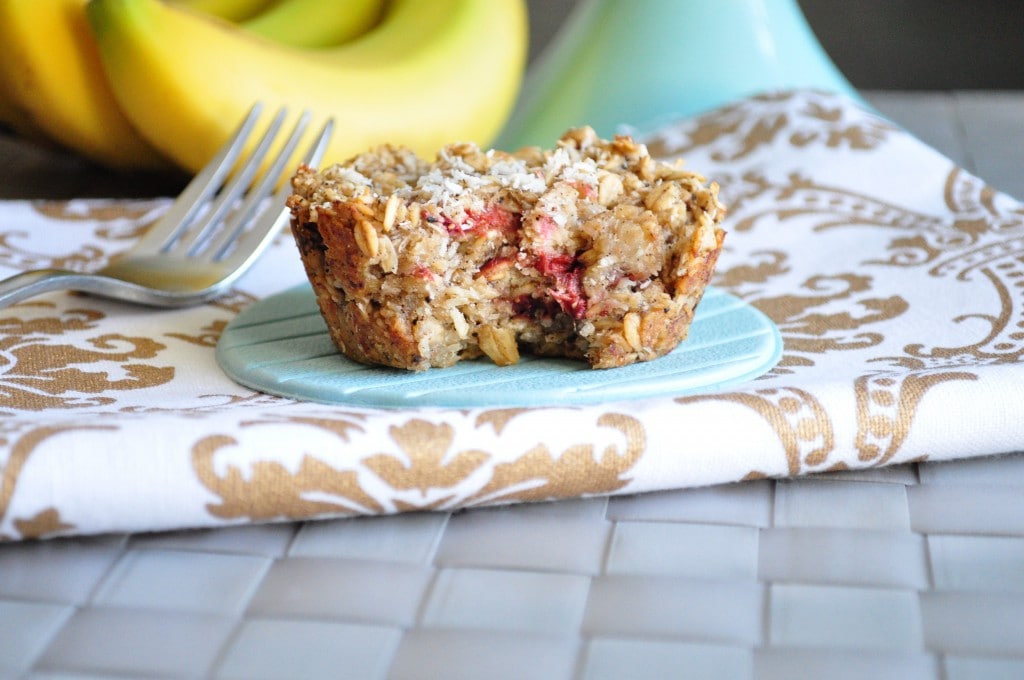
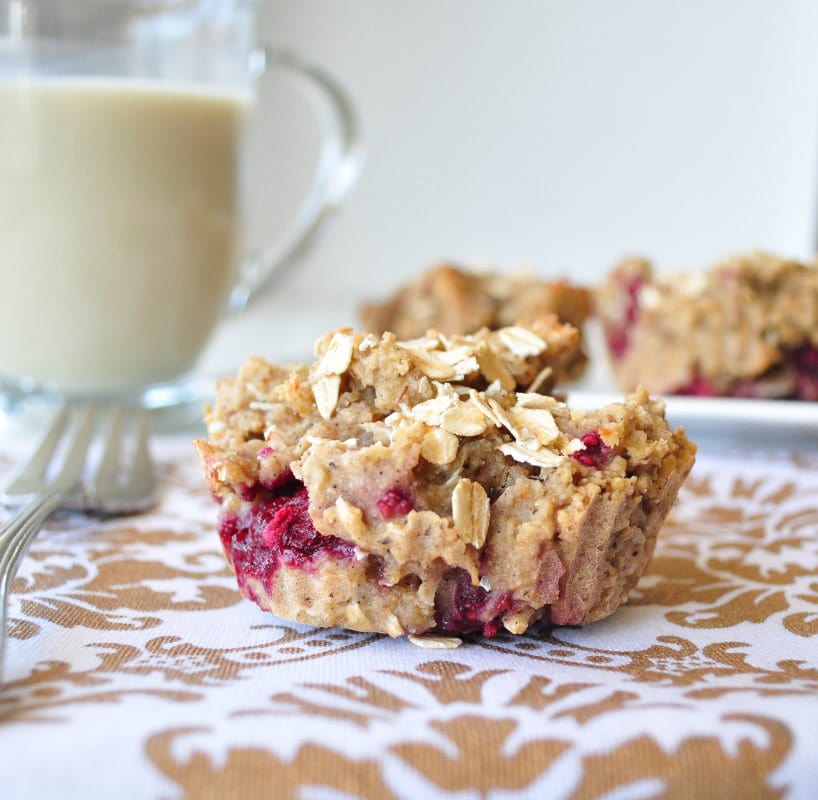
Not so great, right?  This is actually the very first photo that went up on my blog.  Here is the first picture Foodgawker ever accepted.  I actually did a happy dance around my living room.

Baked-Oatmeal1-1024x680

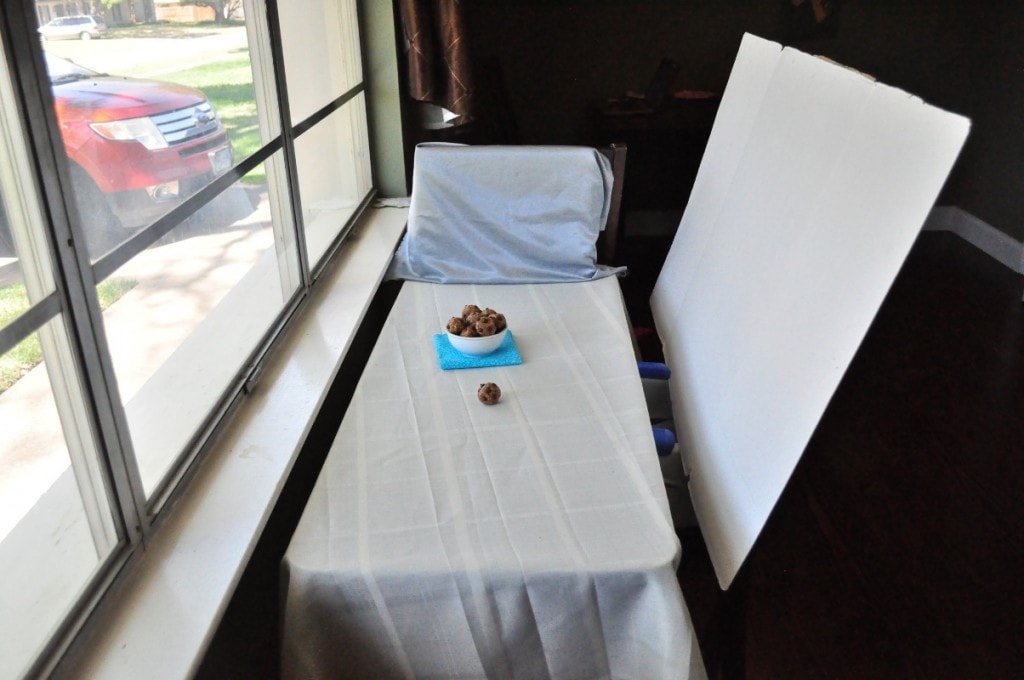
Tip # 1.  Use natural light.  Sites like FG and TS love natural light.  Pick a time of day where a particular room in your house gets the best lighting.  You may have to play around with different times until you discover the perfect light.  The perfect time in my house just so happens to be around noon in my girl’s playroom.  We have a huge window.  Often I am dodging toys and keeping their hands out of the photos, but it works. 🙂  Here is an example of a staged shoot.

photos

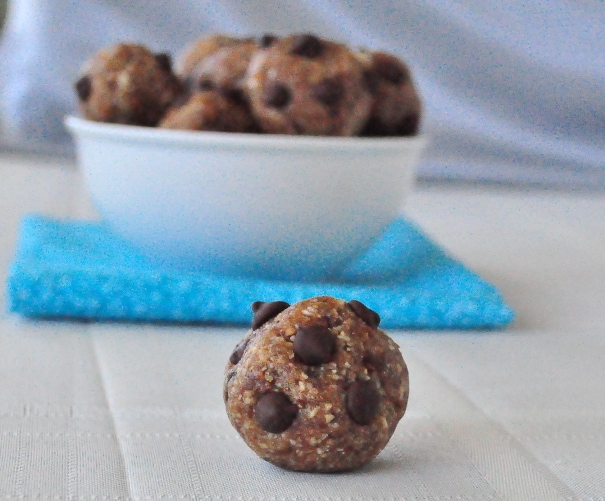
As you can see here, I have a covered table with a white board.  This is all to help reflect the light.  That white board is a tri-fold that you can buy at any store in the craft supply section.  It’s the best money I ever spent.  It is being held up by my daughter’s high chair.  This is the photo I snapped.

balls

Tip # 2  Take you camera off auto.  The first thing I learned to set on my camera was the ISO.  ISO setting measures the sensitivity of the image sensor.  High ISO are used in darker settings and low ISO in brighter settings.  I just keep playing around taking test shots to see which lighting I like best.  That first photo that got accepted onto FG was using natural light with the ISO about 1000.

Tip # 3 Pan back.  There is nothing FG hates more than a close up shot.  In fact, most of my photos in the past have been denied for composition too tight or low-lighting and/or under exposed.  Here is an example of one of my photos that got denied for composition too tight.

Cranberry-Coconut-Granola

Tip # 4 Try to use white dishes.  That helps make the food the main star of the photo.

Tip # 5  Don’t waste your money on too many props.  For the different fabric is my photos, I often buy scraps out of the clearance bin at Jo-Ann Fabrics.  Other props I use often are fruit, glasses of milk and jars containing nuts and other dried goods.

Tip #  6  Study photos that have been accepted to these sites.  Before I stage a shoot, I often go and look how others staged a similar food.  It really helps give me ideas.

Tip # 7  Use a tripod if possible.  This is very important especially when you start playing around with the film speed.  You would be surprised at how much your hands will shake.

So, those are the tips I can offer right now.  I am up to 45 accepted on FG and 77 rejected.  I will really love when I make the accepted photos smaller than the rejected ones.  They accept most of mine these days, but I still get a rejection here and there.  The last thing I can say, is don’t let the rejection get you down.  If you keep trying, you will improve and get on there.  If anyone else has any good tips, please add in the comment section.  I will most likely update this as I learn more.


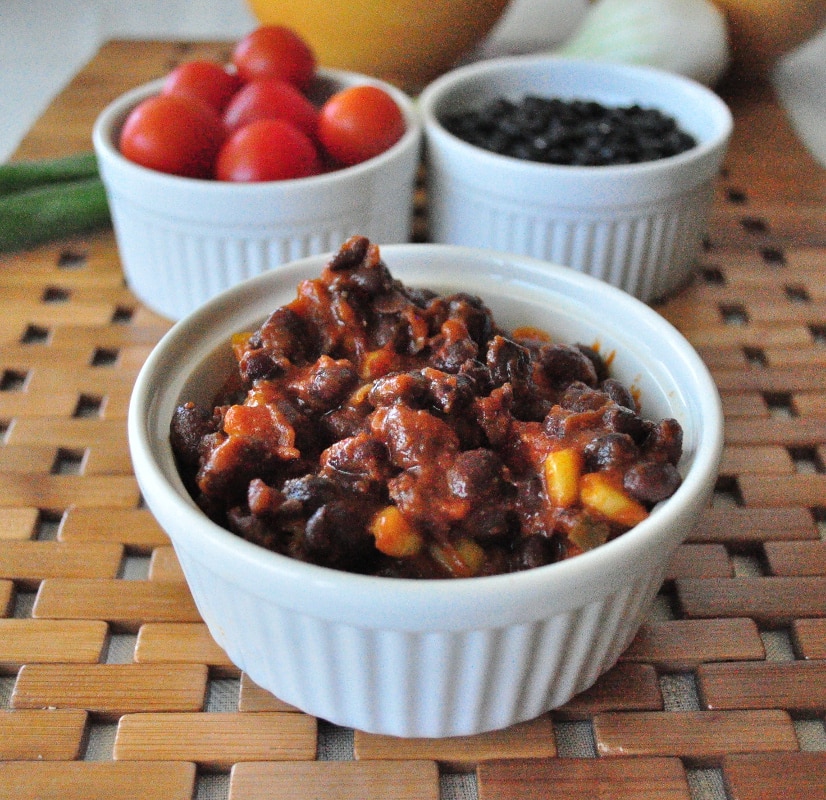
Black Beans and Rice

My husband has always been the cook in the family.  I have always loved to bake.  Since he has been moving up in his career, I have had to take on the role of cooking.  However, on the weekends, he does like to cook and this black beans and rice recipe is one of his.  Another one of his recipes is my Peanut Noodle Stir Fry.  That is his favorite.

beans 1

He says he has been making this since college.  Back then he was a meat eater and he used to add a chicken breast in this as well.  So if you are an omnivore, feel free to do just that.

Black Beans and Rice

Black Beans and Rice

Prep Time 30 min Cook Time 30 min

Ingredients

  • 3 cups black beans (We used dried that we soaked overnight and boiled in the morning until they got soft.)
  • 3/4 cup tomato sauce
  • 1/2 yellow onion chopped
  • 1 yellow pepper chopped
  • 10 cherry tomatoes halved
  • 1 cup corn (We used frozen organic corn)
  • 1 small jalapeno seeds removed and diced
  • 2 cups water
  • 1/4 tsp garlic
  • 4 T oil (We used avocado oil)
  • Juice from 2 limes
  • 1 cup wild or brown rice + 2 cups water

Instructions

  1. In a small pot, add the rice and 2 cups water.
  2. Bring to a boil, then turn down, cover and simmer until all the water has been absorbed. About 20-30 minutes.
  3. In a large pan, combine the rest of the ingredients and bring to a boil, turn down and simmer until all the liquid has been absorbed. About 20-30 minutes.
  4. You can add the rice into the pan, or keep them separate like we do. That’s it. Enjoy!

by

Maple Vanilla Almond Waffles

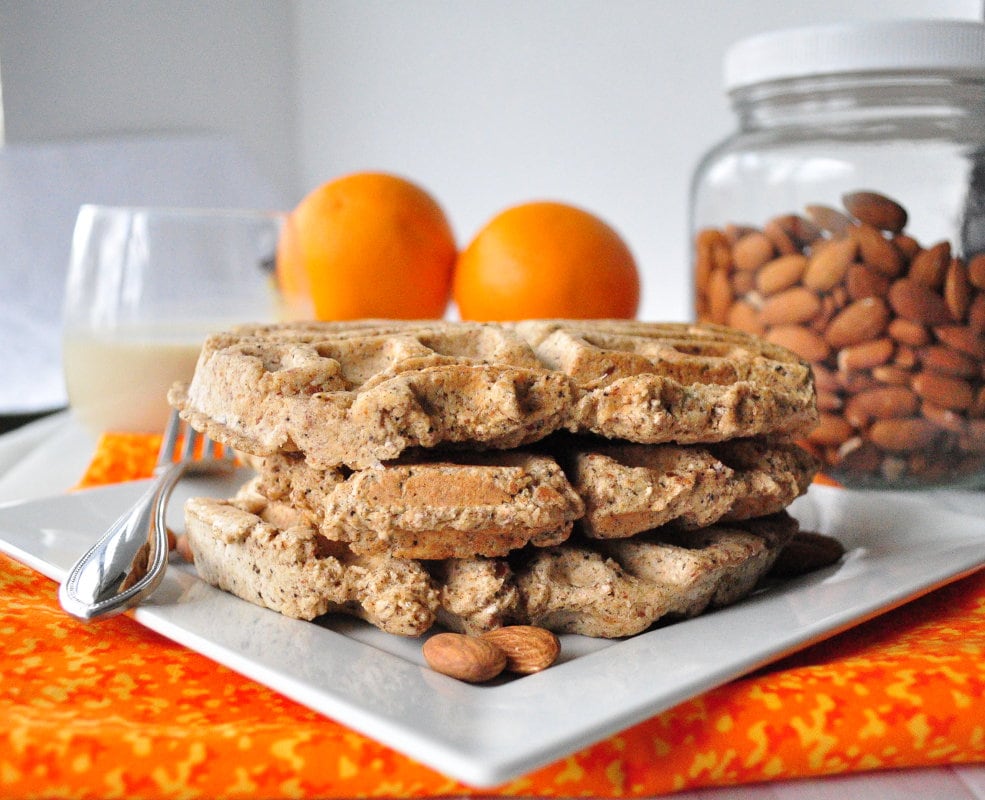
This recipe was inspired by my Maple Vanilla Almond Granola which is my most favorite granola.  In the granola recipe, I use leftover almond meal from making my Homemade Almond Milk.  So I was hoping I could use some leftover meal in the waffle recipe as well.

waffles

It worked!  So excited.  Love when that happens.

Maple Vanilla Almond Waffles

Maple Vanilla Almond Waffles

Prep Time 10 min Cook Time 10 min Serves 4-5 waffles     adjust servings

Ingredients

  • 1 1/2 cups almond meal (or almond flour)
  • 1 1/2 cups white whole wheat flour
  • 1 1/2 cups milk (I used almond milk)
  • 2 T maple syrup
  • 2 tsp baking powder
  • 2 T coconut oil
  • 2 heaping tsp crushed vanilla bean (you can use vanilla extract, but the crushed vanilla bean s gives such a nice sweet flavor, so I like using it much better)
  • 1/2 tsp almond extract
  • 1 egg or egg substitute (I used a flax egg)

Instructions

  1. Turn on your waffle maker.
  2. Mix all the dry ingredients in one bowl.  I actually do this the night before so I can quickly make the waffles in the morning. 
  3. Mix all the wet ingredients into another. 
  4. Add wet to dry and mix until combined. 
  5. Spoon batter onto the greased waffle iron.  The batter will be thick. 
  6. I spoon about 1/2 cup amount and use the spatula to help spread the batter out a bit.

by

Recipe Notes

I got about 4 1/2 waffles out of my batch. If you have leftovers you can freeze them and re-heat later. I do it all the time. Enjoy!

Cookie Dough Ice Cream

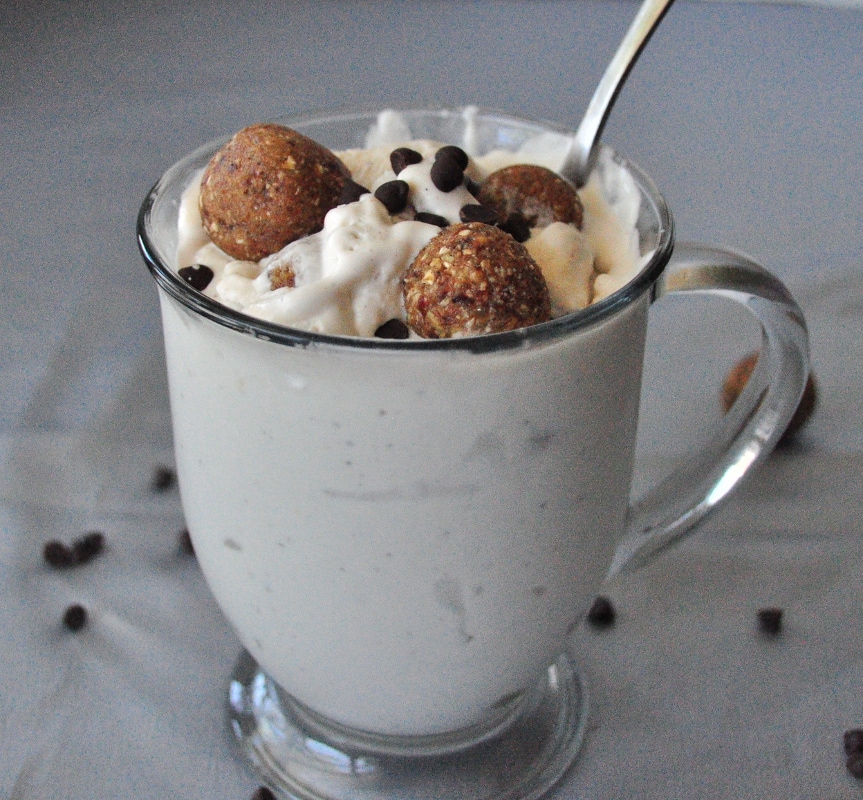
Let’s face it.  We all want to indulge from time to time.  I mean, who doesn’t like ice cream, especially cookie dough ice cream?  Problem is, most store bought brands are laden with chemicals and processed sugars.  Even the organic ones.  It’s hard to find one that doesn’t contain carrageenan, which is a possible carcinogen.  So I created this little treat for you.

ice cream 1

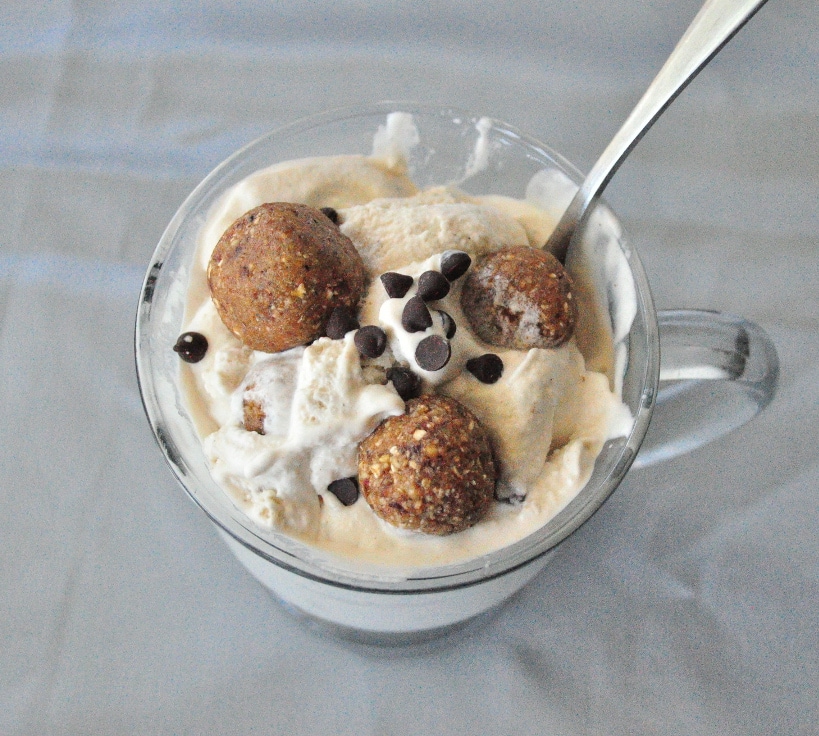
It was 80 degrees today in Texas and I broke out my ice cream maker for the first time in months.  If you don’t have an ice cream maker, I highly suggest getting one.  It is so much cheaper to make your own ice cream.  This recipe couldn’t be easier.  It’s dairy free, soy free, can be made gluten free and free of refined sugars.  For the cookie dough part, I used my No Bake Cookie Dough Bites and rolled them into tiny balls.  You will have some extra left over, but I promise they are delicious!

Cookie Dough Ice Cream

Cookie Dough Ice Cream

Cookie Dough Ice Cream

Prep Time 20 min

Ingredients

Instructions

  1. Make sure you have had the ice cream bowl frozen for at least 18 hours. It has to be good and cold. I made the cookie dough ahead of time and had it chilling in the fridge.
  2. Pour all the ingredients except the cookie dough into the ice cream machine .
  3. Turn the machine on. It will take about 15 minutes.
  4. When the mixture starts to look like it is coming together and almost done, add in the cookie dough.
  5. Stop as soon as it looks like soft serve ice cream.
  6. If you wish for a harder ice cream, you can put the ice cream in a bowl and stick it in the freezer for about 15 minutes. That’s it!

by

Raspberry Coconut Muffins

I haven’t come up with any new recipes for muffins lately, so I thought I would do one.  I came up with these Raspberry Coconut Muffins and they were pretty good.  I used to not really like coconut, but I love it now.  I think it must be an acquired taste.  Or maybe it was my Coconut Cream Larabars that got me hooked!

Raspberry Coconut Muffins from mywholefoodlife.com

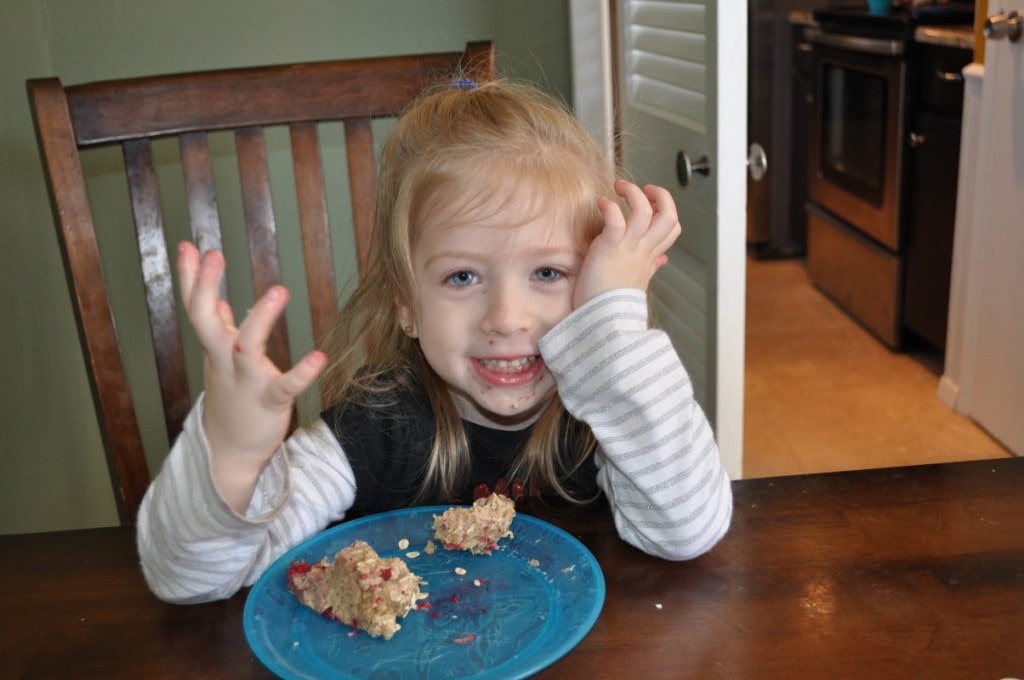
My daughter loved these.  You can see her happily taste testing one here.

kids

I made these with more of the white whole wheat flour.  I am really liking it although I still would like to use spelt as well.

Raspberry Coconut Muffins

Raspberry Coconut Muffins

Prep Time 10 min Cook Time 30 min Serves 5 large muffins     adjust servings

Ingredients

Instructions

  1. Preheat oven to 350.
  2. Mix all the dry ingredients in one bowl. 
  3. Mix all wet ingredients in another. 
  4. Add wet to dry and fold in the raspberries.
  5. Spoon batter into a greased or lined muffin pan. I used jumbo muffins for this and I only got 5 muffins, but if you are using standard sized muffin tins, you will most likely get about 10-12.
  6. I baked my jumbo muffins for about 30 minutes. If you are using standard muffin tins, you will probably bake them around 15 minutes or so.
  7. Let cool before removing from pan.

by

Stir Fried Quinoa

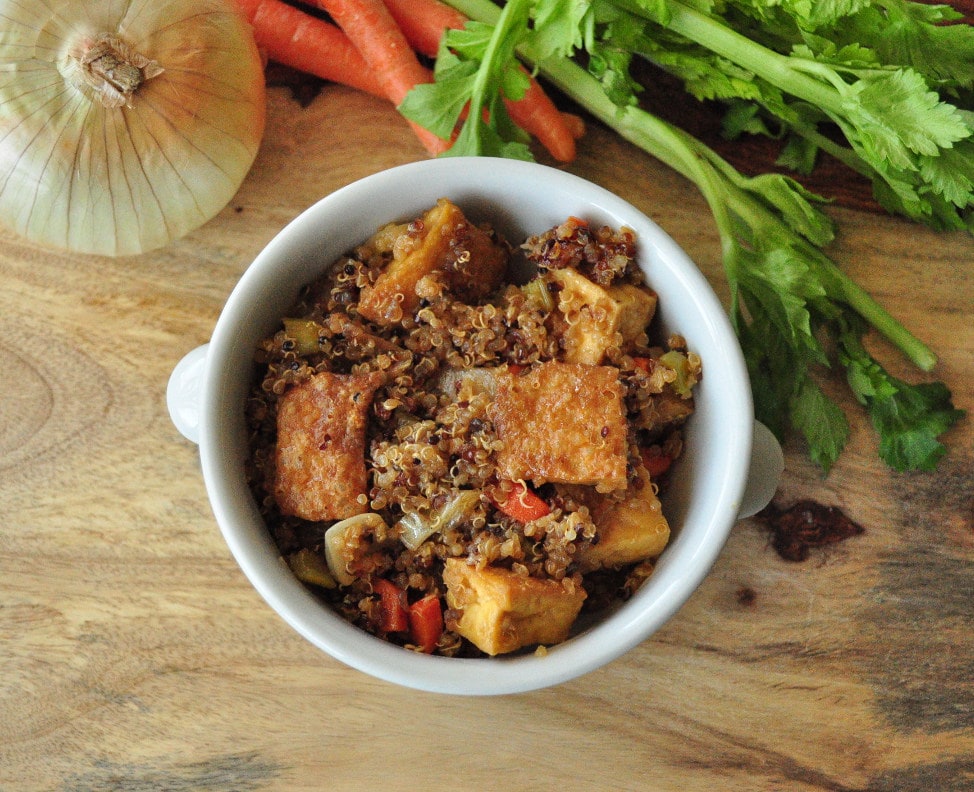
This is my husband’s go to meal to use up whatever we have in the fridge.  Well we were out of rice too so he subbed quinoa instead this time.  It came out so good!  I actually liked it better with the quinoa.  This is a great dish for vegans because quinoa is a complete plant based protein.  We added tofu to ours.  If you want to make the tofu, just cut it into cubes and bake it at 400 for about 30 minutes.  Or you could add your favorite protein and you have a great little meal.

Stir Fried Quinoa

This is a super easy meal to whip up quickly.  We almost always have a container with cooked rice or quinoa on hand to make meals last longer so the quinoa had been cooked ahead of time.  If you have never cooked quinoa, it is a 2:1 ratio.  I part quinoa to 2 parts water.  Bring to a boil and then cover, turn down and simmer for about 10-15 minutes or until the liquid is absorbed.

Stir Fried Quinoa

Stir Fried Quinoa

Prep Time 10 min Cook Time 15 min

Ingredients

  • 2 cups quinoa cooked
  • 3 carrots diced
  • 2 stalks celery diced
  • 1/2 yellow onion rough chopped
  • 3 T soy sauce or bragg's aminos
  • 1 T mirin
  • 2 tsp garlic powder
  • 2 T toasted sesame oil
  • salt to taste

Instructions

  1. In a sauce pan , saute veggies for 5-7 minutes in toasted sesame oil, soy sauce, mirin, salt and garlic. 
  2. Then add the quinoa and saute for another 6-7 minutes. 
  3. The veggies should still retain some crunch.  Enjoy!

by