
My husband is a huge chocolate lover. He especially loves fudgy brownies. I am more of a nut butter girl myself. So I combined those two things to make these yummy thick and fudgy brownies! This is attempt number 3 at brownies and these brownies came out so good! I used white whole wheat in my brownie recipe, but they can easily be done with a gluten free flour as well.
These can also be done with peanut butter or sunflower butter as well. I knew these were a hit because my daughter ate hers right up and asked for another. My husband said they reminded him of Duncan Hines brownies in a box!. Without the chemicals of course! I used dark chocolate and cacao powder so these are filled with healthy antioxidants for your body too. A brownie you can feel good about eating. Can it get any better than that really?
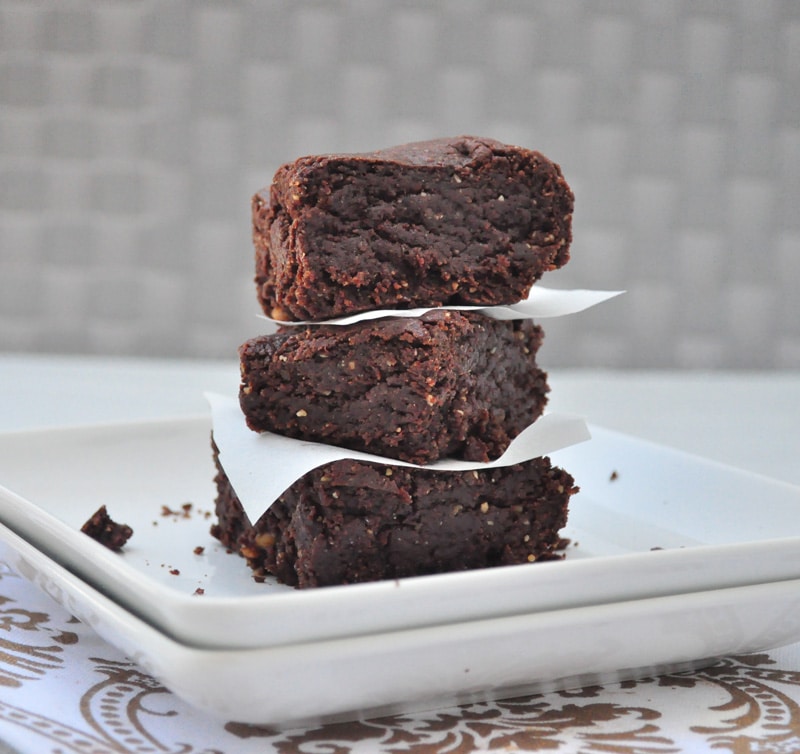
Thick and Fudgy Brownies
Thick and Fudgy Brownies
Ingredients
- 2 cups white whole wheat (For a gluten free option use gluten free all purpose or gluten free oat flour)
- 1/2 cup maple syrup
- 1/2 cup cacao powder or cocoa powder
- 1 flax egg
- 1 1/2 tsp baking powder
- 1 tsp ground vanilla beans or extract
- 1/2 cup coconut oil
- 1 cup almond butter
- 1/2 dark chocolate bar (I used one that was 72% cacao. If you want a sweeter taste, use milk chocolate.)
- 1/2 cup almond milk
- 1/4 cup applesauce unsweetened
Instructions
- Preheat oven to 350.
- In a large bowl , add all the dry ingredients.
- In a saucepan , on medium heat, combine the coconut oil, applesauce, maple syrup, almond butter and chocolate.
- Stir until everything is well combined. Set aside.
- Line an 8X8 pan with a sheet of parchment paper leaving enough room for some paper to come out the sides. This will make the brownies easy to remove.
- Add the heated mixture to the dry ingredients and stir only until combined.
- Lastly add the egg and milk and stir until everything is mixed well. Be careful not to over-mix or the brownies can come out tough.
- Bake in the oven for about 15 minutes. I kept mine slightly gooey and they worked out great that way. The first time I overcooked them and they were so dry.
- Once the brownies are cooled, pull them out by grabbing the parchment paper.
- Cut with a pizza cutter into squares.
Recipe Notes
Store them in a container in the pantry or the fridge. Keep in mind, if you store them in the fridge, they will harden slightly because the coconut oil will solidify. I got about 10 brownies out of my batch. Enjoy!
