The time has come when you start thinking about that green bean casserole. So I made a clean eating cream of mushroom soup. Traditionally, people use Campell’s cream of mushroom soup in making it. Let’s take a look at the ingredients in Campbell’s Cream of Mushroom Soup:
WATER, MUSHROOMS, VEGETABLE OIL (CORN, COTTONSEED, CANOLA, AND/OR SOYBEAN), MODIFIED FOOD STARCH, WHEAT FLOUR, CONTAINS LESS THAN 2% OF: SALT, MONOSODIUM GLUTAMATE, SOY PROTEIN CONCENTRATE, DEHYDRATED CREAM (CREAM [MILK], SOY LECITHIN), YEAST EXTRACT, FLAVORING, DEHYDRATED GARLIC.
Wow. I was surprised to see so many soy products in this. Not to mention the MSG. Since it also contains wheat flour, it’s not gluten free. My recipe is very simple and happens to be gluten free as well. My recipe is also dairy free and vegan. 🙂
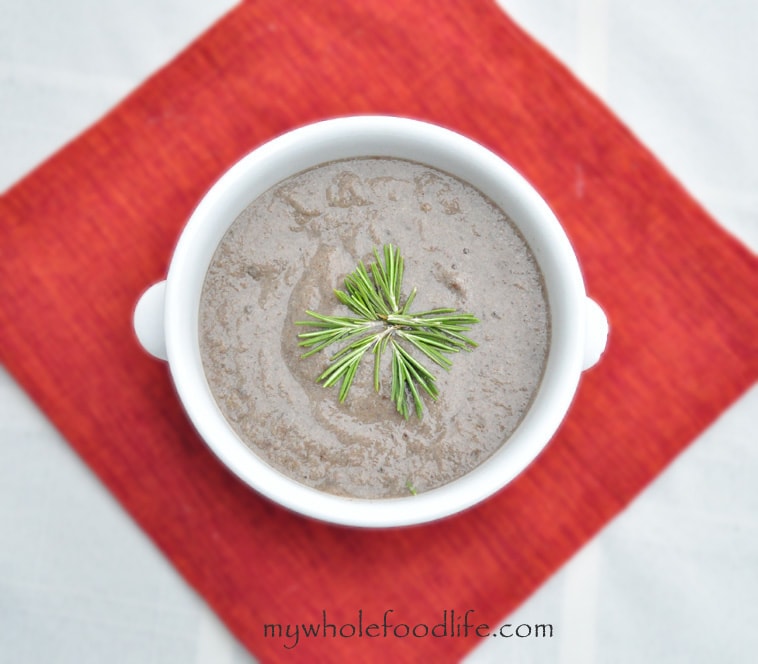
Clean Eating Cream of Mushroom Soup
Clean Eating Cream of Mushroom Soup
Ingredients
- 12-15 mushrooms
- 1-2 garlic cloves
- 1 1/2 cups almond milk (any other milk will do as well)
- 1 T diced onion
- 1 T arrowroot powder
- salt and pepper to taste