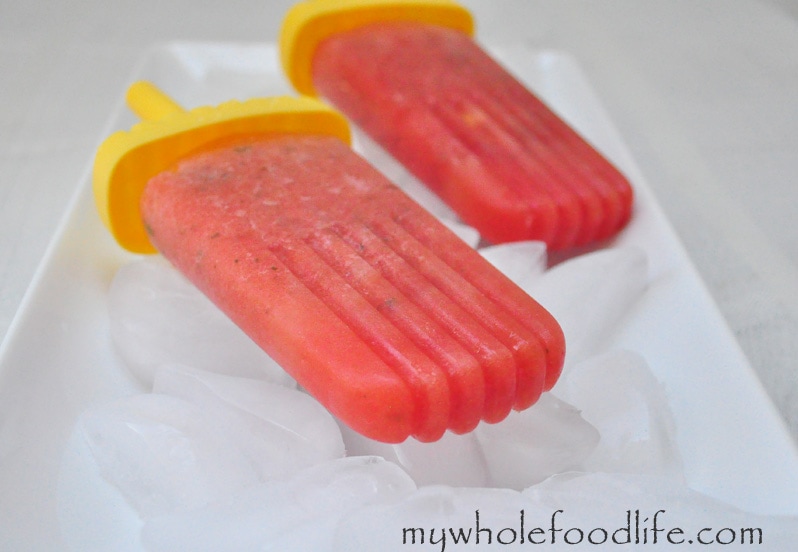
Watermelon Mint Popsicles

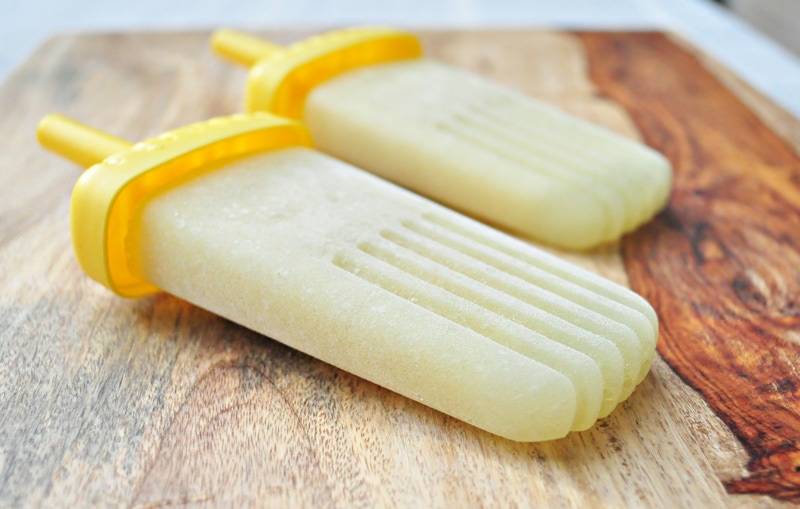
When I think of summer, one of the first things that comes to mind is watermelon.  How awesome is a fresh slice of watermelon, right?  It reminds me of being a kid again.  I have already done a watermelon punch , so why not do some popsicles too!  These watermelon mint popsicle are perfect for a refreshing treat on a hot summer day. And who doesn’t like a good watermelon popsicle recipe?

Watermelon Popsicles watermark

My kids are loving these popsicle molds by Tovolo.  One of the things I like best about the molds, is the drip catch.  Perfect for my kids, who tend to eat these slowly.  Do you have them too?  If not, you should get some.

Watermelon Mint Popsicles

Watermelon Mint Popsicles and a Giveaway!

Prep Time 5 min Serves 6 popsicles     adjust servings

Ingredients

  • 4 cups watermelon
  • 10 mint leaves

Instructions

  1. Blend both ingredients in a blender for about 90 seconds.
  2. Pour into popsicle molds . They should be ready to eat in about 4 hours. Enjoy!

by

Tropical Popsicles

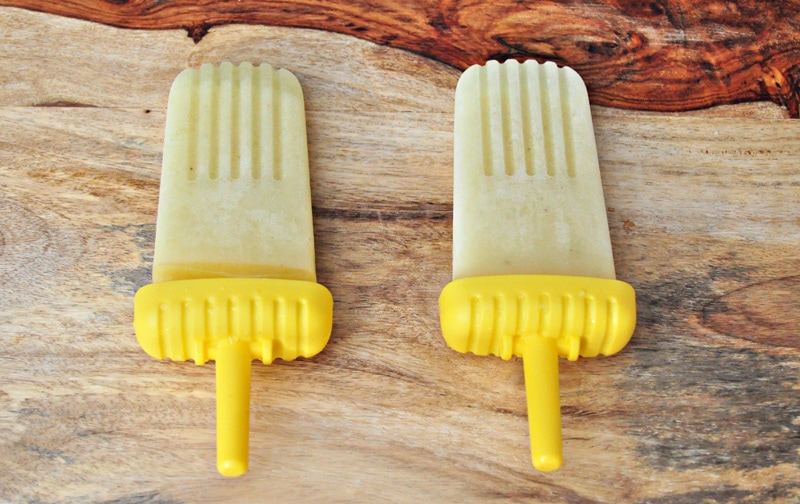
I love making my own popsicles.  These tropical popsicles are my latest creation  Most store bought brands contain unnecessary ingredients.  When I make my own, I can create whatever I like.  I even take requests from the girls.  It’s been so hot here in Texas, so a frozen treat is perfect. These tropical popsicles are awesome. They are cool and refreshing, and well… tropical.

Tropical Popsicles

These tropical popsicles are very easy to make.  Did you know that coconut water is a natural electrolyte replacement?  It totally is!  Much better than Gatorade.  Tastes better too!  These would make the perfect post workout snack.  I hope you enjoy them.

Tropical Popsicles

Tropical Popsicles

Prep Time 10 min Serves 6 popsicles     adjust servings

Ingredients

  • 2 cups fresh pineapple cubed
  • 2 cups honey dew melon cubed
  • 1 banana
  • 1 cup coconut water

Instructions

  1. Blend all the ingredients in a blender for about 1-2 minutes.
  2. Pour into popsicle molds . You can also use smoothie pop molds . That’s it! Enjoy!

by

Grain Free Strawberry Tart (Vegan and Gluten Free)

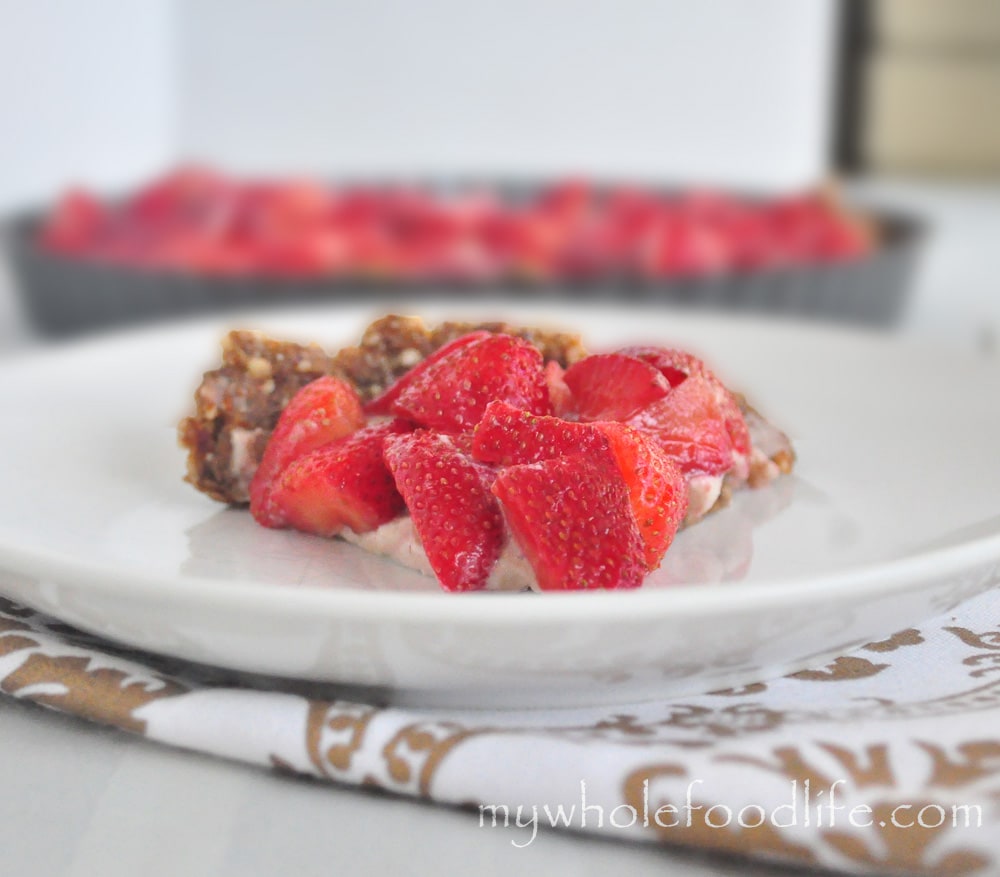
Grain Free Strawberry Tart.  I am a big fan of fruit tarts and strawberry tarts are my favorite.  In fact, strawberry fruit tarts might be my most favorite dessert, especially in the summer.

So I had to make this grain free and vegan strawberry tart!  I already made a Grain Free Blueberry Tart that is on the blog.  It came out amazing, but I think I perfected the custard base this time around with the strawberry tart.

It really tasted like the fruit tarts from Whole Foods except my tart recipe is dairy free!  This week, Whole Foods was selling organic strawberries 3 for $10, so I picked up some.
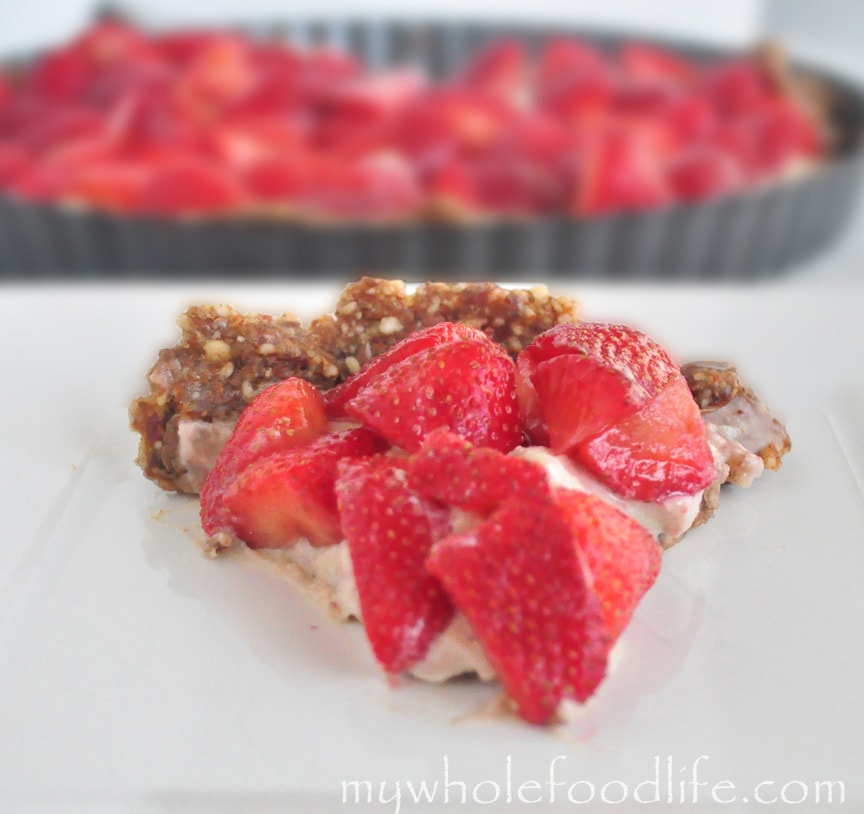
 

grain free strawberry tart


I initially was going to create a strawberry shortcake, but the shortcakes didn’t turn out right, so I turned it into a tart instead.  What a blessing because this may be the most delicious thing I ever made!

I had to resort to serious willpower not to inhale half of it.  Another great thing about this is it’s raw, vegan, gluten free, grain free and dairy free.  So almost anyone can enjoy it.

Looking for more strawberry recipes?

Grain Free Strawberry Tart

Grain Free Strawberry Tart

Prep Time 30 min Cook Time 60 min Serves 8-12 slices     adjust servings

Ingredients

    For the crust

    For the strawberry topping

    For the custard

    Instructions

      For the strawberry topping

      1. In a large bowl , add the strawberries, sugar and lemon zest. Place in the fridge for about 3 hours.

      For the tart

      1. In the food processor , combine the almonds, salt and flax seed into a course powder.
      2. Add in the dates and the water and pulse until a dough starts to form.
      3. Once the dough is formed, gently form it into a greased tart pan . Wet hands work best for this.
      4. Once the crust is laid out in the tart pan , place in the fridge for 20 minutes to firm up.

      For the custard

      1. While the crust is firming up, make your cashew cream.
      2. Drain the cashews that have been soaking overnight and add them to a blender with the coconut butter, maple syrup and milk.
      3. Blend until a thick custard-like cream forms.
      4. Remove it from the blender and spread it out over the crust.
      5. With a slotted spoon , spoon the strawberry mixture on top of the custard leaving only the liquid left over in the bowl .

      by

      Recipe Notes

      Save the left over liquid and use as a syrup for pancakes or waffles ! This should keep in the fridge for about a week. Ours didn’t even last that long!
      Tropical Fruit Punch

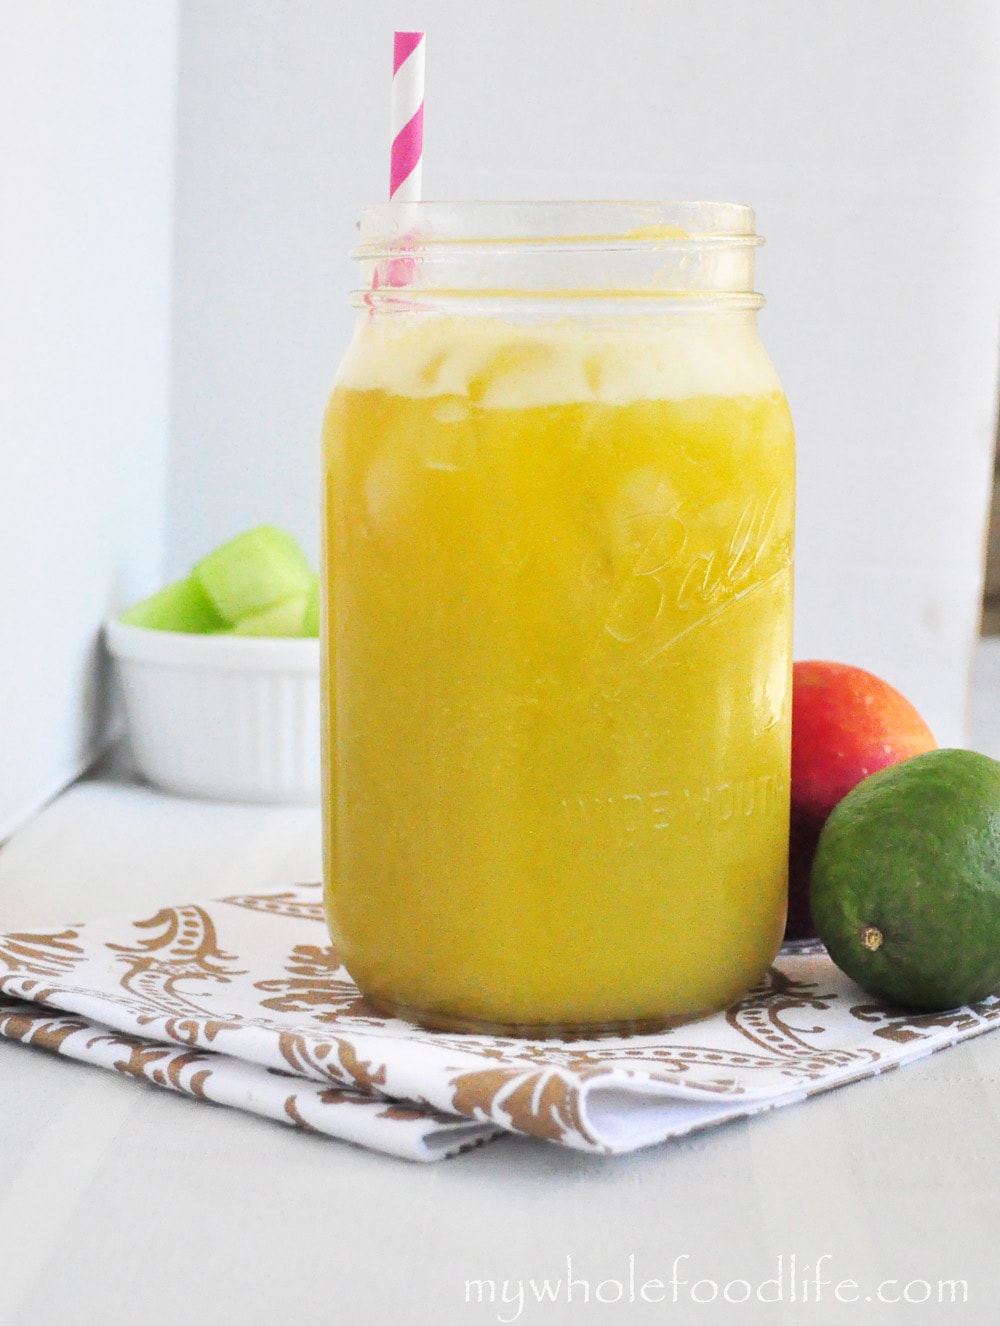
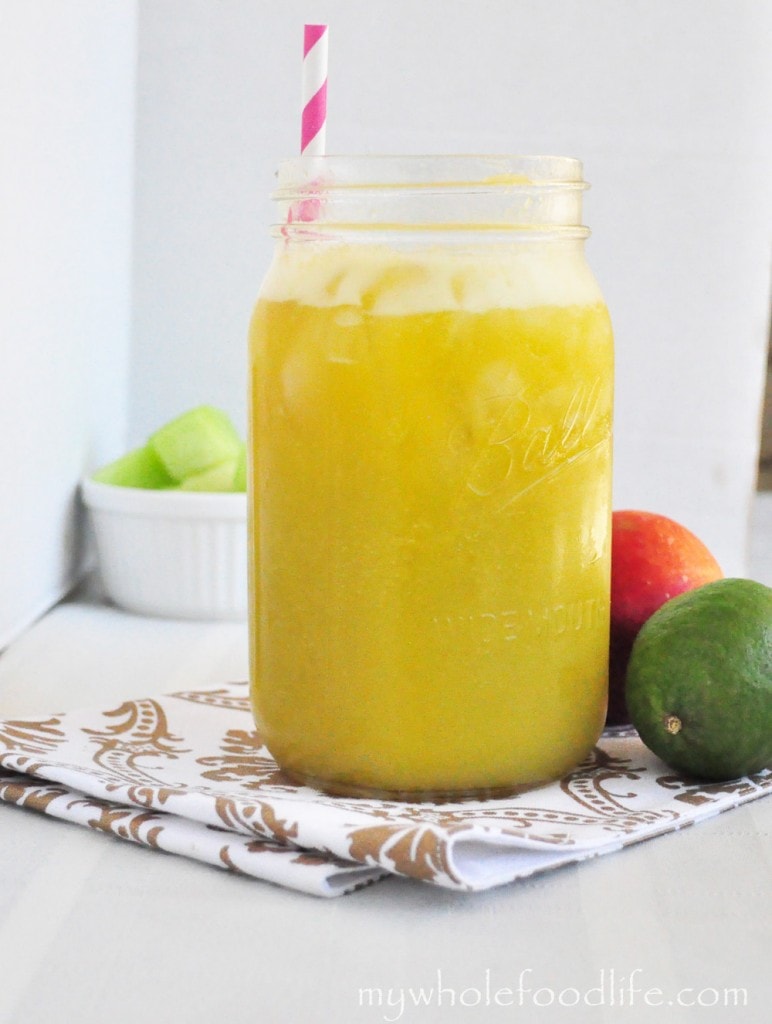
      Well you all know I love to juice, and I love my Breville juicer.  I use it daily.  This is perfect for hot days like we are having this summer here in Texas.

      tropical fruit punch watermark

      Tropical Fruit Punch

      Tropical Fruit Punch

      Prep Time 5 min

      Ingredients

      • 1 1/2 cup mango sliced
      • 2 nectarines sliced with pits removed
      • 2 cups honey dew melon sliced
      • 1/2 lime

      Instructions

      1. Juice the fruits in the order of the ingredients. If you don’t have a juicer, you can blend everything in a blender .

      by

      Recipe Notes

      I am sure it will be equally delicious that way! This juice would be great for backyard parties. Add a little vodka and you have a great adult beverage too. Next time I make it, I am going to pour the mixture into my popsicle molds .

      Overnight Oats in a Jar

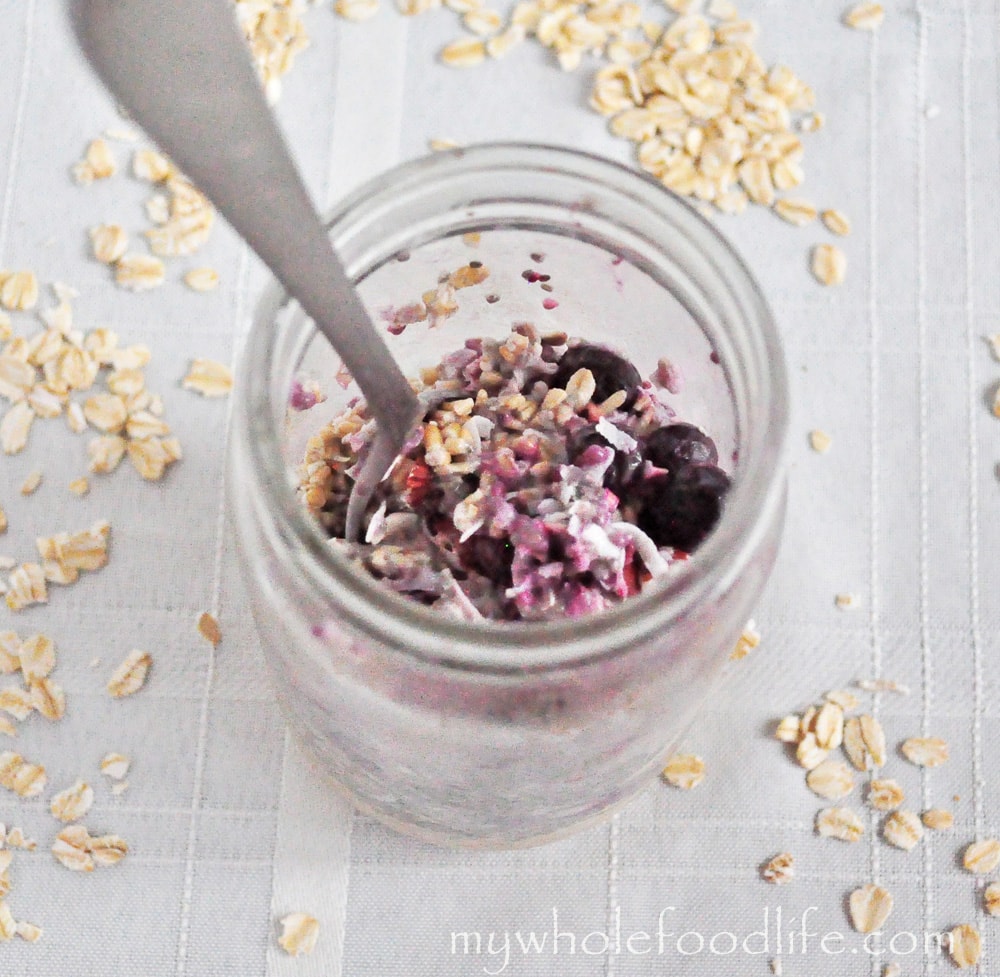
      I am a fan of all things oats.  Loaded with protein and fiber, but relatively low in calories.  The high amount of fiber keeps you with a full feeling for a long time afterward.  Something that boxed cereal could never do.  I often have homemade granola for breakfast.  This is so easy, I wonder why I didn’t try it sooner!

      overnight oats watermark

      I initially saw a recipe on Food Babe’s blog called, The Perfect Parfait.  Her recipe inspired me to try it.  So good!  I love how this recipe is very adaptable.  You can really add whatever you like and change it up daily so you never get bored. I used a recycled pickle jar to hold my oats, but a mason jar would work well too. This is great for those mornings that you really have to rush.

      Overnight Oats in a Jar

      Overnight Oats in a Jar

      Prep Time 5 min

      Ingredients

      Instructions

      1. Rinse your groats beforehand. Throw everything in the jar the night before.  If you like things a little sweet, you could throw in some chopped dates or raisins. 
      2. Store in the fridge overnight.  Just pull out and eat in the morning.  Easy as that. This will be a breakfast I will have at least twice a week. I love it and I hope you will too.

      by

      Healthy Homemade Pop Tarts

      I made Healthy Homemade Pop Tarts for you.  I have been thinking about doing a pop tart recipe for quite some time.  After looking at the ingredients on the label, I knew I would never buy those again.

      You can get decent store bought pop tarts with the Nature’s Path brand, but I wanted a homemade pop tart version as well.  Now, I know that store bought pop tarts are normally crisp.  I tried two batches and mine didn’t get crispy.

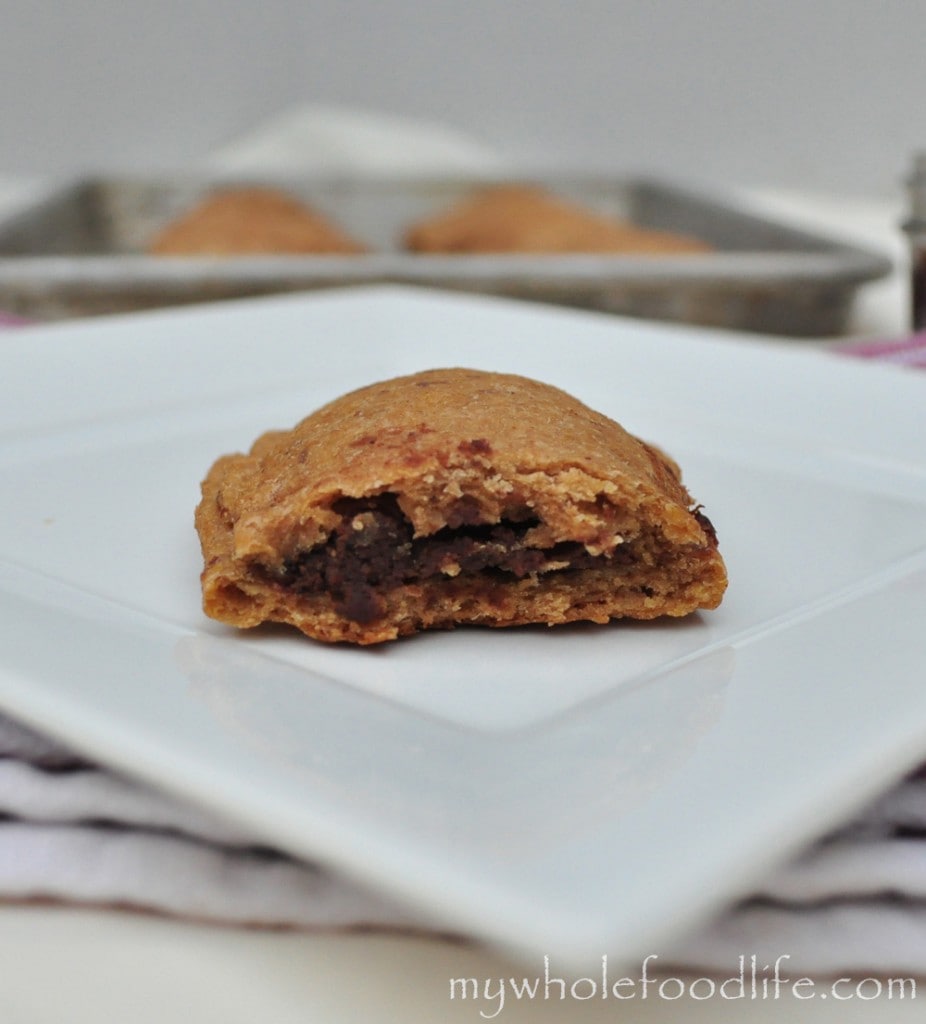
      Mine are on the softer side.  Most likely due to the applesauce and coconut oil.  However, all my taste testers thought they were good.  So I thought I would share anyway. 🙂  Maybe if you put them in a toaster oven, they will crisp up.


      healthy homemade pop tarts

      I filled mine with two different fillings.  Some have my Blueberry Chia Jam and some have my Homemade Vegan Nutella. Make these ahead of time for a quick breakfast on those busy mornings.

      Healthy Homemade Pop Tarts

      Healthy Homemade Pop Tarts

      Prep Time 30 min Cook Time 15 min Serves 15 pastries     adjust servings

      Ingredients

        Healthy Pop Tarts

        For the filling

        • Your favorite fruit spread

        Instructions

        1. Preheat oven to 350. 
        2. Mix all the dry ingredients in one bowl |.
        3. Mix wet in another bowl |. 
        4. Add dry to wet and mix until combined. 
        5. Wrap the dough in plastic and place it in the fridge for at least 30 minutes to firm up. 
        6. Once the dough is firm, cut two pieces of parchment paper the size of your baking sheets
        7. Lay one of the sheets out on the counter. 
        8. Using a bench scraper , cut the dough in half. 
        9. Using a rolling pin , roll the dough ball out onto the parchment, putting the plastic wrap between the rolling pin and the dough. 
        10. Rolling it onto the parchment will make for easy transfer to the baking sheets .
        11. Try to roll the dough into a square shape.  Roll out to about 1/4 in thickness. 
        12. Using a pizza cutter , cut the dough into even squares. 
        13. Put a spoonful of jam on a square and cover with another square of dough. 
        14. Use a fork to press the sides together. 
        15. Repeat this until all have been done. 
        16. Do all the same steps with the other half of the dough. 
        17. Transfer the parchment paper onto the baking sheet and put in the oven. 
        18. Bake for about 15-17 minutes.

        by

        Recipe Notes

        I got 15 small sized pop tarts out of my batch. These should last a couple weeks in the fridge. You can also freeze them for longer storage. Enjoy!