Vegan Nanaimo Bars (Gluten Free)

Vegan Nanaimo Bars.  I must be honest.  I had never heard of a nanaimo bar, let alone vegan nanaimo bars.There was a discussion about these bars in the healthy living Facebook group I run.

Apparently, the nanaimo bar originates from Nanaimo, British Columbia.  It’s a bar that requires no baking.

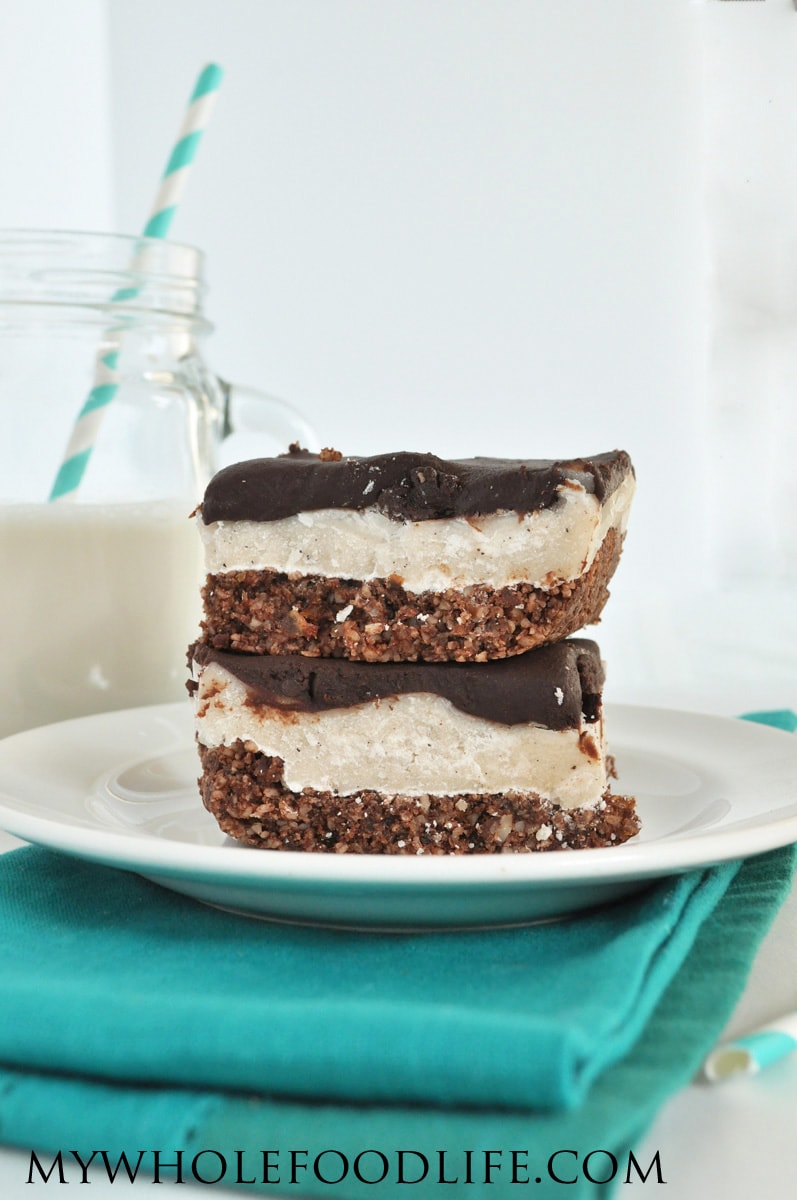
There are 3 layers to the nanaimo bar.  The bottom is a chocolate, wafer-like layer, followed by a creamy layer, and topped off with a chocolate layer.

I thought I would try my hand at a vegan nanaimo bar.  I have never tasted a real one, but I improvised based on some non vegan recipes I found online.

My vegan nanaimo bars are also gluten free, grain free and free of refined sugars.  In fact, there is very little added sugar at all in my recipe.


Vegan Nanaimo Bars


These homemade nanaimo bars are very decadent.  In fact, just a little piece would satisfy your sweet tooth.  There are 2 ways you can do the creamy layer.

I used coconut butter and got a harder layer.  If you want a softer middle layer, I suggest going with coconut cream instead of coconut butter.  I hope you enjoy this.

Looking for more bar recipes?

Vegan Nanaimo Bars

Vegan Nanaimo Bars

Prep Time 15 min Cook Time 15 min Serves 9 large squares or 18 small squares     adjust servings

A no bake bar with 3 decadent layers.

Ingredients

    For the crust

    For the middle

    For the chocolate layer

    • 1 1/4 cup dark chocolate chips
    • 1/4 cup almond milk

    Instructions

    1. In a food processor , combine all the crust ingredients, except the water.
    2. Slowly add the water into a loose dough starts to form.
    3. Line an 8x8b baking dish with parchment, leaving enough room for some extra to stick out the sides.
    4. Press the crust into the baking dish evenly. Stick the baking dish in the fridge to firm up while you make the cream layer.
    5. In a food processor , combine the ingredients for the cream and mix until everything is combined well.
    6. Spread the cream layer on top of the crust and stick in the freezer for 10-15 minutes.
    7. To make the chocolate use a double boiler method.
    8. Fill a saucepan with water. Place a glass bowl on top of the saucepan .
    9. Add the chocolate chips and almond milk to the glass bowl .
    10. Bring the saucepan to a boil.
    11. Gently melt the chocolate chips and milk. Stir constantly. Once all the chocolate is melted, pour it on top of the cream layer and stick in the freezer for at least 15 minutes.
    12. Once the chocolate is firmed up, you can store these bars in the fridge.
    13. Now you can lift the whole thing out by grabbing the extra sides of parchment paper.
    14. I used a pizza cutter to cut mine. I made 9 large squares, but I suggest making bite sized squares. Mine ended up on the large side.

    by

    Recipe Notes

    Store these bars in the fridge or freezer. They should last several weeks. Enjoy!


    Subscribe
    Join more than 35,000 subscribers and start gettiing free recipes direct to your inbox!

    You may also like

    26 thoughts to “Vegan Nanaimo Bars (Gluten Free)”

    1. I love Nanaimo Bars! It's truly Canadian dessert which is rare, I know. Nanaimo is near where I live and a beautiful city on Vancouver Island. Everyone makes them for Christmas around here. P.S. I got an ice cream machine and will be trying one of your recipes this weekend.:)
      1. Someday I will have to try a real one. They do look delicious! You will love your ice cream maker. I just made a new flavor today!
    2. Oh my goodness Melissa! These look insanely good. I've never had a Nanaimo bar either as you don't find them around these parts but I certainly feel like I've been missing out if these are anything to go by!
    3. Man this looks delicious, you did it again Melissa! I have every ingredient in my pantry, thanks to you of course, and I am in a sweet craving mode. So, now I'm going to put up my sleeve, make this when I get a chance, sit down enjoy it and post it on my FB page (:
    4. Looks amazing. As an adult I was diagnosed with food allergies about a year ago .... What would you suggest as a substitute for almonds?
    5. I found this gem on your site-these look amazeballs!! I loooove nanaimo bars, and this is a nice, much healthier twist! I'm trying to cut back on sugar and have been looking for new recipes to try-this is going to be it! Thanks!!
    6. I love Nanaimo bars... I would like to try these but I can't find any coconut butter. (The closest real urban area for me is a 2.5 hr flight ) substitution ideas?
      1. You can make your own with a food processor. https://mywholefoodlife.com/2013/07/08/homemade-coconut-butter/
      2. I'm the same way I don't have coconut butter in my house I'm wondering if you can make it with coconut cream by whipping it? Any suggestions out there?
    7. Could you help me out with a substitute for the dates? I am very low carb. I now use natural low carb sweeteners like stevia, erythritol, swerve. How much of these would equal the sweetness of 10 dates?
      1. The dates do more a binding job than a sweetening. You could probably use coconut oil in the bottom layer to bind the ingredients together. Maybe 1/4 cup? I am not sure how much stevia to suggest for the middle filling. I say just add a little and keep tasting until you reach a desired sweetness.
    8. Living so close to Vancouver Island, I love Nanaimo Bars! I was very excited to try to different version of these and made them last night for a healthy eating potluck at work. The little bits and pieces I've had so far taste delicious but the texture did not turn out! I set them out of the fridge for about 15 minutes to cut the bars and the middle layer was quite hard while the 'cookie' layer crumbled into nothingness. I had my doubts last night as I was pressing the cookie into the pan that I might need more like 4 or 5 Tablespoons of water. I definitely think I'll give that a try next time.
      1. I'm sorry that happened. :( For a softer middle layer, I do mention that you could use a cashew or coconut cream as well. Maybe you can try that next time?
    9. When using the food processor do I use the blade attachment or a different attachment? These look really good. Can't wait to make them! :)

    Leave a Reply

    Your email address will not be published. Required fields are marked *