My kids love fruit leathers, but they are so expensive at the store. So now I make my own. It’s so easy and you can add in whatever fruits and spices you like. I have peach fruit leathers on my blog already, and now I can add these to the list.
The house smells amazing when these are cooking, kind of like when I make my crock pot applesauce. The best part is that you probably already have all the ingredients in your own cabinets! I used applesauce to make mine, but you can most certainly use real apples and puree them first. Think about it though. When your store has a sale on applesauce, you can stock up and make these. It would save a lot of money and make your kids happy too. I used a dehydrator to make mine, but you can certainly try this in the oven as well. You just need to keep an eye one them.
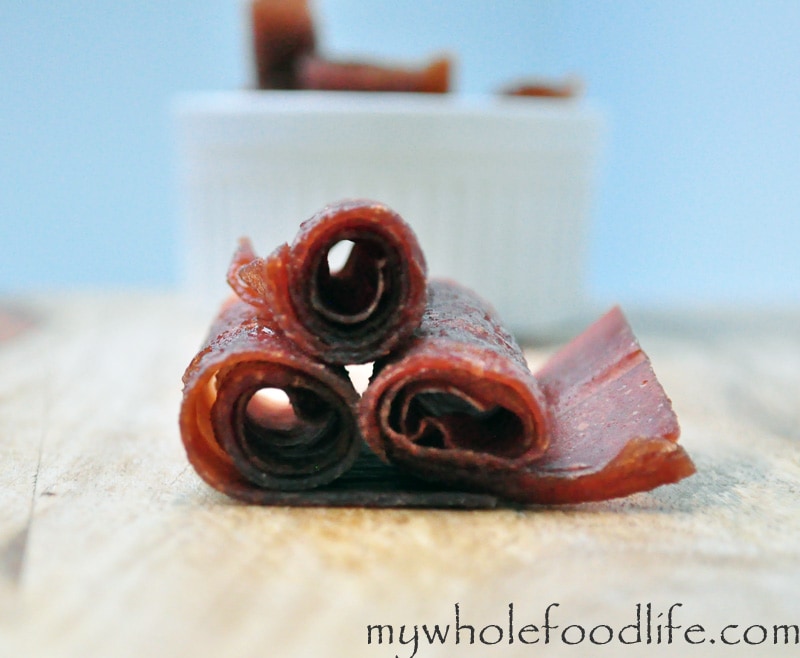
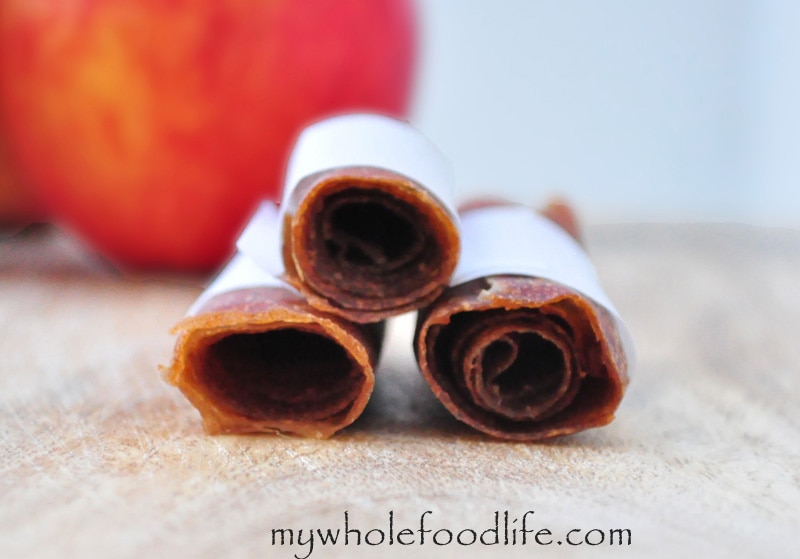
Apple Pie Fruit Leathers
Apple Pie Fruit Leathers
Ingredients
- 4 cups unsweetened applesauce (I used Eden Foods )
- 2 tsp cinnamon
- 1/2 tsp nutmeg
- 1/2 tsp ginger
- 2 T maple syrup (Optional) I did not use it
Instructions
- If using an oven, preheat to the lowest setting or 135.
- Put all ingredients in a bowl and mix well.
- Line your baking sheets with parchment and spread the mixture out evenly.
- Bake for about 4-6 hours, depending on how low the temp your oven will go.
- If you are using a dehydrator , line the trays with parchment as well. You can use the dehydrator sheets as well, but I think parchment is much cheaper and works great.
- I baked mine in the dehydrator at 135 for about 6-7 hours.
- Once it feels tacky, it’s pretty much done. I got about 20 fruit leathers out of my batch. Enjoy!