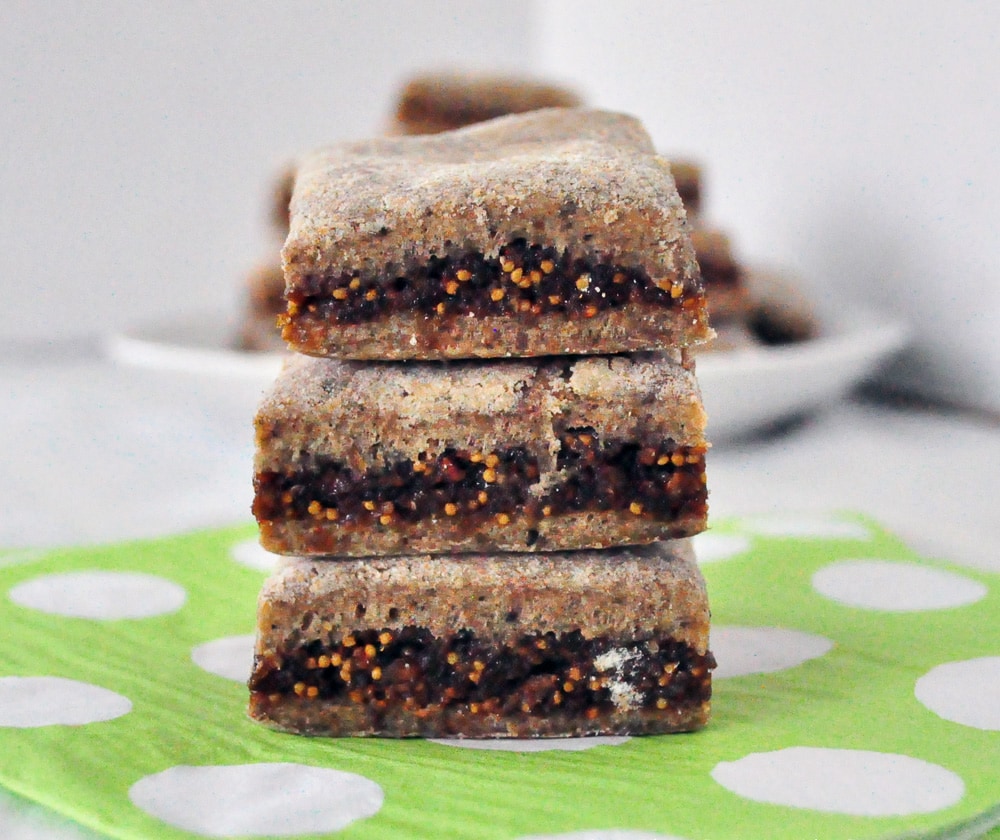
Homemade Fig Newtons Recipe

Homemade Fig Newtons for you.  Before we cleaned up our diet, Fig Newtons were a big staple around here.  We all know how fig newtons are often touted as a healthy cookie option for kids.  But if you ever looked at the ingredients, most are not good.

My healthy fig newton recipe is so much healthier than store bought ones and a fig newton you can feel good about giving your kids. These fig newtons also taste better in my opinion. You definitely need to try them.

Homemade Fig Newtons

These are made with whole grains and no refined sugars, unlike the real cookies.  The real cookies contain high fructose corn syrup. 🙁  You can also use the recipe as a base to add in your own fillings.  If you filled these with fruit, they would almost taste like a Nutri-Grain bar as well.

The possibilities are endless.  I also added a little cinnamon to the dough to spice it up a bit.  I think it turned out well that way.  One other thing to note is, using the coconut oil will not make them taste like coconut at all, but it does help add a sweetness to the cookies.

Another great thing about this recipe is that it freezes well.  So you can make up a huge batch and freeze some for later. I suggest storing them in an air-tight container with a piece or parchment between each row of cookies.  That way, you don’t have to worry about them sticking together.

Homemade Fig Newtons

Homemade Fig Newtons
Prep Time 1 hr Cook Time 15 min Serves 16 cookies     adjust servings

A healthier version of the classic cookie.

Ingredients

    For the cookie

    For the filling

    • 15-20 figs (I used dried Turkish Figs I got at Sprouts)
    • 1 T maple syrup
    • water

    Instructions

      For the filling

      1. In a food processor, grind up the figs, 1 T maple syrup and a bit of water. You want the figs to be the consistency of peanut butter so only add a bit of water. I think I used about 1 tablespoon.
      2. Blend into a paste and set aside.

      For the cookie

      1. Preheat oven to 350.
      2. In one bowl mix all the dry ingredients.
      3. In another bowl, mix the wet.
      4. Add dry to wet and mix only until combined. Be careful not to over-mix. The dough will be sticky and a bit wet.
      5. Gather it in a ball and wrap it.
      6. Put the dough in the fridge for about an hour to firm up.
      7. Once firm, roll the dough onto a floured surface. I tried to roll my dough as square as possible.
      8. Once the dough is rolled out, spread the fig mixture onto half of the dough.
      9. Once the fig mixture is spread, fold 1 half of the dough onto the other and cut into squares. I cut mine into about 2×2 squares and used a pizza cutter to do so.
      10. Place on lined baking sheet and bake for about 12-15 minutes.
      11. I got about 16 out of my batch.

      by

      Recipe Notes

      They should last a couple of weeks, but you can refrigerate them to make them last even longer. Enjoy!

      Save Money By Making Your Own Hummus

      You can Save Money By Making Your Own Hummus!!  Hummus is probably one of the easiest things you can make yourself.  It takes only minutes to make.


      save money making your own hummus


      Most store bought versions contain unwanted additives as well as GMOs.  If you look at the ingredients in Sabra’s Classic Hummus, they are as follows:

      Cooked Chickpeas (Chickpeas [Garbanzos], Water), Tahini (Ground Sesame), Soybean Oil, Garlic, Salt, Citric Acid, Potassium Sorbate Added to Maintain Freshness, Natural Flavors. Classic Hummus

      Why is there soybean oil in hummus?  Traditionally, it’s made with olive oil….and you certainly would not use natural flavors if you made it in your own kitchen.  According to Wikipedia, Sabra is partly own by Pepsi.  You know the soda people?  They spent a lot of money lobbying against GMO labeling.


      If you didn’t know, my mother in law is Turkish and this is her hummus recipe.  It is really good!  I have not tried freezing it, but I am sure you probably could.  For more videos, you can subscribe to my You Tube Channel.


      Save Money By Making Your Own Hummus

      Homemade Hummus

      Ingredients

      • 2 cups cooked or 1 can chickpeas drained and rinsed
      • 1/4 cup tahini
      • Juice of 1 lemon
      • 1-2 tsp cumin (I used two)
      • 3 cloves garlic or 2 tsp garlic powder (I use real garlic)
      • 1/2 tsp salt
      • 1 T olive oil

      Instructions

      1. Process the chickpeas in the food processor or blender to get them started.
      2. Then add all the remaining ingredients until everything is smooth and well mixed.

      by

      Recipe Notes

      If it is too thick, just add a bit of water until you get the consistency you desire. That is it. Sometimes I drizzle a bit of oil over the top. Enjoy!

      Apple Pie Larabars (Vegan and Gluten Free)

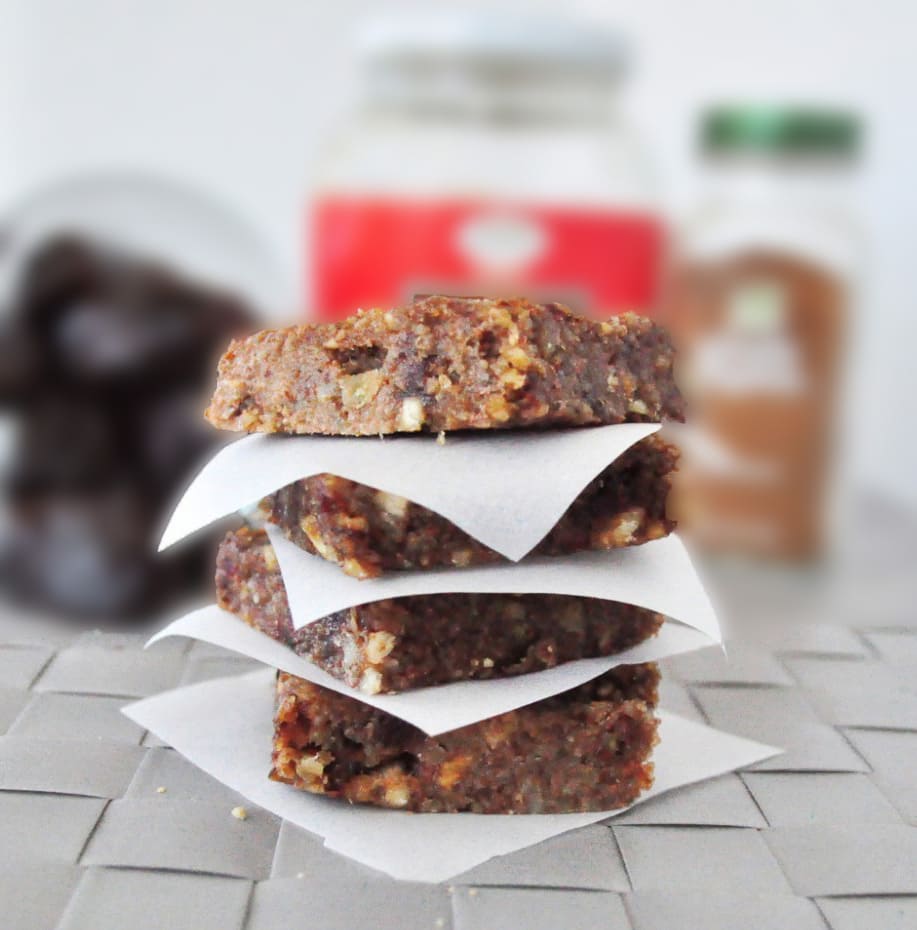
      Apple Pie Larabars.  It’s been a while since I have posted a larabar recipe.  I had several people request the apple pie larabar flavor, so here you go.  I hope you enjoy these homemade apple larabars.

      For more larabar recipes you can check out this post.


      apple pie larabars


      My husband really enjoyed these.  I was not a huge fan myself.  Mostly because I am obsessed with the Coconut Cream Larabars.

      That just means there will be more for him and my daughter to share. 🙂  These are just as easy to make as all the others.  I cut  mine in squares, but you can do bars or roll them into balls as well.

      These homemade larabars travel great too.  Perfect for on the go.  I always have some in my purse just in case.

      Apple Pie Larabars

      Apple Pie Larabars

      Ingredients

      Instructions

      1. In a food processor, mix the nuts into a fine powder.
      2. Add in the dates, cinnamon and the applesauce and pulse until a dough starts to form. 
      3. Line an 8X8 pan with parchment paper, leaving some paper sticking out the sides. 
      4. Spoon mixture into the pan and use the extra parchment to press the dough down. 
      5. Stick in the fridge to firm up. 
      6. Then, remove the whole thing with the parchment and slice into squares or bars with a pizza cutter.  Store them in the fridge.  Enjoy!

      by

      Almond Joy Granola Recipe

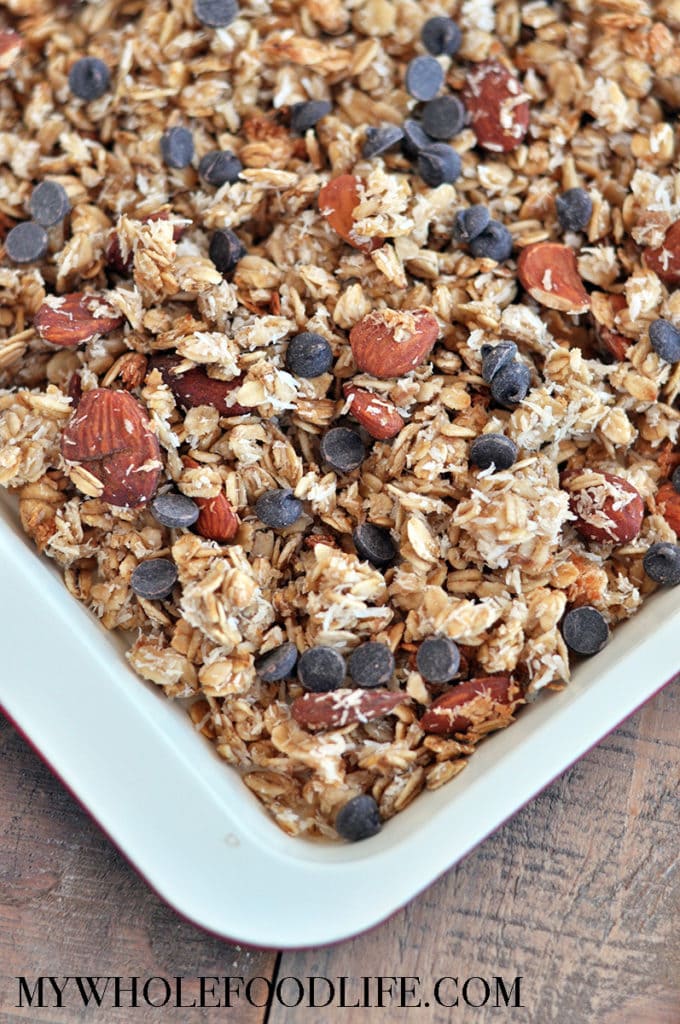
      Almond Joy Granola.  I have been slightly obsessed with coconut lately if you haven’t noticed.  You need to try this Almond Joy Granola!   What’s not to love?  I was not always a coconut fan, but have grown to love it in so many ways.

      I already have Almond Joy Energy Bites and Almond Joy Waffles, so why not create Almond Joy Granola.  I have combined my love for coconut, with my love for granola to make this very tasty little snack.  This almond joy granola is a must try!


      almond joy granola


      This is so good!  It may just be my new favorite.  I have to admit, though, this recipe was not going to be granola.  I was trying to do a baked oatmeal and when I went to pull them out of the muffin tins, they just fell apart.

      But rather than toss it, I just threw it back in the oven for another 15 minutes and made it granola!  Glad I did too, because the coconut got toasty and sweet.  Yum!

      We shot a short video for this recipe.   You can view it below.  For more videos, you can subscribe to my You Tube channel.

      Almond Joy Granola

      Almond Joy Granola

      Prep Time 10 min Cook Time 15 min Serves 2.5 cups     adjust servings

      Ingredients

      Instructions

      1. Preheat oven to 350.
      2. Mix all the dry ingredients in one bowl . Mix wet into another.
      3. Add wet to dry and mix until combined.
      4. Spread mixture onto a lined baking sheet .
      5. Bake in the oven for 17 minutes.
      6. Pull out and shake granola around and put back in the oven for another 15-17 minutes. Enjoy!

      by

      Almond Joy Granola

      Candied Pecans

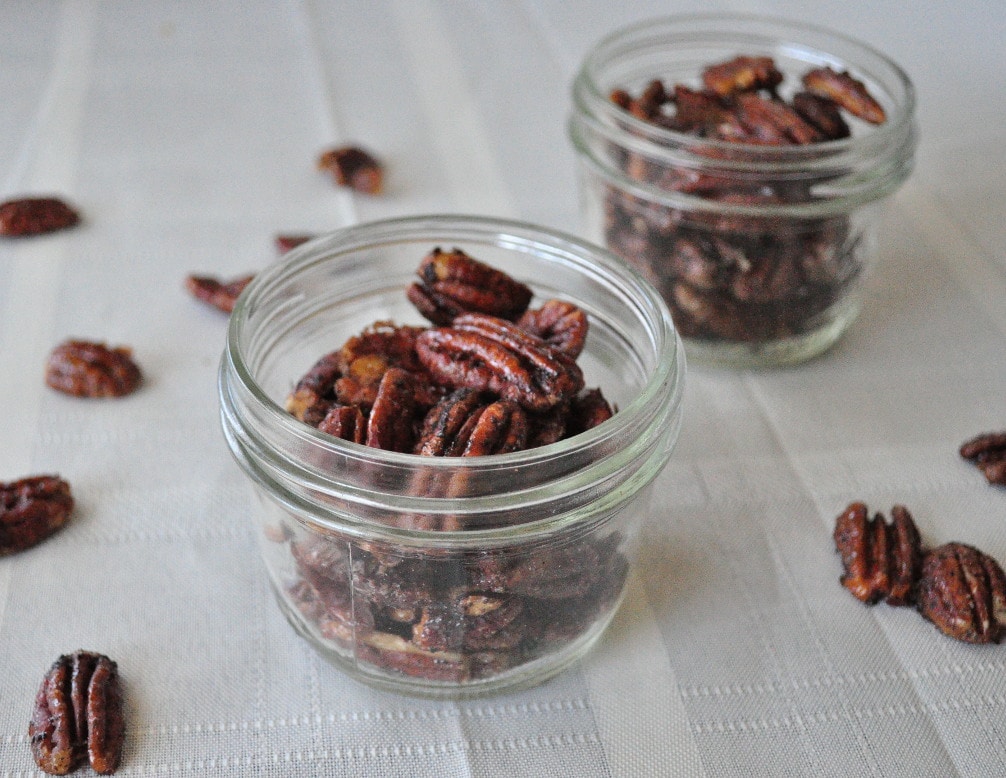
      These are so yummy and versatile!

      nuts 1

      Here in Texas, many people have pecan trees.  We are not one of the lucky ones, but we do have several neighbors who do.  When I go for walks with my daughters, sometimes we collect a few that the squirrels have not gotten to yet.  My 3 year old thinks it’s the coolest thing ever.  These candied pecans can be used in so many ways.  You can toss them into plain yogurt, add them to cereal, throw them on a salad or just eat them straight up to curb a sweet tooth.

      Candied Pecans

      Candied Pecans

      Prep Time 10 min Cook Time 15 min

      Ingredients

      • 1 1/2 cups pecans (raw and unsalted)
      • 2 T pure maple syrup
      • 1 tsp crushed vanilla bean (you can use extract, but I think the crushed vanilla bean adds an extra sweetness that I can never get with the extract.)

      Instructions

      1. Preheat oven to 375.
      2. In a bowl toss the pecans in maple syrup. If using extract, add that too.
      3. Once the nuts look well coated, spread them out onto a parchment lined baking sheet.
      4. Sprinkle the vanilla bean over the pecans and place in the oven.
      5. Bake for around 15 minutes, stopping halfway through to shake them pecans around a bit. Enjoy!

      by

      Peanut Butter Chocolate Chip Larabars

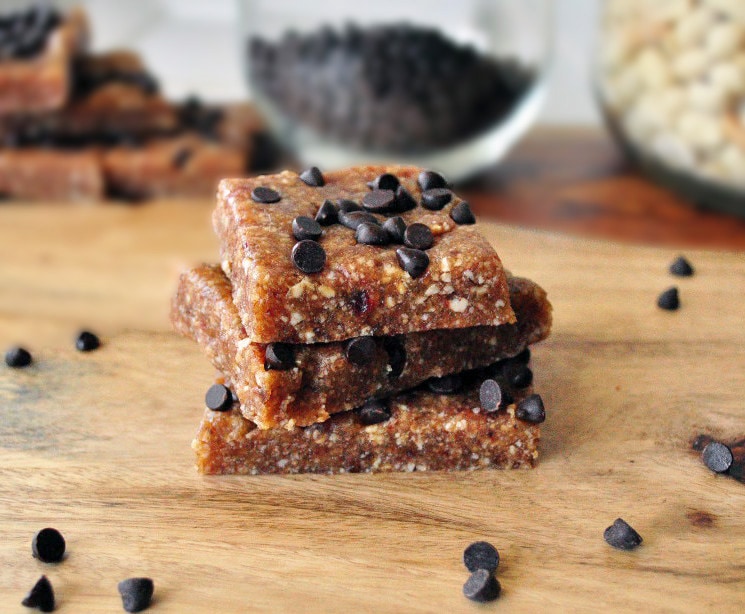
      Peanut Butter Chocolate Chip Larabars.  I had a reader request a recipe the peanut butter chocolate larabar.  Since I love all things larabar, I wanted to make them asap.  They came out great!  I still love the Coconut Cream Larabar the best, but this one is pretty good too.

      These healthy bars are no bake and super easy.  They freeze well too, so feel free to double the batch!


      Peanut Butter Chocolate Chip Larabars


      I am more of an almond butter girl myself, but my husband LOVES peanut butter so I know that these will be gobbled up fast.  I may try a second batch with almonds.  I love recipes like this because they are just so easy.

      Peanut Butter Chocolate Chip Larabars

      Peanut Butter Chocolate Chip Larabars

      Prep Time 15 min

      Ingredients

      Instructions

      1. In the food processor , blend the peanuts and salt into a powder.
      2. Pit the dates and add them in as well.
      3. If needed, slowly add a bit of water to help the mixture come together.
      4. Once the dough is formed, line and 8×8 glass baking dish with parchment paper leaving enough room for some paper to stick out the sides.
      5. Carefully, spoon the dough into the pan evenly. The dough will be very sticky and you may need to wet the spatula a bit.
      6. Using the extra paper, pack the dough down until it is flat and even.
      7. Place in the fridge to firm up.

      by

      Recipe Notes

      I store them in the fridge. They should keep at least a week if you can get them to last that long!