Chocolate Peppermint Bites

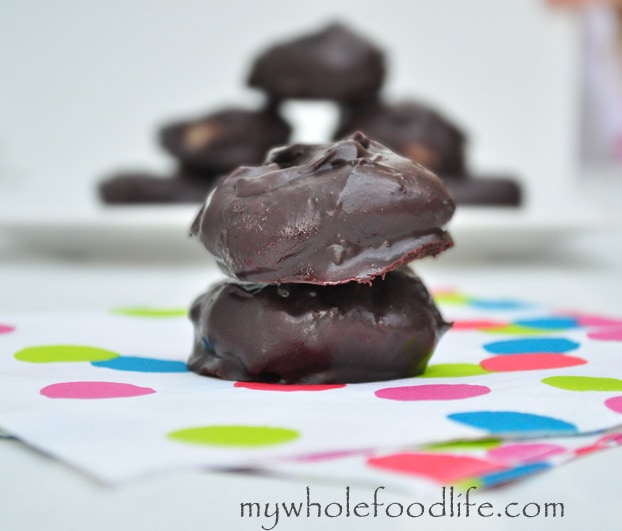
My husband was a huge fan of junior mints.  They are kind of off limits now that he is vegan and eats no processed foods.  So I decided to try and make a minty treat he could enjoy. Chocolate peppermint bites.  These Chocolate Peppermint Bites came out great, and you can think of them like a a homemade junior mint recipe!

chocolate peppermint bites watermark 2

I think he was pretty pleased with the way these turned out.  They are so easy to make too.  Just a few minutes to throw together and then some time to chill in the fridge.  I rolled mine into big balls, but you can do bite sized ones as well.  These would be a perfect dessert for holiday parties too!

Chocolate Peppermint Bites

Chocolate Peppermint Bites

Chocolate Peppermint Bites
Serves 12 large peppermint balls     adjust servings

The perfect treat for holiday parties!

Ingredients

    For the balls

    For the chocolate coating

    Instructions

    1. In the food processor , mix the shredded coconut and the dates.
    2. Once they are blended, add in the peppermint extract and milk.
    3. Carefully roll the mixture into balls. It will be loose and feel like it doesn’t want to stick together, but trust me, it will firm up in the fridge.
    4. Set the balls into a small baking sheet covered with parchment paper .
    5. Put the balls in the fridge to chill. I waited about 30 minutes.
    6. While the balls are chilling, make the chocolate mixture.
    7. Heat all the chocolate ingredients in a saucepan , and stir until smooth.
    8. Using two forks, roll each ball in the chocolate mixture and set back on the baking sheet .
    9. Once done with all the balls, place them back in the fridge to set up.

    by

    Recipe Notes

    I got about 12 large balls out of my batch. You can store them in the fridge or freezer. Enjoy!

    Coconut Vanilla Overnight Oats

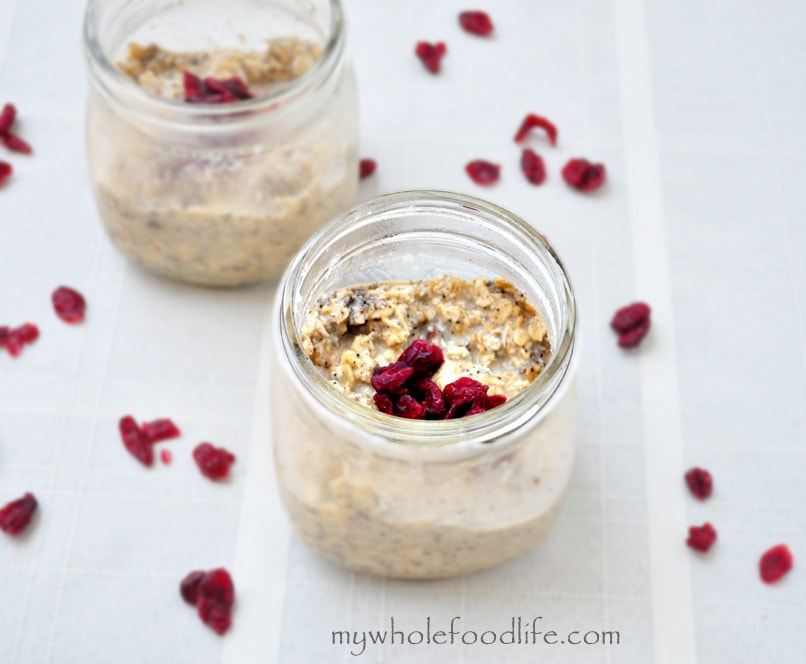
    Coconut Vanilla Overnight Oats.  Oh. My. Gosh.  This overnight oats recipe may be my most favorite so far.  If you love my Coconut Cream Larabars, you will love these overnight oats too!


    coconut vanilla overnight oats


    Coconut butter just makes everything a little better.  It is so rich and delicious!  I actually didn’t use cranberries in my recipe, I just thought the color was great for the photo. I may try adding them to the recipe next time. Raspberries would be a nice addition too.

    I love using steel cut oats in my overnight oats, because I like the crunch.  If you like a smoother oatmeal, feel free to use rolled oats instead.  Both will work out fine in this easy overnight oats recipe.

    Coconut Vanilla Overnight Oats

    Coconut Vanilla Overnight Oats

    Prep Time 5 min

    Ingredients

    Instructions

    1. Throw all ingredients in a jar and mix very well.
    2. Store in the fridge overnight and enjoy the next morning.

    by

    Recipe Notes

    I make 5 of these at a time and they hold up well. However, if you want to add fresh fruit, add it in right before you eat it. Everything else is fine to sit in the fridge. Enjoy!

    Pumpkin Chocolate Chunk Cookies

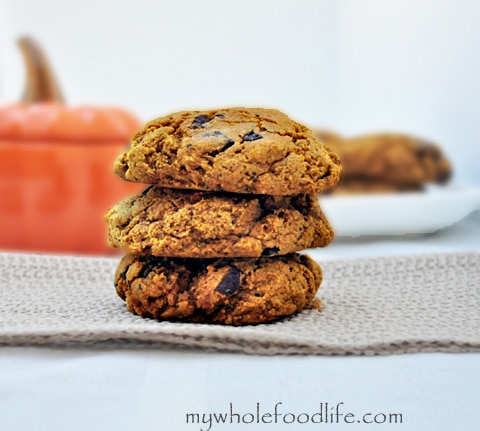
    Now that it’s September, in my world it’s okay to bring on the pumpkin recipes!  These delicious pumpkin chocolate chunk cookies are gluten free, contain no refined sugars, and are the perfect way to start out the pumpkin recipe season. This healthy pumpkin chocolate chunk cookie recipe reminds me of pumpkin chocolate chunk cookies I use to buy at Smith’s grocery store in Las Vegas.

    Pumpkin Cookies FG New watermark copy

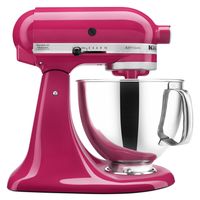
    The recipe is not only good, but I have a fabulous giveaway for you all as well!  When I first started eating clean, the very first thing I bought was my KitchenAid® Artisan® Series 5-Quart Tilt-Head Stand Mixer.  I love it and can’t say enough good things about it.  It’s a top quality product that is worth every penny. If you are wondering, I am not being paid to say these things.  I truly do love my mixer and use it almost everyday.  So I contacted KitchenAid and asked if they would donate a mixer for a giveaway and they said yes!  This is the very mixer I have. KitchenAid® Artisan® Series 5-Quart Tilt-Head Stand Mixer.  A $349 value! 

    P130441_9zlarge_jpeg_th_th

    a Rafflecopter giveaway

    This giveaway is open to US residents only.

    Pumpkin Chocolate Chunk Cookies

    Pumpkin Chocolate Chunk Cookies and a Giveaway!

    Prep Time 15 min Cook Time 14 min Serves 15 cookies     adjust servings

    Ingredients

    Instructions

    1. Preheat oven to 350.
    2. Mix all the dry ingredients in one bowl .
    3. Mix wet in another.
    4. Add dry to wet and mix until combined.
    5. Fold in the chocolate chunks.
    6. Drop cookies onto parchment lined baking sheets and bake for 12-14 minutes.

    by

    Recipe Notes

    These cookies are thick and have a cake like texture. I got 15 large cookies out of my batch. I keep them in the fridge so they last longer. You can also freeze them as well. Enjoy!

    Homemade Cinnamon Toast Crunch

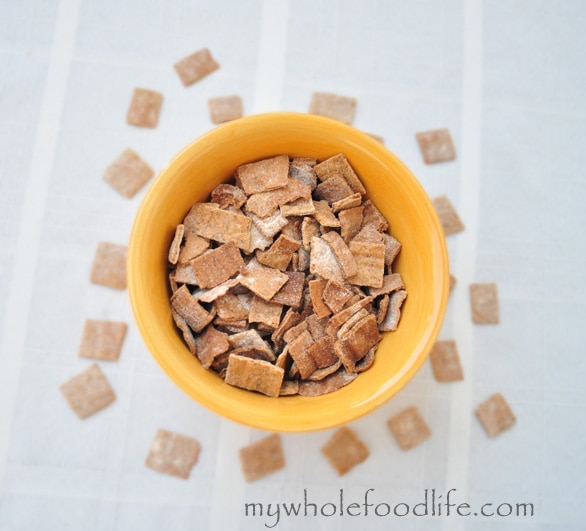
    I made you some Homemade Cinnamon Toast Crunch! One of my favorite things to do is to re-create healthy versions of unhealthy foods.  Cereal is one of those things I didn’t think I could try, but boy was I wrong!

    This homemade cinnamon toast crunch came out awesome where homemade cereal is concerned!  I also made this homemade cinnamon toast crunch gluten free and vegan. 🙂

    homemade cinnamon toast crunch

    Not only does the store-bought cereal contain a lot of processed sugars and additives, it is also not gluten free.  My version is!  I am trying to make all my future recipes gluten free.

    This was a big hit with my older daughter.  She will eat my homemade granola, but she liked this even better.  I’m not going to lie, this recipe is kind of involved, but it is worth it.  I promise!

    Homemade Cinnamon Toast Crunch

    Prep Time 1 hr, 15 Cook Time 30 min

    Why buy cinnamon toast crunch in a box when you can pull it out of the oven?

    Ingredients

    Instructions

    1. Preheat oven to 350.
    2. Mix all the dry ingredients in one bowl and wet in another bowl .
    3. Add the wet ingredients to the dry ingredients and mix until combined.
    4. Once everything is combined, gather the dough into a ball and wrap in plastic.
    5. Stick it in the fridge to firm up (I waited about an hour).
    6. Once firm, cut the dough in half with a bench scraper .
    7. Put one half on top of a sheet of parchment paper that has been lightly sprinkled with flour.
    8. Take the plastic wrap the dough was wrapped in, and place it on top of the dough. That way, you can roll the dough thin without it sticking to the rolling pin .
    9. Roll the dough as thin as you can. It will probably cover the entire baking sheet. If you want to add the sugar coating, you can do it now.
    10. Just brush the dough with water, and sprinkle the cinnamon sugar mixture on top. I didn’t even do that and it was still good.
    11. Use a pizza cutter to score the dough. I cut mine into little squares, but they were not all uniform.
    12. Once you have done all that, repeat the steps with the second half of the dough.
    13. Bake in the oven for about 15 minutes.
    14. Then carefully flip each piece and bake for another 15-20 minutes.

    by

    Recipe Notes

    Watch the cereal carefully, because it can burn easily. Also I stored it in a glass jar in the pantry. It should last at least a week or two. Enjoy!

    Nut Free Snack Bars

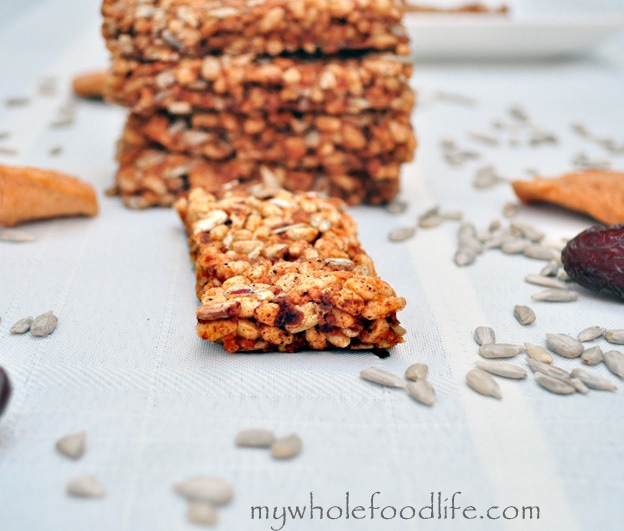
    Let’s face it, a lot of schools are going nut free these days.  As a mom of a child with many food allergies, I totally get it.  That’s why I am trying to create some nut free snacks.  This one came out real good and it is so simple to make!

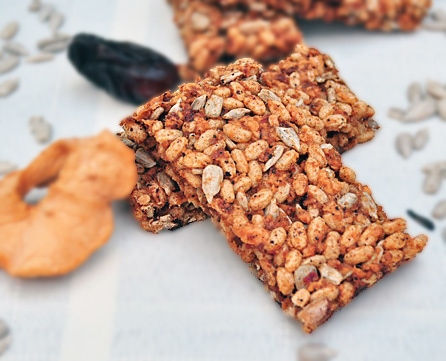
    Nut Free Bars FG watermark

    They were a hit with my daughter and husband.  One of the other great things about this bar is that it is only fruit sweetened.  No added sugar at all!  It almost reminds me of an apple cinnamon KIND bar.  I cooked mine for a few minutes, but I almost thing they can be made raw too.

    Nut Free Snack Bars

    Nut Free Snack Bars

    Prep Time 10 min Cook Time 10 min

    Instructions

    1. Preheat oven to 350. 
    2. Mix the cereal, sunflower seeds, cinnamon, vanilla bean and sea salt in one bowl
    3. In the food processor , mix the apples, dates and water until a syrup forms.  It will be slightly thick. 
    4. Get a sheet or parchment paper a little larger than the size of your pan, so you have some hanging out the sides.  I used an odd sized pan.  I think it was a 5X13?  A standard 8X8 pan will work just fine.
    5. Once the syrup forms, add that to the dry mixture and mix well. 
    6. Once everything is mixed, transfer the mixture to your baking pan. 
    7. Make sure the parchment is lining the pan first. 
    8. Once everything is in the pan,  press the mixture down firmly. 
    9. Bake for about 10 minutes. 
    10. When it cools, remove the bars from the pan by grabbing the parchment paper sides. 
    11. Cut into bars or squares with a pizza cutter .

    by

    Recipe Notes

    I got about 10 bars out of my batch. These should last a week or two. You can even freeze them for longer storage.

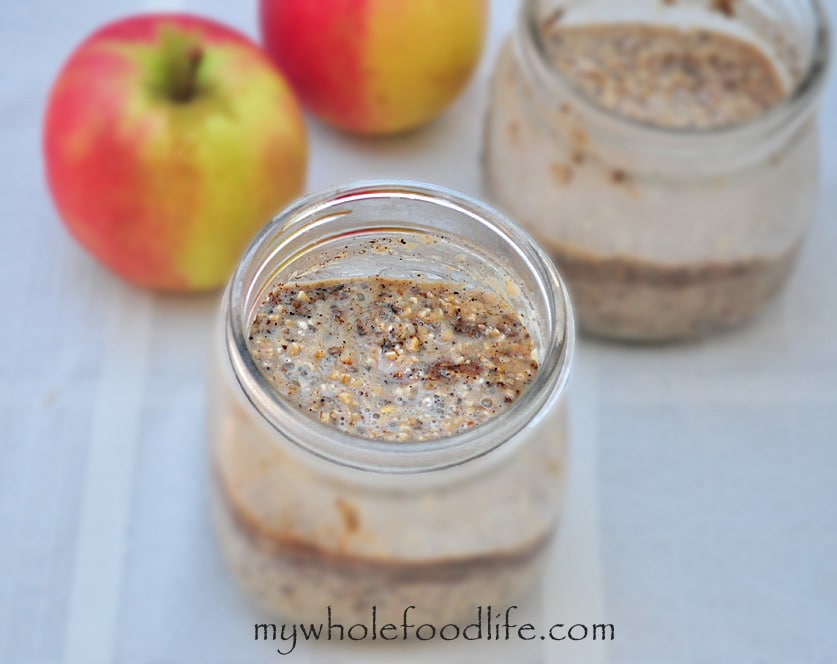
    Apple Cinnamon Overnight Oats

    Apple Cinnamon Overnight Oats.  Fall is just around the corner.  That makes me think of warm smells like cinnamon and nutmeg.

    I just love it!  This recipe is like having the fall flavors all wrapped up in one yummy breakfast!  If you have already made my Almond Butter Overnight Oats, you know that this recipe is super easy!


    Apple Cinnamon Overnight oats


    This oatmeal has a little crunch in the morning from the steel cut oats.  If you like more of a smoother oatmeal, then rolled oats may be better for you to use.

    I make up a whole bunch of these and then just grab and go during the week.  I added no sugar to mine at all, but if you like your oatmeal a bit sweeter, I will put an option in the ingredients.

    Check out this video for a pumpkin version of overnight oats.  For more videos, you can subscribe to my You Tube Channel.


    Apple Cinnamon Overnight Oats

    Apple Cinnamon Overnight Oats

    Prep Time 5 min

    Ingredients

    Instructions

    1. Throw all the contents into a jar and mix well.
    2. Stick in the fridge overnight.  

    by

    Recipe Notes

    I put mine in small mason jars . They work great! I eat mine cold, but you can certainly heat your up if you like. Enjoy!