Clean Eating Peanut Butter Cups (Vegan)

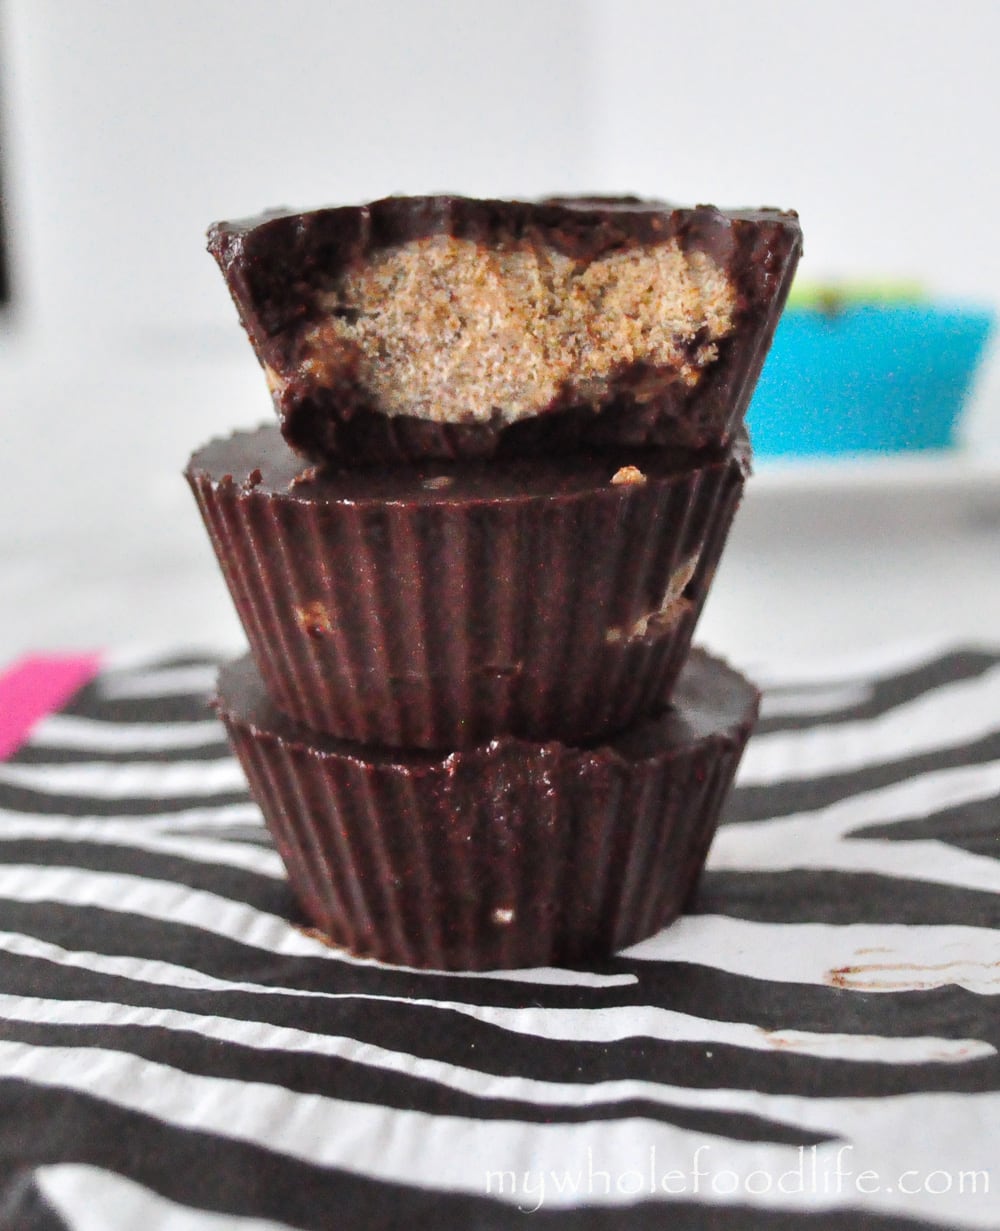
Clean Eating Peanut Butter Cups.  Let’s face it.  We all need a little something sweet every once and a while.  Who says you need to give up peanut butter cups?  While I will never eat Reese’s Peanut Butter Cups again, I will have a homemade peanut butter cup every now and then!


clean eating peanut butter cups


I made these with homemade peanut butter and also almond butter.  Both worked out well, but I think I liked the peanut butter cups better.  Most homemade peanut butter cup recipes call for powdered sugar.  This does not.  I just dropped some freshly made peanut butter in the middle of these.

So much better that way and also much less sugar too!  The chips I used are from Enjoy Life.  You can also make your own chocolate with 1 cup coconut oil, 1/2 cup cacao powder and a few tablespoons of liquid sweetener.  Or you could melt a couple of bars of dark chocolate with a bit of milk.  Any way works.

The Enjoy Life chips have a pretty clean ingredient list and are gluten free as well.  They do contain a bit of processed sugar which is why I gave some other options.  I have tried the chips and the coconut oil chocolate.

I chopped one of these homemade peanut butter cups and ate it in my 5 Minute Banana Ice Cream.  OMG!  Best.Thing.Ever.  A healthier dessert option.

If you don’t want to use chocolate chips, you can use my 3 ingredient chocolate recipe in this video.

Looking for more candy recipes?


Clean Eating Peanut Butter Cups

Clean Eating Peanut Butter Cups
Prep Time 10 min Cook Time 20 min Serves 12     adjust servings

It's a healthier version of a Reece's Cup.

Ingredients

  • 1 bag chocolate chips (I used Enjoy Life gluten free and soy free chips)
  • 3/4 cup almond milk
  • Roughly 3/4 cup peanut butter or almond butter

Instructions

  1. Get out a couple of muffin tins and line them with paper or silicone cups. . I used standard sized muffin pans, but the mini cups would work well too.
  2. Using a double boiler, melt the chips and milk in a glass bowl, stirring constantly to get the lumps out. It makes a great arm workout.
  3. Once the chocolate and milk have combined and are smooth, pour a little bit of chocolate in the bottom of each muffin cup.
  4. Place them in the freezer for about 20 minutes to set.
  5. When they are hard, pull them out and put a dollop on nut butter on top of each one.
  6. Fill the remaining cup with chocolate.
  7. Repeat until all the cups are filled.
  8. Place back in the freezer.

by

Recipe Notes

I would give them a few hours to set. Actually, I store mine in the freezer as well. I think they would get too soft in the fridge. That’s it!

Homemade Fig Newtons Recipe

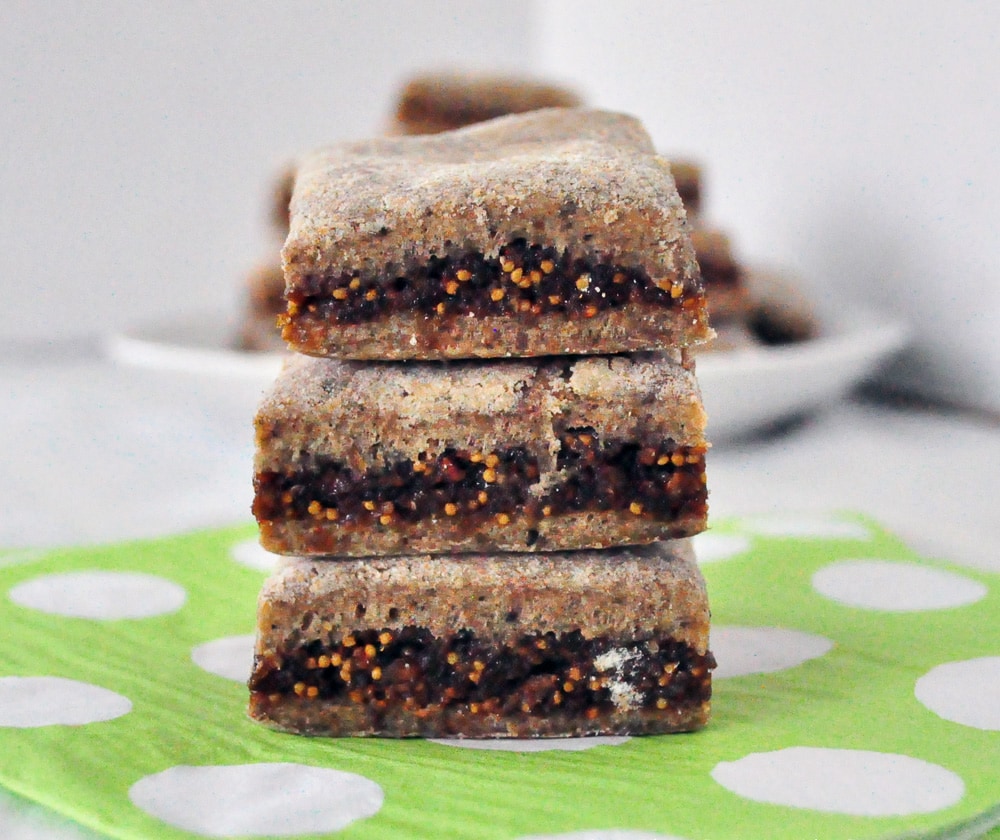
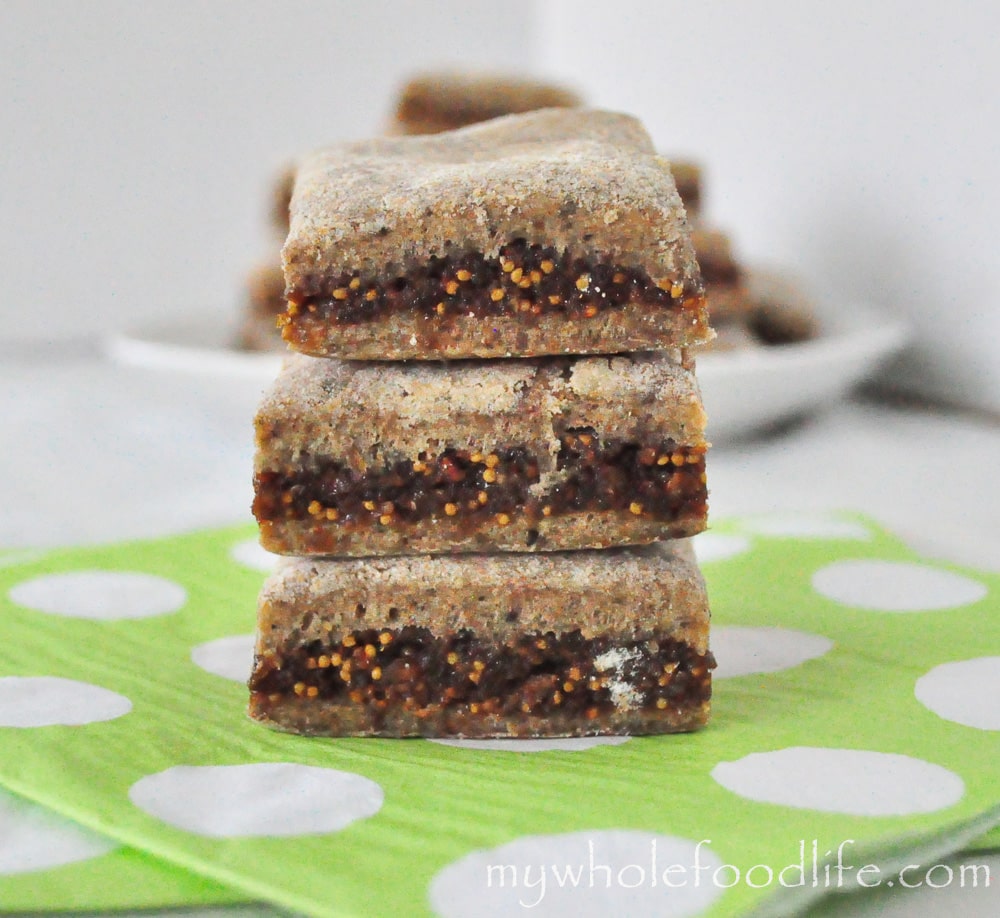
Homemade Fig Newtons for you.  Before we cleaned up our diet, Fig Newtons were a big staple around here.  We all know how fig newtons are often touted as a healthy cookie option for kids.  But if you ever looked at the ingredients, most are not good.

My healthy fig newton recipe is so much healthier than store bought ones and a fig newton you can feel good about giving your kids. These fig newtons also taste better in my opinion. You definitely need to try them.

Homemade Fig Newtons

These are made with whole grains and no refined sugars, unlike the real cookies.  The real cookies contain high fructose corn syrup. 🙁  You can also use the recipe as a base to add in your own fillings.  If you filled these with fruit, they would almost taste like a Nutri-Grain bar as well.

The possibilities are endless.  I also added a little cinnamon to the dough to spice it up a bit.  I think it turned out well that way.  One other thing to note is, using the coconut oil will not make them taste like coconut at all, but it does help add a sweetness to the cookies.

Another great thing about this recipe is that it freezes well.  So you can make up a huge batch and freeze some for later. I suggest storing them in an air-tight container with a piece or parchment between each row of cookies.  That way, you don’t have to worry about them sticking together.

Homemade Fig Newtons

Homemade Fig Newtons

Prep Time 1 hr Cook Time 15 min Serves 16 cookies     adjust servings

A healthier version of the classic cookie.

Ingredients

    For the cookie

    For the filling

    • 15-20 figs (I used dried Turkish Figs I got at Sprouts)
    • 1 T maple syrup
    • water

    Instructions

      For the filling

      1. In a food processor, grind up the figs, 1 T maple syrup and a bit of water. You want the figs to be the consistency of peanut butter so only add a bit of water. I think I used about 1 tablespoon.
      2. Blend into a paste and set aside.

      For the cookie

      1. Preheat oven to 350.
      2. In one bowl mix all the dry ingredients.
      3. In another bowl, mix the wet.
      4. Add dry to wet and mix only until combined. Be careful not to over-mix. The dough will be sticky and a bit wet.
      5. Gather it in a ball and wrap it.
      6. Put the dough in the fridge for about an hour to firm up.
      7. Once firm, roll the dough onto a floured surface. I tried to roll my dough as square as possible.
      8. Once the dough is rolled out, spread the fig mixture onto half of the dough.
      9. Once the fig mixture is spread, fold 1 half of the dough onto the other and cut into squares. I cut mine into about 2×2 squares and used a pizza cutter to do so.
      10. Place on lined baking sheet and bake for about 12-15 minutes.
      11. I got about 16 out of my batch.

      by

      Recipe Notes

      They should last a couple of weeks, but you can refrigerate them to make them last even longer. Enjoy!

      Wild Rice, Spinach and Avocado Salad with Sesame Dressing

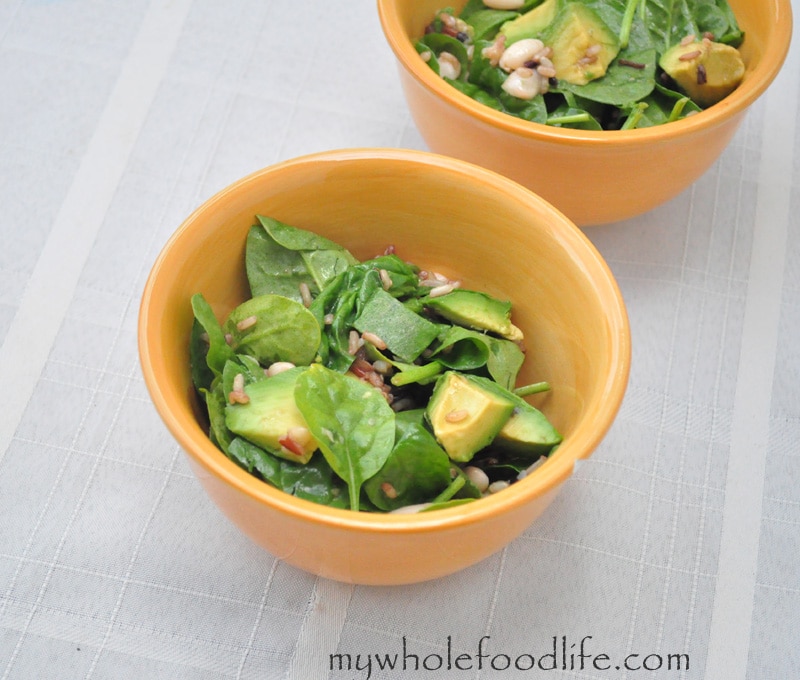
      I have a ton of recipes pinned to try on Pinterest.  It had been awhile since I had tried a new one, so I plucked this up and tried it.  This lovely salad comes from Zizi’s Adventures.  She has a beautiful blog full of yummy recipes like this one.  It looked so good I had to try it.  It tasted AMAZING!  We actually made it twice since the first batch disappeared quickly.  I tripled the recipe and changed a few things the second time around.

      avocado sesame salad FG watermark

      This recipe has all my favorite ingredients.  In my world, avocados make everything better.  The original recipe called to cook the greens and garlic, but I like them raw better so that is how I did mine.

      Wild Rice, Spinach and Avocado Salad with Sesame Dressing

      Wild Rice, Spinach and Avocado Salad with Sesame Dressing

      Prep Time 10 min Cook Time 1 hr

      Ingredients

        Salad

        • 4-5 big bunches of baby spinach chopped (you can do kale as well)
        • 1 1/2 cups wild rice (cooked)
        • 3 avocados sliced
        • 2 cups or 1 can white beans (soak overnight and then cook until soft)
        • 2-3 cloves garlic minced or 2 tsp garlic powder
        • salt to taste

        Dressing

        • 6 T toasted sesame oil
        • 3 T rice vinegar
        • 3 T soy sauce or bragg's aminos
        • Juice of 1 lemon

        Instructions

        1. Cook the rice and let cool. I actually did this the day before. Same with the beans if using dried beans.
        2. In a large bowl, add rice, beans, avocado, garlic and spinach and mix well.
        3. In a small bowl, whisk the ingredients for the dressing.
        4. Pour dressing in the large bowl and mix well until everything is combined.

        by

        Recipe Notes

        I found the best way to do this was with my hands. This dish is best eaten fresh, but will still be delicious the next day. I makes about 5-6 servings. Enjoy!

        Adapted from Zizi's Adventures

        Strawberry Ice Cream

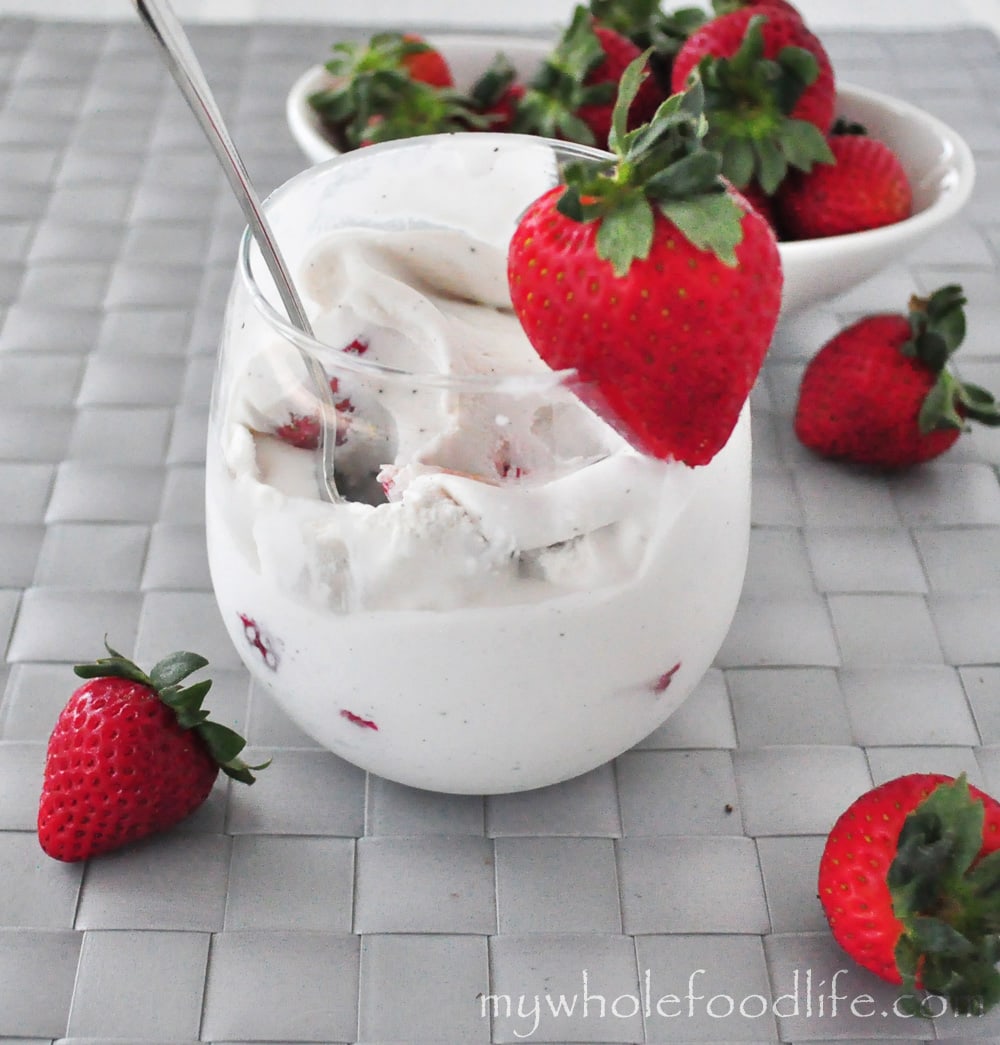
        Hooray!  Warm weather is here.  At least, in Texas it is.  So it’s time to start breaking out the ice cream maker.  I already have a Cookie Dough Ice Cream and a 5 Minute Banana Ice Cream on the blog.  Now it’s time to add another: Strawberry Ice Cream. Who doesn’t like strawberry ice cream? I know I love all things ice cream, especially strawberry ice cream.

        ice cream watermark

        I use canned coconut milk as a base for all my ice cream recipes for a few reasons.  It has that rich taste and mouth feel of real ice cream and it is dairy free.  I have tried using just nut milk, but it never comes out as creamy.  Since this is so rich tasting, a little bit will satisfy you.  You can use either fresh or frozen strawberries for this.  We used fresh organic strawberries since they were on sale the other day at Whole Foods.  They were so sweet and yummy!  Most store bought ice creams contain carrageenan and other unwanted additives.  The organic stuff is always so expensive.  The ice cream maker is pretty affordable and you make your money back pretty quick.  Plus, you can create your own flavors! 🙂

        Strawberry Ice Cream

        Strawberry Ice Cream

        Prep Time 10 min Serves 4 - 6 servings     adjust servings

        Ingredients

        Instructions

        1. Mix the coconut milk, vanilla bean and the sweetener in a bowl.
        2. Pour the contents in the ice cream maker. I used my Cuisinart.
        3. When the ice cream starts looking like it is coming together (after about 15 minutes), add the strawberries.
        4. The ice cream will be more of a soft serve consistency. If you like harder ice cream, you can stick it in the freezer for another 1 1/2 hours. That’s it. Enjoy!

        by

        Unhealthy “Health Foods”

        Everywhere you go, people are talking about the next healthy food or diet craze.  I pin to many health boards on Pinterest, and I see unhealthy “health” pins all the time.  I am here to hopefully shed some light on the myths.

        2012-12-08-11.00.35-768x1024

        1.  Low Fat /Fat Free Foods –  Fat is not a bad thing.  In fact, your body needs healthy fats to thrive.  Fat makes your skin glow and your hair shine.  Fats are crucial to every cell membrane in the entire body.  The structural components of the cell membranes within the brain, and also the myelin sheath that lines the nerve cells, are made up of fats.  Often not only are fat free foods lacking in healthy fats, but they often contain extra sugars or artificial sweeteners as you will see in my Yoplait Exposed post.  It is important to check all labels to be safe.

        2013-01-22-09.17.34-768x1024

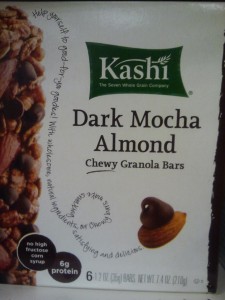
        2.  Energy or Nutrition Bars –  Most nutrition or energy bars contain soy protein isolate or whey protein isolate, which are hidden sources of MSG.  You can see that in my Kashi Bars Exposed post.  It’s important to check the label for those ingredients.  I would also advise you to keep track of the sugar content as well.  1 teaspoon of sugar is equal to 4.2 grams.  The American Heart Association recommends that you keep your daily intake of sugar at about 6 teaspoons.  You can easily make my larabars or granola bars.  I make clif bars as well.  They would save you money as well.  Once again, check the labels to be safe.  If you need a decent store bought option, you can look at Nature’s Path.

        SAMSUNG

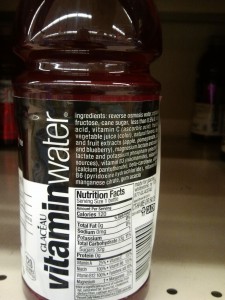
        3.  Sports Drinks and Vitamin Water –  Did you know that a Vitamin Water contains almost as much sugar as a can of coke?  Gatorade contains artificial sweeteners and also artificial dyes.  If the artificial dyes aren’t enough of a reason to stop drinking these, watch this video.  Warning, it’s a bit graphic.  Coconut water is a natural electrolyte replacer.  If you don’t want to drink coconut water, you can try these options.

        2013-02-06-09.06.29-1024x768

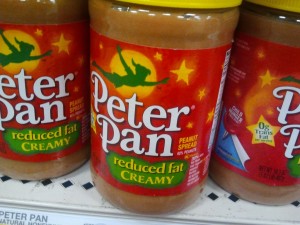
        4.  Reduced Fat Peanut Butter –  As I said earlier, your body needs healthy fats.  Often, when fat is removed from a food, artificial sweetener, sugar or chemicals are added in to make it taste as good as the full fat version.  You can see that in my Peter Pan Exposed post.  Did you know you can make your own healthy peanut butter in 5 minutes?  All you need is peanuts.  You will never believe how easy it is.

        SAMSUNG

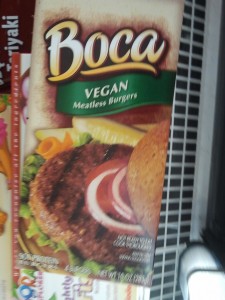
        5.  Store Bought Veggie Burgers –   Most store bought burgers contain chemicals, additives and GMOs.  You will see that in my Boca Burgers Exposed post.  Another thing to take note of, is that most veggie burgers don’t even contain actual veggies.  A lot of them are made up of soy protein isolate which is a hidden form of MSG.  Again, check the labels to be sure.  I have several veggie burger recipes on the blog.  If you need a better store bought option, try Sunshine Burgers.  Their burgers have been non GMO verified and have a much cleaner ingredient list.

        Unhealthy Health Foods


        Save Money By Making Your Own Hummus

        You can Save Money By Making Your Own Hummus!!  Hummus is probably one of the easiest things you can make yourself.  It takes only minutes to make.


        save money making your own hummus


        Most store bought versions contain unwanted additives as well as GMOs.  If you look at the ingredients in Sabra’s Classic Hummus, they are as follows:

        Cooked Chickpeas (Chickpeas [Garbanzos], Water), Tahini (Ground Sesame), Soybean Oil, Garlic, Salt, Citric Acid, Potassium Sorbate Added to Maintain Freshness, Natural Flavors. Classic Hummus

        Why is there soybean oil in hummus?  Traditionally, it’s made with olive oil….and you certainly would not use natural flavors if you made it in your own kitchen.  According to Wikipedia, Sabra is partly own by Pepsi.  You know the soda people?  They spent a lot of money lobbying against GMO labeling.


        If you didn’t know, my mother in law is Turkish and this is her hummus recipe.  It is really good!  I have not tried freezing it, but I am sure you probably could.  For more videos, you can subscribe to my You Tube Channel.


        Save Money By Making Your Own Hummus

        Homemade Hummus

        Ingredients

        • 2 cups cooked or 1 can chickpeas drained and rinsed
        • 1/4 cup tahini
        • Juice of 1 lemon
        • 1-2 tsp cumin (I used two)
        • 3 cloves garlic or 2 tsp garlic powder (I use real garlic)
        • 1/2 tsp salt
        • 1 T olive oil

        Instructions

        1. Process the chickpeas in the food processor or blender to get them started.
        2. Then add all the remaining ingredients until everything is smooth and well mixed.

        by

        Recipe Notes

        If it is too thick, just add a bit of water until you get the consistency you desire. That is it. Sometimes I drizzle a bit of oil over the top. Enjoy!