Grain Free Energy Bites (Vegan)

I made you some Grain Free Energy Bites.  Vegan too!  So the other day I made some Hazelnut Milk.  It was delicious!


Grain Free Energy Bites


When you make nut milk, you are left with a “meal.”  You can dry it out in the oven and use it in gluten free baking.

I have not had much success with my leftover almond meal in the past.  I had always tried making baked goods, but could never really get anything to bind.

Then an idea came to me.  Make some energy bites.  The dates helped with the binding.  Success!

These are vegan, dairy free, grain free and gluten free. I would love to hear other success stories when it comes to re-purposing leftover meal.  Please share in the comments!

Grain Free Energy Bites

Grain Free Energy Bites
Prep Time 10 min

Ingredients

Instructions

  1. Throw everything in the food processor and mix until a dough forms. If it seems a bit dry, you can add more water. 
  2. Roll into balls and chill in the fridge for an hour to set.

by

Recipe Notes

This also would work with leftover almond meal as well. I would like to note that these are mildly sweet, so if you like an extra sweet flavor you probably want to add a few tablespoons of liquid sweetener. I liked them just the way they were.


Homemade Hazelnut Milk

Making your own milk is easier than you think.  I already have recipes for Homemade Almond Milk and Homemade Hemp Milk.  Now I can add hazelnut to the list.  This, by far, is my favorite.  Now if only hazelnuts weren’t so darned expensive!

milk 3

Making hazelnut milk is very similar to almond.  You will need to have some items on hand.  First, you need to get a good extra fine cheesecloth.  I made the mistake of buying the wrong one the first time around.  I got this one off Amazon and it works great.  Next, you will need an extra fine strainer and a large bowl.  Lastly, it helps to have a funnel when pouring the finished milk into a jar.  I store mine in a large mason jar.

Homemade Hazelnut Milk

Homemade Hazelnut Milk

Prep Time 10 min

Ingredients

Instructions

  1. Soak the hazelnuts in water overnight.
  2. Drain and rinse.
  3. Put the rinsed hazelnuts, water and vanilla into a blender and blend for about 2 minutes.
  4. Cover the fine mesh strainer with the cheesecloth and pour the blended mixture slowly into the strainer. I only do a small amount each time.
  5. Grab the cheesecloth and “milk” the nuts until it seems like you can’t get any more.
  6. Empty the leftover “meal” onto a lined baking sheet.
  7. Repeat these steps until the whole mixture is strained.
  8. Using a funnel, carefully pour the milk into a container and store in the fridge. It should keep for at least a week.

by

Recipe Notes

Keep in mind that it will separate in the fridge so you will have to give it a good shake before using it. You can dry out the leftover meal in the oven. Bake it on about 200 for a few hours until it feels dry. It think you can do it in the dehydrator as well. I have plans for the meal as well so make sure you save it.

Nutella Thumbprint Cookies

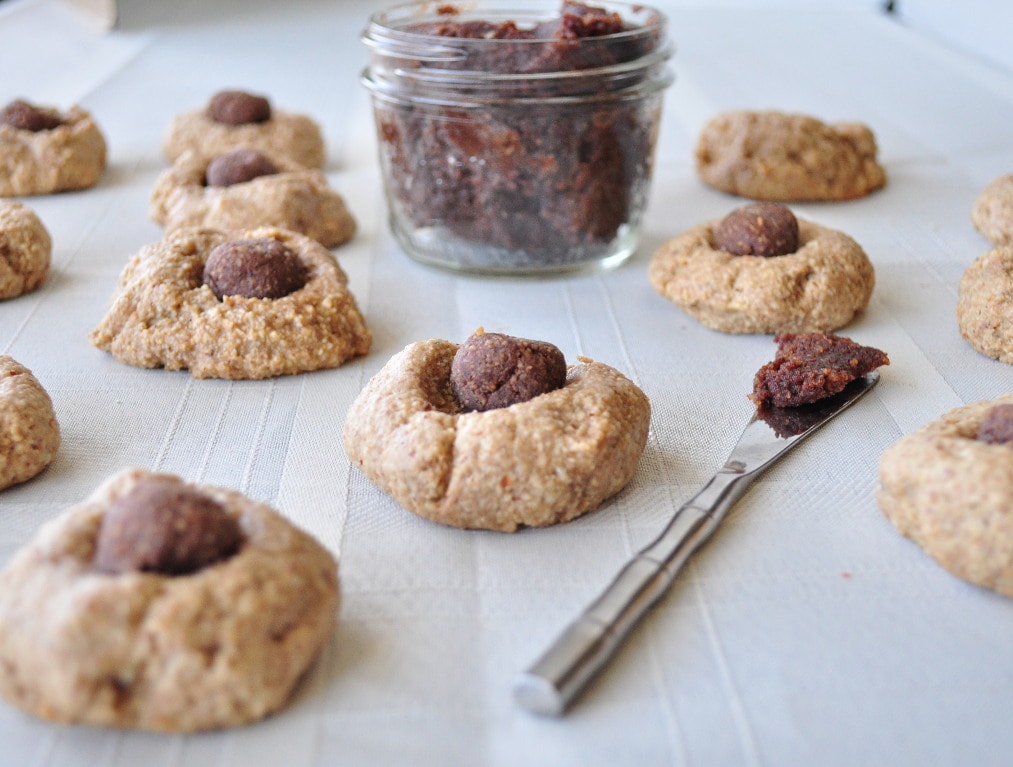
I have been on a major hazelnut kick lately.  First I made my No Bake Vegan Nutella Bites, then it was my Vegan Nutella Granola and now these yummy homemade nutella thumbprint cookies.

thumbprint cookies

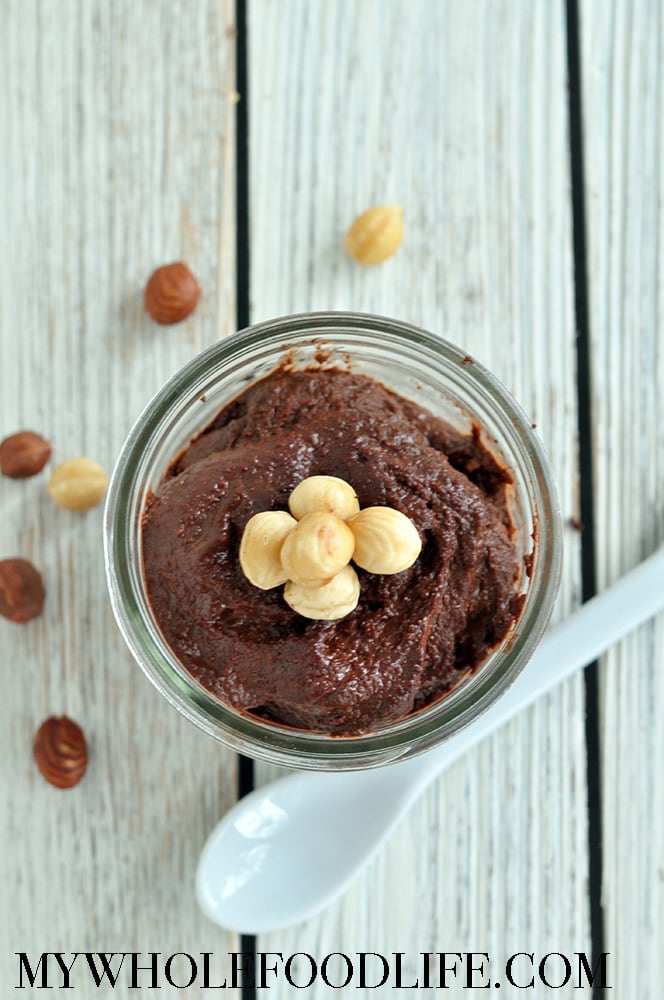
Next, I think I might try some hazelnut milk.  I filled these cookies using my Homemade Vegan Nutella.  I love thumbprint cookies.  You can really go in some many directions.

Nutella Thumbprint Cookies

Nutella Thumbprint Cookies

Prep Time 15 min Cook Time 13 min Serves 16 cookies     adjust servings

Ingredients

Instructions

  1. Preheat oven to 350.
  2. In the blender or food processor grind the almonds and oats after measuring.
  3. When they are the consistency of flour, add them to a bowl with the rest of the dry ingredients.
  4. Add the wet ingredients into another bowl .
  5. Add wet to dry and stir until everything is combined.
  6. Roll dough into balls and place on the baking sheet .
  7. Once all the balls are rolled, flatten each one with your palm.
  8. Use your thumb to make an indent into the cookie. This is a job I let my three year old do.
  9. Fill each hole with the homemade nutella or whatever other filling you desire.
  10. Bake for about 13 minutes. Enjoy!

by

Almond Joy Energy Bites (Vegan & Gluten Free)

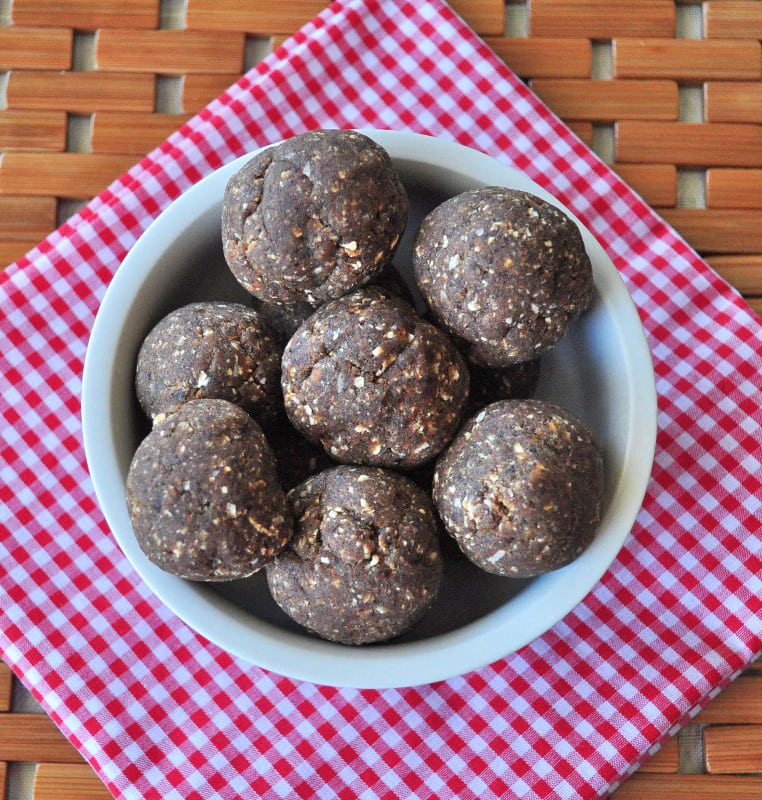
Almond Joy Energy Bites.  This past Sunday, we made Almond Joy Waffles for breakfast. They were a big hit so I decided I would try some almond joy energy bites with similar ingredients.

My husband liked these healthy vegan almond energy bites so much, that I had to stop him from eating them all.  I still needed to take pictures. A common food blogger problem haha!


Almond Joy Energy Bites


It’s funny because as soon as he gets home from work, I am shoving things in his face to taste test.  I like to get his approval as well as my three year old.

She helped me make these and kept trying to sneak the batter when she thought I wasn’t looking.  Sneaky sneaky.  Can’t say I blame her.  They are delicious!

Looking for more energy bite recipes?

Almond Joy Energy Bites

Almond Joy Energy Bites

Prep Time 10 min Serves 12 balls     adjust servings

Ingredients

  • 1 cup almonds
  • 1 cup shredded unsweetened coconut
  • 10-12 medjool dates
  • 1/4-1/2 tsp almond extract (I used 1/4 only because my husband doesn't like a strong almond flavor)
  • 1 T coconut oil melted
  • 2 T water
  • 1/4 cup chocolate chips I used carob chips

Instructions

  1. In a food processor, mix the almonds and coconut until they are fine.
  2. Then add the dates, coconut oil and water and continue to pulse until you see a dough start to form.
  3. Roll into balls and place in the fridge to firm up.

by

Recipe Notes

I got about 12 balls out of my batch.

Almond Joy Waffles (Vegan, Gluten Free)

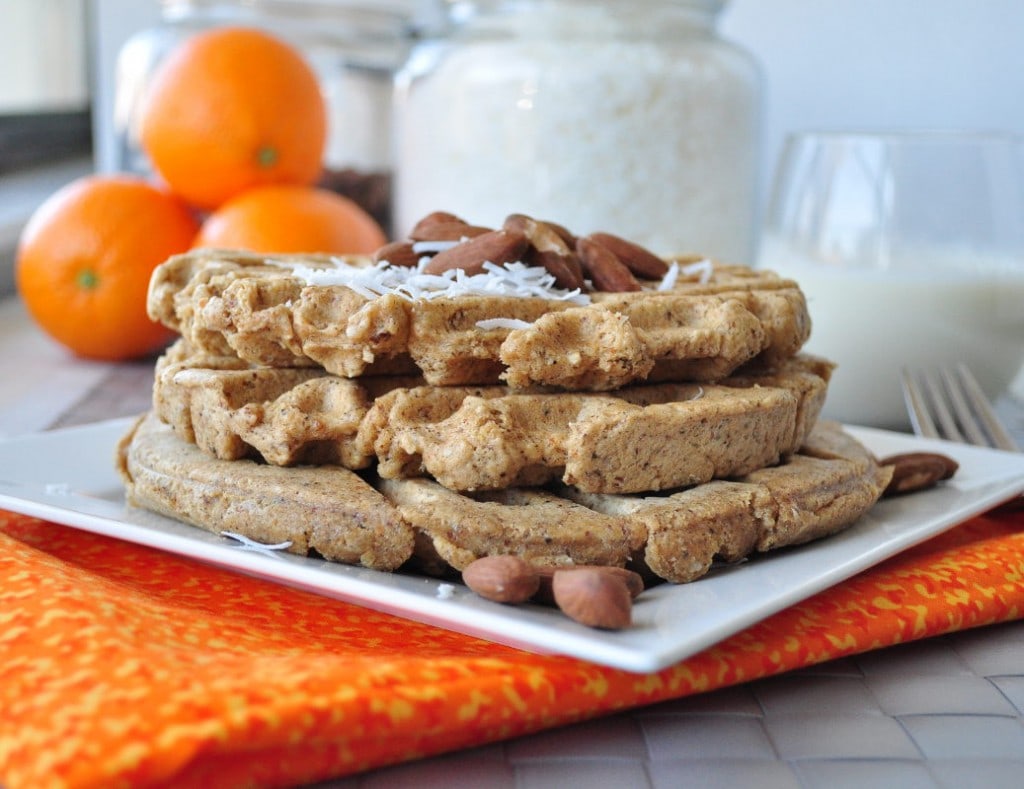
Almond Joy Waffles.  Sundays at our house have a morning tradition of waffles or pancakes.  Lately, it has been waffles.  I think my older daughter really looks forward to it.

We used to do pancakes in my house growing up and I loved it. Today, I made some Almond Joy Waffles.

To get things going quickly in the morning, I mix all the dry ingredients the night before.  That way, it’s just as quick as store bought pancake mix, but much healthier!


Almond Joy Waffles


I wasn’t really a fan of the Almond Joy bar growing up.  I have grown  to love all things coconut now.  My husband, on the other hand, loved them so I knew he would enjoy these.

Almond Joy Waffles

Almond Joy Waffles

Prep Time 10 min Cook Time 10 min Serves 4 large waffles     adjust servings

Ingredients

Instructions

  1. Turn on your waffle iron so it can heat up. 
  2. In a medium bowl , mix the dry ingredients. 
  3. In a large bowl , mix the wet. 
  4. Add wet to dry and mix just until combined. 
  5. I scooped about a 1/2 cup amount of batter onto my waffle iron , but everyone’s is different.  I got 4 large waffles out of my batch.  If you are feeling extra frisky, you can top yours with some chocolate chips as well!

by