You knew these pumpkin spiced donuts had to be coming. I am so in love with my donut pans! Boy, I can tell life has changed for me when I am getting excited about baking pans! I just had to share these pumpkin spiced donuts with you!
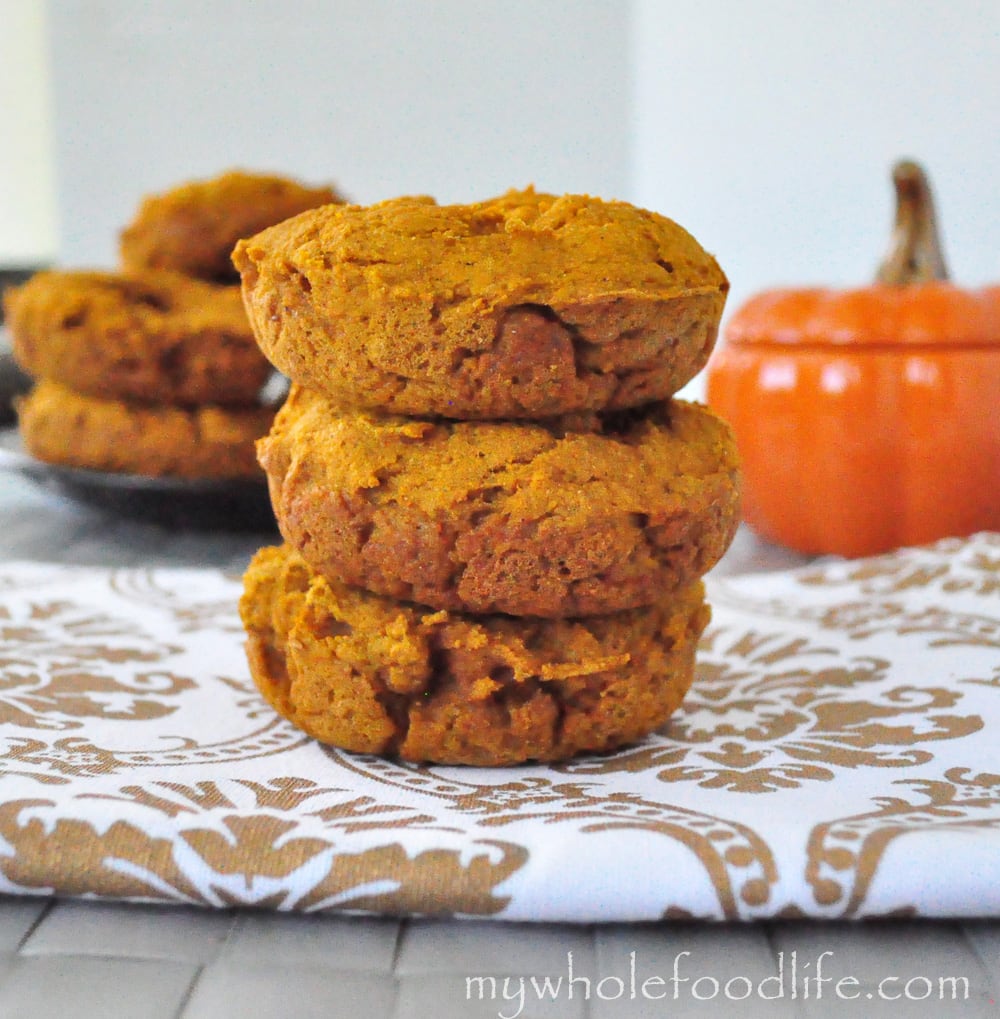
Having the ability to make healthy donuts is huge when you have kids. My daughter has no idea they are healthy, but since they are in donut form, she will gladly eat them. Even my 18 month old ate these and she is mostly tube fed still. This recipe is very similar to my Pumpkin Chocolate Chip Muffins.
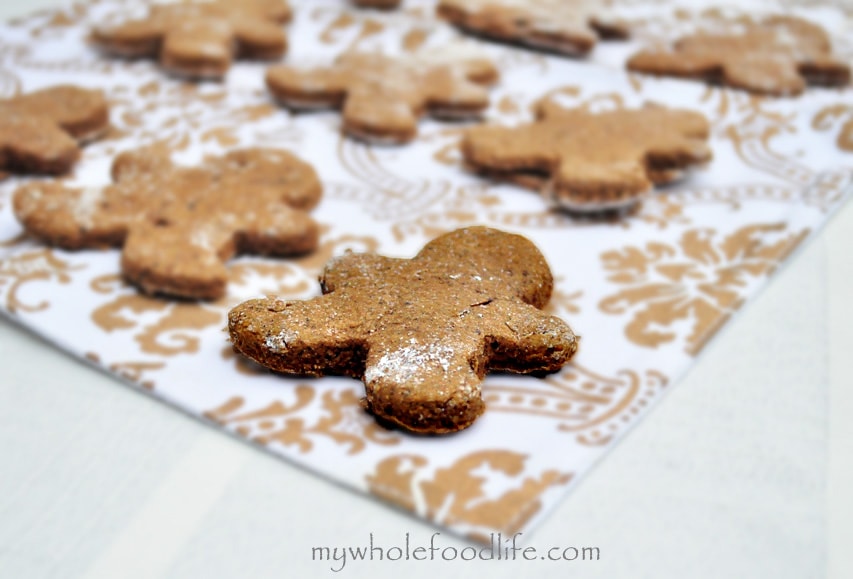
I am thinking gingerbread donuts next… 🙂
Pumpkin Spiced Donuts
Pumpkin Spiced Donuts!
Ingredients
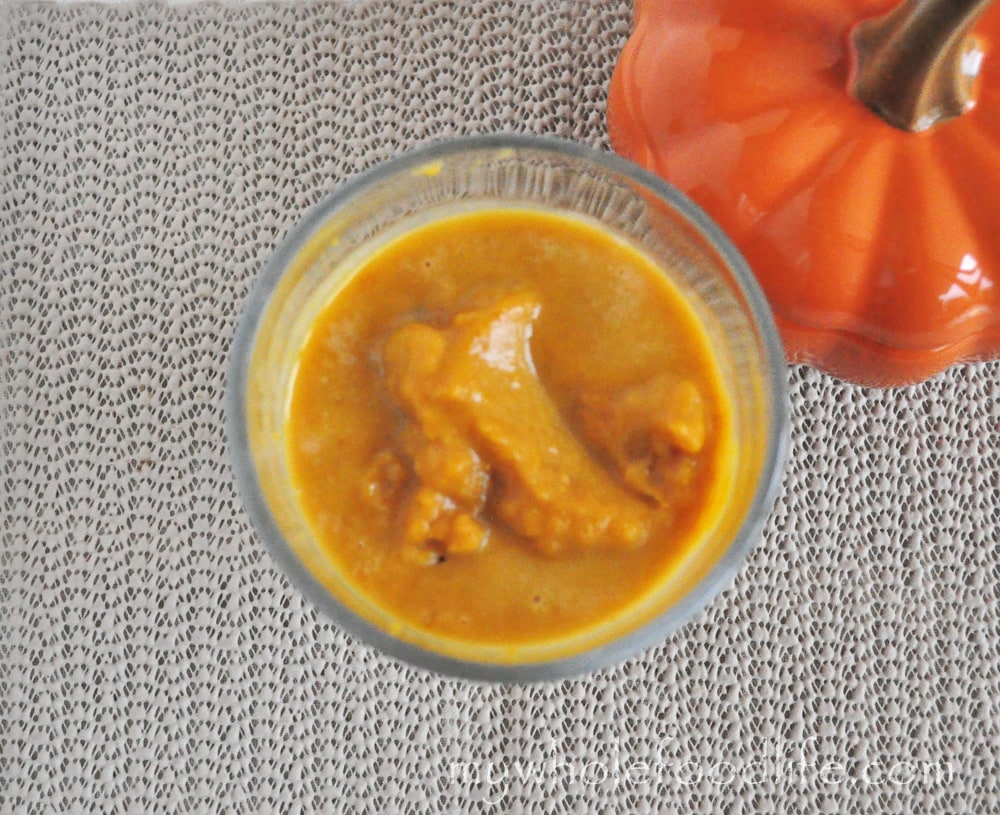
- 2 cups pumpkin
- 2 1/2 cups spelt flour
- 1/4 cup coconut oil
- 1/3 cup maple syrup
- 1 T blackstrap molasses (optional)
- 1/2 cup applesauce unsweetened
- 1 heaping tsp cinnamon
- 1/4 tsp nutmeg
- 1/4 tsp ginger
- 1/4 tsp cloves
- 2 tsp baking powder
- 1/4 cup almond milk
Instructions
- Preheat oven to 350.
- In a large bowl, mix all the dry ingredients.
- In another bowl, mix the wet.
- Add wet to dry.
- Spoon batter into greased donut pans.
- Bake for around 10-12 minutes or until a toothpick comes out clean.
Recipe Notes
I got 12 donuts and also 3 regular sized muffins out of this batch. They are super good when they are fresh out of the oven. Enjoy!