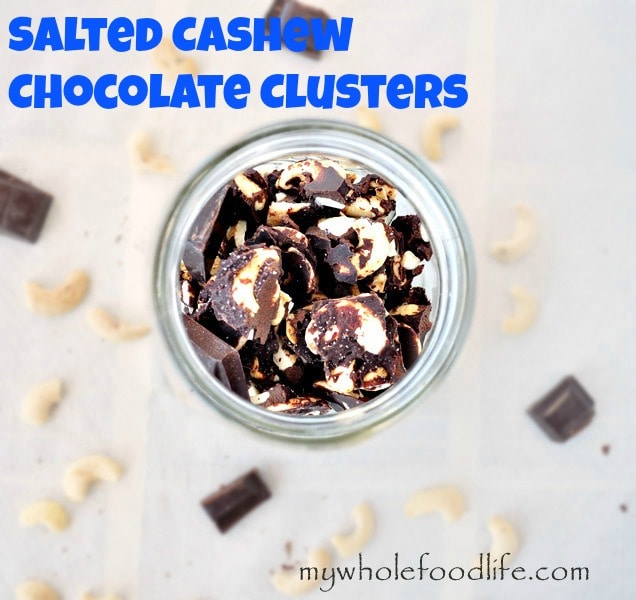
I can’t think of a single person that doesn’t like cashews or chocolate. Cashews are so buttery and delicious. When you pair cashews with salted chocolate, you really get a match made in heaven. These salted cashew chocolate clusters are so good. In fact, my husband ate most of them in about 2 days! Salty and sweet is the best combination. These salted cashew chocolate clusters can make a healthier snack alternative to unhealthy candy bars.
Tag: snacks
Slow Cooker Maple Glazed Pecans (Vegan)
Slow Cooker Maple Glazed Pecans. The other day I happened to find an interesting recipe on Pinterest. It was Vegan in the Freezer’s Slow Cooker Maple Glazed Walnuts.
I loved the idea of cooking the nuts in the crock pot. Something I had never thought to try. I am not a fan of walnuts, so I made slow cooked nuts with pecans.
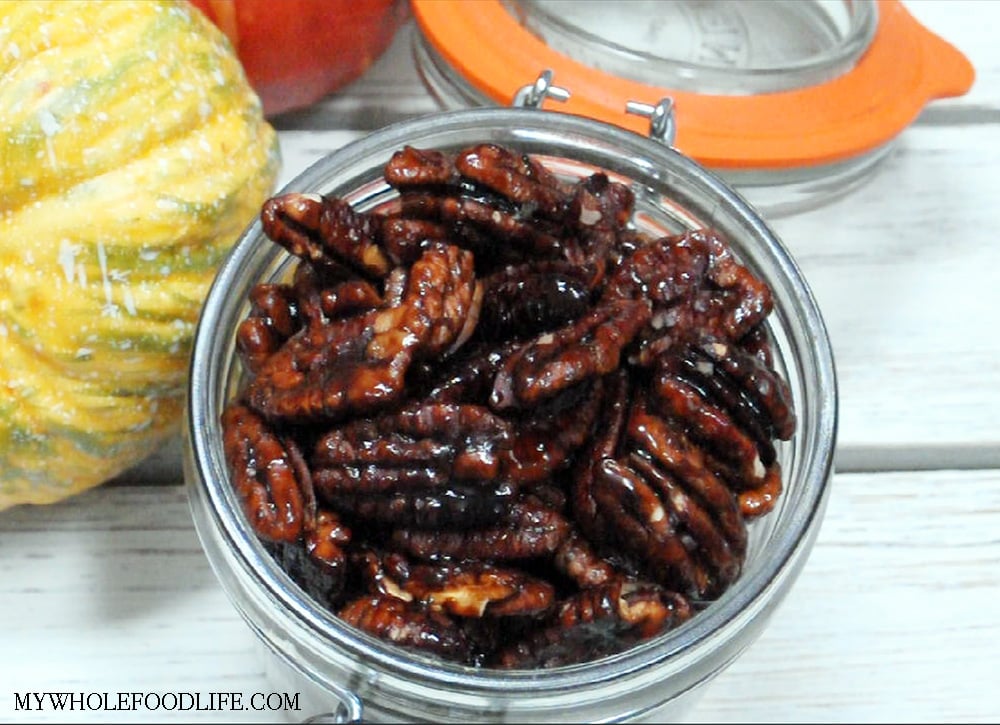
My recipe is loosely adapted from hers. These came out amazing! I didn’t even cook them that long, but the maple syrup almost caramelizes.
So good! I love the salty sweet combo. It reminded me of the flavors in kettle corn. The crock pot will seem like it’s going to be hard to clean.
Here is a trick. Once the nuts are done, fill the crock pot with soapy water and turn it back on for a few minutes. Then it will be super easy to clean.
Want to make this recipe? Watch the video below! For more videos, you can subscribe to my You Tube Channel.
Looking for more snack recipes?
Slow Cooker Maple Glazed Pecans
Slow Cooker Maple Glazed Pecans
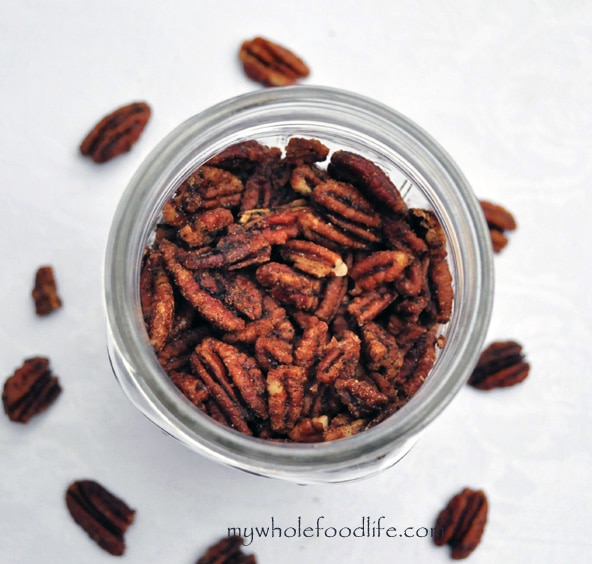

These Slow Cooker Maple Glazed Pecans are quite addicting and probably won’t last long! Enjoy!
Ingredients
- 3 cups raw pecans
- 1/4 cup maple syrup
- 2 tsp ground vanilla beans ( vanilla extract would probably work as well)
- 1 tsp sea salt
- 1 T coconut oil
Instructions
- Throw all the ingredients in a crock pot
- Cook on low for a 1-3 hours making sure to stir often.
- Store them in a mason jar after they have cooled completely.

Healthier Peanut Butter Rice Krispy Treats
Who doesn’t have memories of making and eating rice crispy treats as a kid? Let’s take a look at the ingredients in the store bought version taken off their website. I couldn’t find the peanut butter ingredients, but here is everything in the original flavor:
TOASTED RICE CEREAL (RICE, SUGAR, SALT, MALT FLAVORING, NIACINAMIDE, REDUCED IRON, RIBOFLAVIN [VITAMIN B2], FOLIC ACID), MARSHMALLOW (CORN SYRUP, SUGAR, GELATIN, NATURAL AND ARTIFICIAL FLAVOR), FRUCTOSE, MARGARINE (VEGETABLE OIL [SOYBEAN AND PALM OIL WITH TBHQ FOR FRESHNESS], WATER, NATURAL AND ARTIFICIAL BUTTER FLAVOR [CONTAINS MILK], DATEM, ACETYLATED MONOGLYCERIDES, BHT FOR FRESHNESS, VITAMIN A PALMITATE, VITAMIN D), CORN SYRUP SOLIDS, CONTAINS TWO PERCENT OR LESS OF DEXTROSE, GLYCERIN, SALT, NIACINAMIDE, PYRIDOXINE HYDROCHLORIDE (VITAMIN B6), THIAMIN HYDROCHLORIDE (VITAMIN B1), RIBOFLAVIN (VITAMIN B2), SOY LECITHIN.
Wow! That’s a lot of ingredients! Plus a lot of things I try to avoid. My recipe contains just 4 ingredients.
I wanted to create a healthier version for my kids. It took me 3 tries to get it right, but the end product is really good with no added sugar.
Peanut Butter Rice Krispy Treats
Healthier Peanut Butter Rice Krispy Treats


Ingredients
- 4 cups rice cereal (I used Barbara's Brown Rice Crisps)
- 3/4 cup peanut butter
- 12 medjool dates (pits removed)
- 3 T coconut oil (measure after melting)
- water
Instructions
- In a food processor , mix the dates with enough water so a syrup starts to form.
- The syrup should be thicker, almost like a caramel. I used about 1/4 cup water.
- Once the dates are in a syrup, transfer them to a saucepan with the peanut butter and coconut oil.
- Stir on medium heat just enough to soften the peanut butter and combine all the ingredients.
- Once that is done, add them to a bowl with the cereal and mix until everything is well combined.
- Line an 8×8 pan with parchment paper, leaving enough paper to stick out the sides.
- Pack the mixture down tight and stick it in the fridge to set.
- Once it’s set, pull the bars out using the parchment paper and cut into squares with a pizza cutter .
Recipe Notes
My bars were thick. If you want a thinner bar, use a slightly bigger pan. I got 9 squares out of my batch. They should last a couple weeks in the fridge. Enjoy!
Cinnamon Roasted Pumpkin Seeds
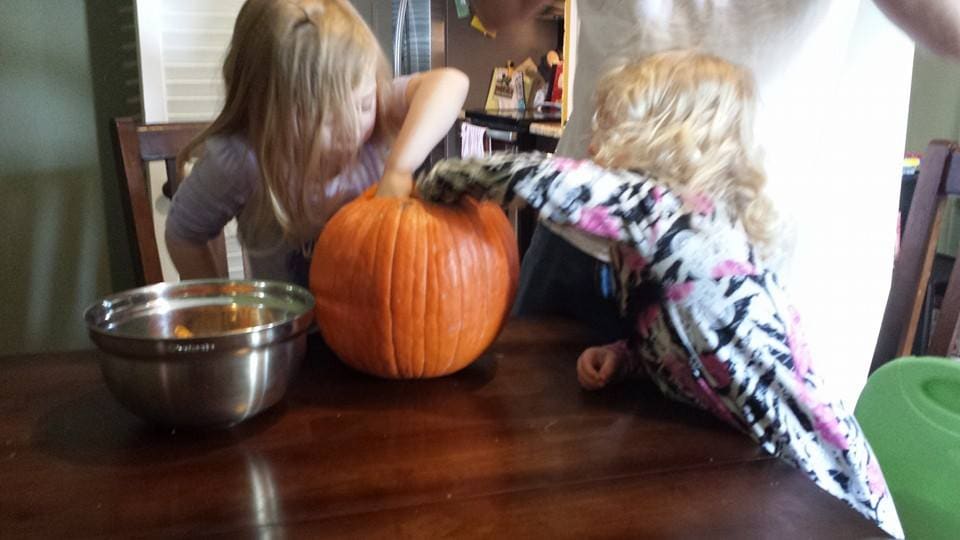
It’s been raining here on almost every weekend lately. So yesterday we finally got around to getting the girls a pumpkin to carve.
My 4 year old is grossed out by the “guts”, but my 2 year old loved sticking her hands in and pulling out the seeds. While they were carving, I was cleaning off the seeds to roast. I got all the stringy stuff off and then gave them a good rinse. After that, I set them out to dry overnight. Today I roasted them and they are so good. My house smelled like Fall. This recipe kind of reminds me of my Maple Cinnamon Roasted Chickpeas.
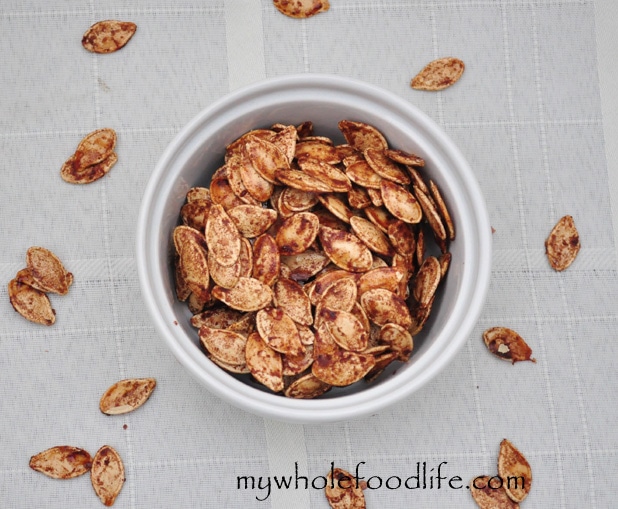
These are pretty addicting. I made them in under 35 minutes. Real simple recipe.
Cinnamon Roasted Pumpkin Seeds
Cinnamon Roasted Pumpkin Seeds

Ingredients
- 1 1/2 cups pumpkin seeds
- 2 T maple syrup
- 1 tsp cinnamon
- 1/4 tsp nutmeg
- 1/4 tsp ginger
- 1/4 tsp cloves
- 1/4 tsp salt
Instructions
- Preheat oven to 350.
- Toss all the ingredients in a bowl and mix until everything is well coated.
- Spread the seeds onto a lined baking sheet and bake for 15 minutes.
- Remove and shake the seeds around and bake for another 15 minutes.
Recipe Notes
I store mine in a mason jar on the counter. Please wait until they have completely cooled before storing them. Enjoy!
Smokey Roasted Chickpeas
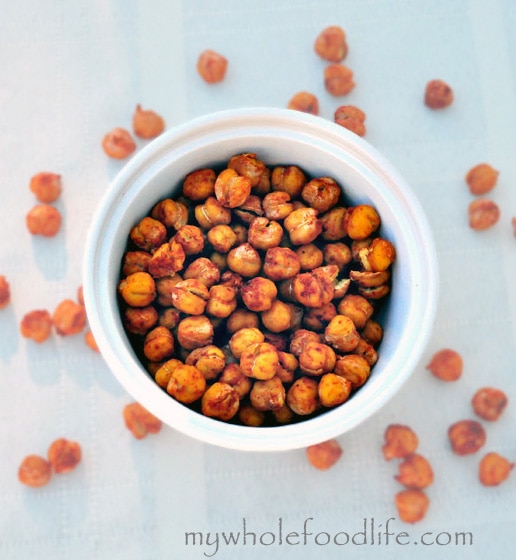
Sometimes in the late afternoons, I get an urge to snack. Roasted chickpeas are a great, healthy snack alternative. They can be done sweet or savory. I made a sweet version with my Maple Cinnamon Chickpeas. This is a savory option.
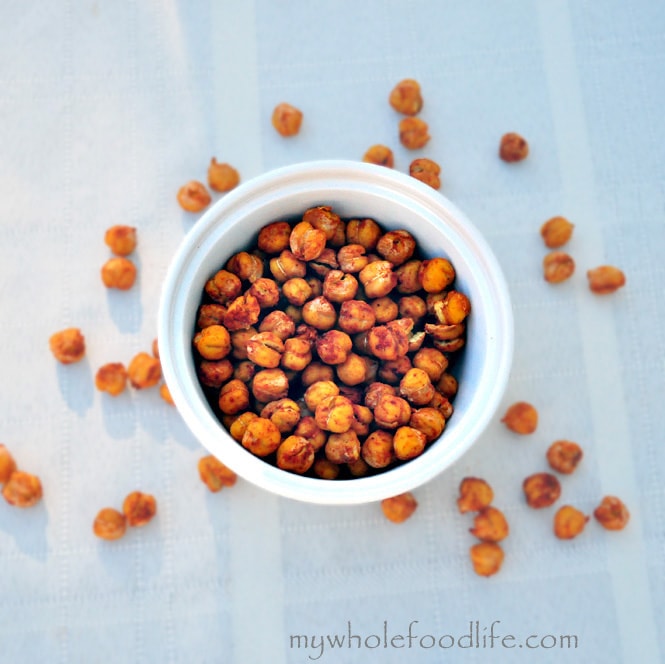
I am warning you, these are highly addictive! They are very easy to make. If you don’t eat them all at once, you can store them in a container with rice scattered at the bottom. The rice will help absorb the moisture and keep them crispy. In addition to the spices I list, you can also add a pinch of cayenne if you like some extra heat.
For a sweet version of roasted chickpeas, check out this video.
Smokey Roasted Chickpeas
Smokey Roasted Chickpeas

Ingredients
- 2 cups or 1 can chickpeas (If using dried beans, the measurement is after soaking and softening.)
- 1 T coconut oil melted
- 2 tsp smoked paprika
- 1/2-1 tsp chili powder
- 1/2 tsp salt
Instructions
- Preheat oven to 350.
- In a bowl, mix all of the ingredients.
- Make sure all beans are coated well with spice.
- Line a baking sheet with parchment paper .
- Bake for about 40-60 minutes, stopping to shake the pan every 15 minutes.
- Wait until beans are completely cooled before storing.
Recipe Notes
I store mine on the counter in a glass mason jar . This makes about 4 servings. Enjoy!
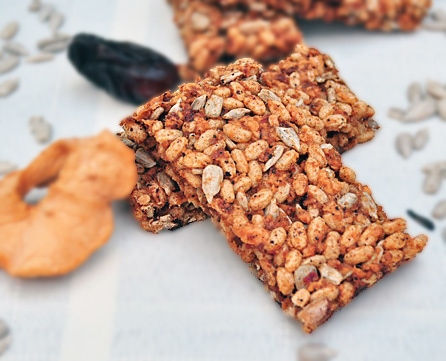
Nut Free Snack Bars
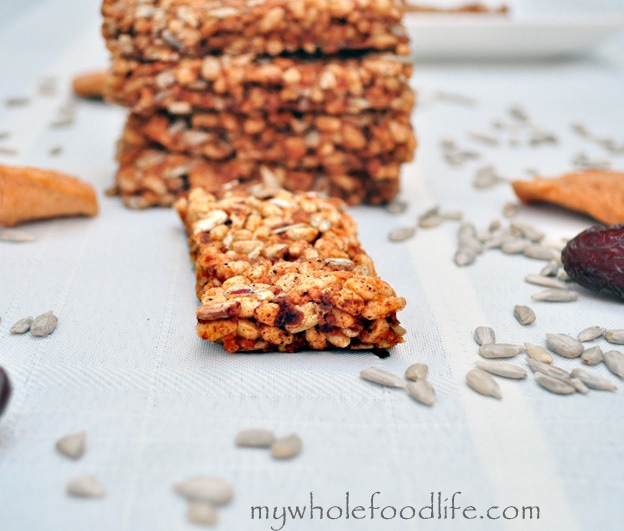
Let’s face it, a lot of schools are going nut free these days. As a mom of a child with many food allergies, I totally get it. That’s why I am trying to create some nut free snacks. This one came out real good and it is so simple to make!
They were a hit with my daughter and husband. One of the other great things about this bar is that it is only fruit sweetened. No added sugar at all! It almost reminds me of an apple cinnamon KIND bar. I cooked mine for a few minutes, but I almost thing they can be made raw too.
Nut Free Snack Bars
Nut Free Snack Bars

Ingredients
- 2 cups brown rice puffed cereal
- 1/2 cup sunflower seeds
- 6 medjool dates pitted
- 1 cup dried apples
- 1 tsp cinnamon
- 1 tsp ground vanilla bean or extract
- 1/2 tsp sea salt
- 1/4-1/2 cup water
Instructions
- Preheat oven to 350.
- Mix the cereal, sunflower seeds, cinnamon, vanilla bean and sea salt in one bowl .
- In the food processor , mix the apples, dates and water until a syrup forms. It will be slightly thick.
- Get a sheet or parchment paper a little larger than the size of your pan, so you have some hanging out the sides. I used an odd sized pan. I think it was a 5X13? A standard 8X8 pan will work just fine.
- Once the syrup forms, add that to the dry mixture and mix well.
- Once everything is mixed, transfer the mixture to your baking pan.
- Make sure the parchment is lining the pan first.
- Once everything is in the pan, press the mixture down firmly.
- Bake for about 10 minutes.
- When it cools, remove the bars from the pan by grabbing the parchment paper sides.
- Cut into bars or squares with a pizza cutter .
Recipe Notes
I got about 10 bars out of my batch. These should last a week or two. You can even freeze them for longer storage.

