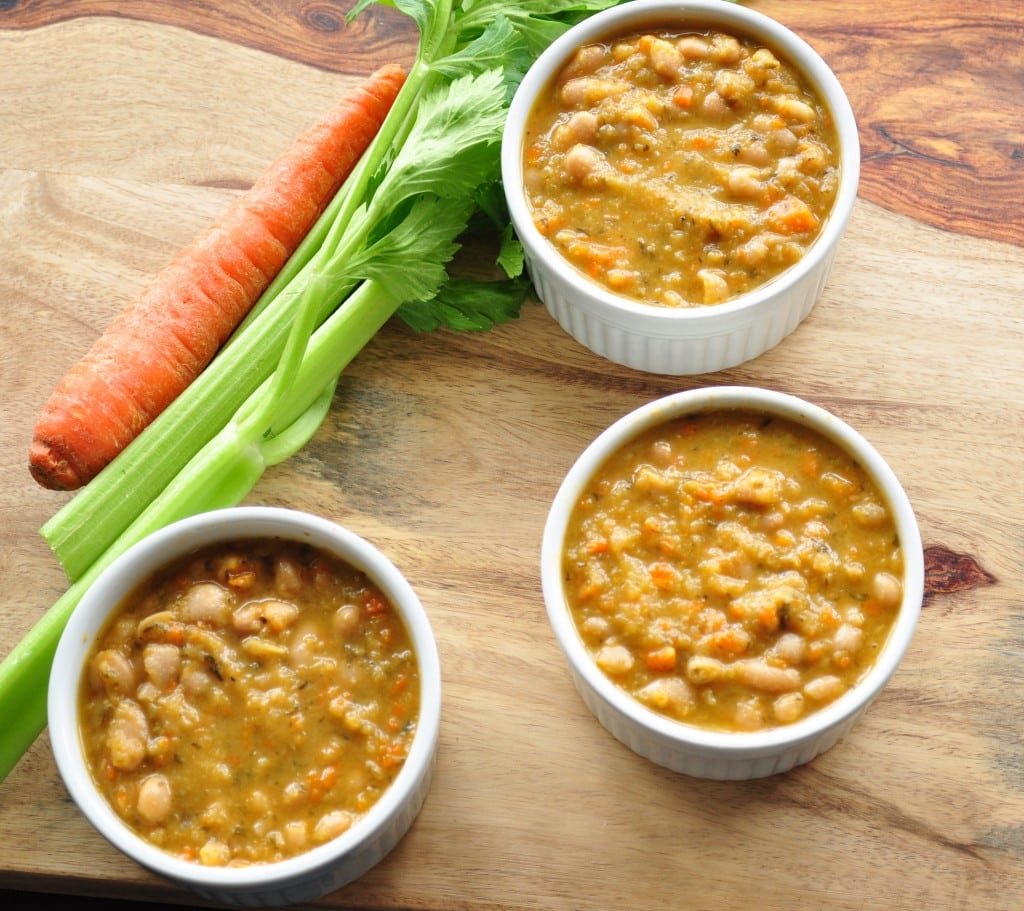
Hearty White Bean Soup (Vegan, Gluten Free)

I live in Texas and yesterday a cold front blew in making it a perfect time for a Hearty White Bean Soup.  We have been enjoying quite a mild fall season.

The onset of this cold front prompted me to make this white bean soup in the slow cooker. It was very easy and warmed up me right up.


hearty white bean soup


I love crock pot meals because you can throw everything in and walk away.  This crock pot soup is no exception.  It will fill your house with some pretty mouth watering aromas!

This is the perfect soup for a day spent in your pj’s relaxing and staying in from the cold outdoors.

If you are a visual person, I created this short video on how to make this soup. For more videos, you can subscribe to my You Tube Channel.


Looking for more soup recipes?


Hearty White Bean Soup

Hearty White Bean Soup
Prep Time 30 min Cook Time 8 hr

This hearty white bean soup will warm you up on the coldest of days and leave you wanting more.

Ingredients

  • 4 cups veggie stock
  • 4 cups white beans (We use about 1 1/2 cups dried beans that expands to 4 cups after soaking.)
  • 3 cloves garlic
  • 6 organic carrots
  • 6 celery stalks
  • 1 bay leaf
  • 1 medium yellow onion
  • 1 T olive oil
  • 1 T parsley
  • 1/2 tsp sage
  • 1/2 tsp thyme
  • salt to taste

Instructions

  1. In a food processor , finely chop the onion, celery, carrots, and garlic.
  2. Put everything in a crock pot , turn on low, and let the contents slowly get warm.
  3. After they are warm (about an hour), you can turn on high and let slow cook for some time.

by

Recipe Notes

The longer you can let it cook, the better. I would suggest waiting to salt the soup after everything has had a chance to cook. If you salt a soup too early, you run the risk of it being too salty as some of the liquid inevitably boils off. Enjoy!

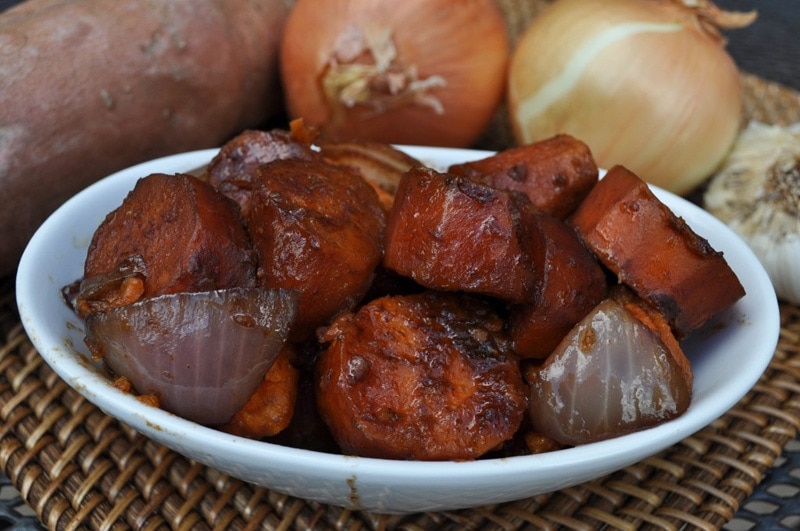
 

Slow Roasted Vegetables

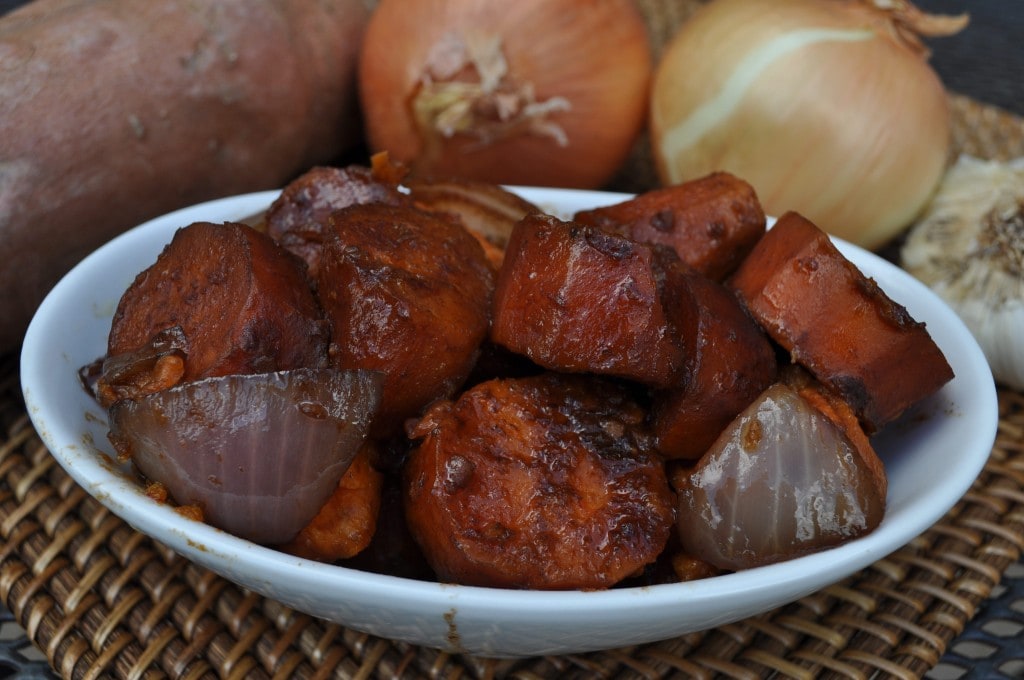
Yesterday when we picked up our co op basket, I saw that there were 6 yams and two onions.  I thought that they may work well in the crock pot.  So I gave it a try and they turned out to be a delicious little side dish!

Not to mention it was super simple.  I love the idea of throwing everything in a pot and walking away.  So convenient. This dish is sort of an extension of my Seasonal Roasted Vegetables.

Slow-Roasted-Seasonal-Vegetables-1024x680

Slow Roasted Vegetables

Slow Roasted Vegetables

Prep Time 20 min Cook Time 4 hr

Ingredients

  • 6 yams cut in large chunks
  • 1 onion roughly chopped
  • 3-4 large garlic cloves
  • 1/4 cup olive oil
  • 1/4 cup + 1 T balsamic vinegar
  • salt to taste

Instructions

  1. Throw everything into the crock pot and turn on low.
  2. Cook for at least 3-4 hours

by

Recipe Notes

They will end up with a buttery texture and a sweet tang from the balsamic. Yum!

Peanut Butter and Jelly Pancakes

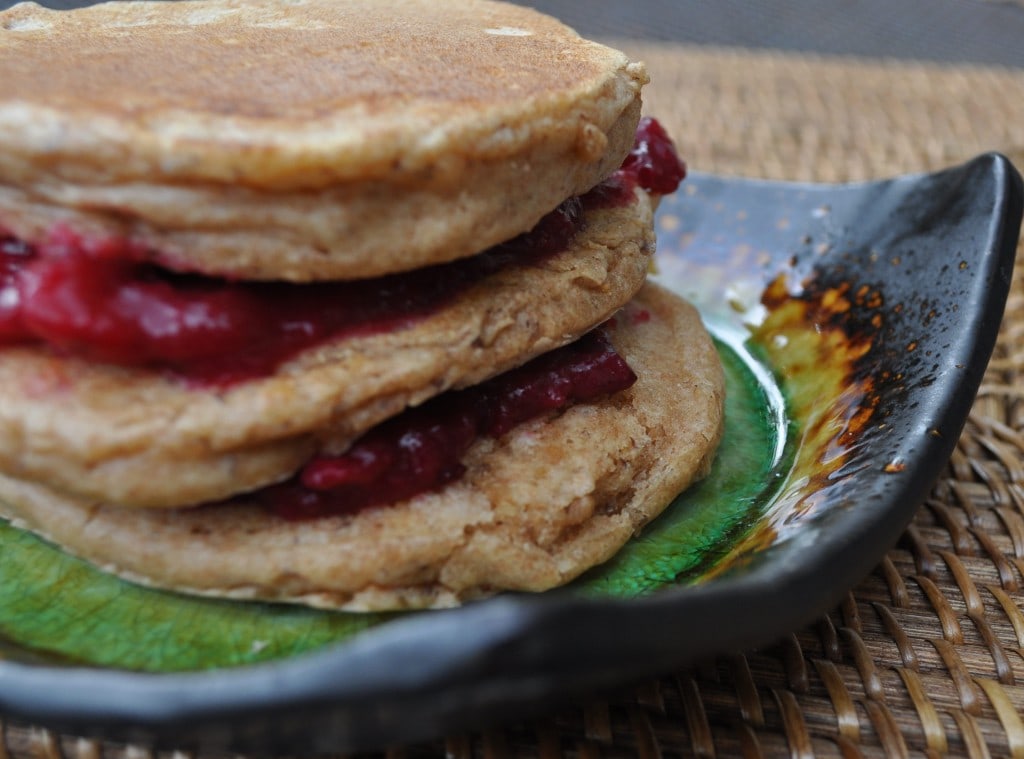
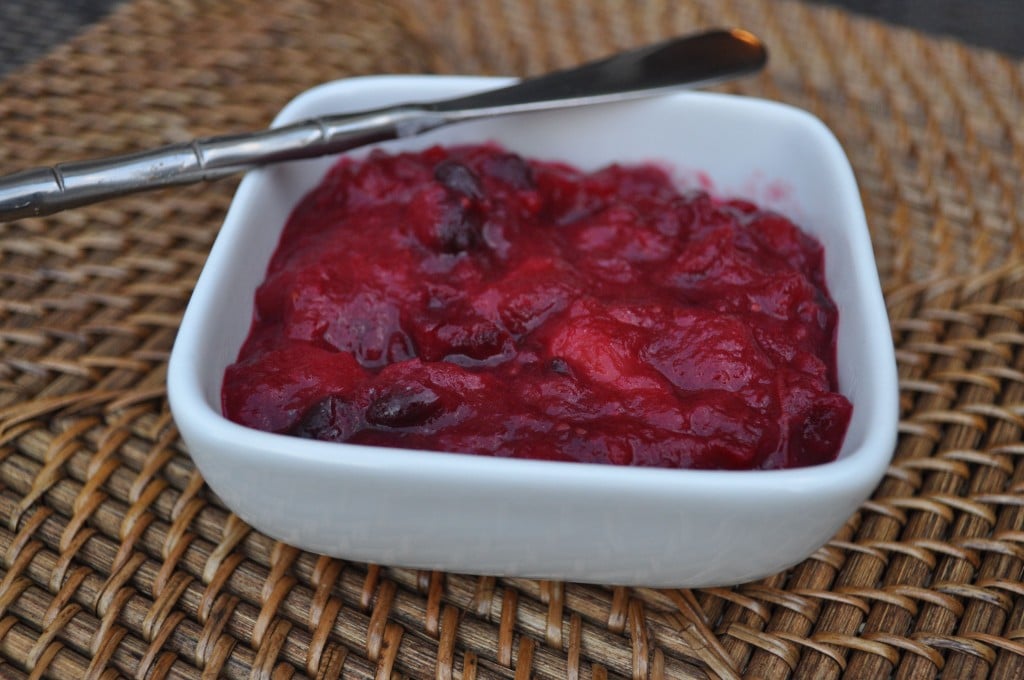
I made my own  Healthy Cranberry Sauce the other day.  It came out fantastic!  So naturally, I have to find some delicious uses for it other than as a side for Thanksgiving.  First, I came up with my Cranberry Thumbprint Cookies and they were a hit.  I also love peanut butter anything, so I decided to try some peanut butter and jelly pancakes!

pancakes

These are not only good, but they are kid friendly too.  What kid doesn’t like peanut butter and jelly?  Plus, it is a fun recipe that you and your kids will enjoy making together.  My daughter, Meadow, loves helping in the kitchen.

Hope you enjoy them as much as we did. 🙂

Peanut Butter and Jelly Pancakes

Peanut Butter and Jelly Pancakes

Prep Time 10 min Cook Time 10 min

Ingredients

  • 1 1/2 cups spelt flour (for a gluten free option, use gluten free flour and add another flax egg)
  • 1 1/4 cups almond milk
  • 1/3 cup peanut butter (or nut butter of choice)
  • 1 T coconut oil
  • 2 1/2 tsp baking powder
  • 1 flax egg (real eggs work too)
  • 1 T maple syrup
  • 1/2 tsp salt
  • Jam of your choice. (I used my homemade cranberry sauce )

Instructions

  1. In a large bowl, mix all the dry ingredients. 
  2. In a small bowl combine the wet. 
  3. You may need to heat up the peanut butter if you keep it in the fridge like I do. 
  4. Add wet to dry and mix until smooth. 
  5. Heat a medium or large skillet pan and scoop out 1/4 cup servings of batter. 
  6. Flip when you see it start to bubble. 
  7. Remove, add jam and eat.

by

Cranberry Surprise Muffins

The other day I made my own cranberry sauce.

Cranberry-Surprise-Muffins-1-1024x680 copy

The batch was a test and not for Thanksgiving yet.  Since it came out so well, I thought I would try to incorporate the leftovers into some delicious baked goods.  The first thing I made was my cranberry thumbprint cookies.

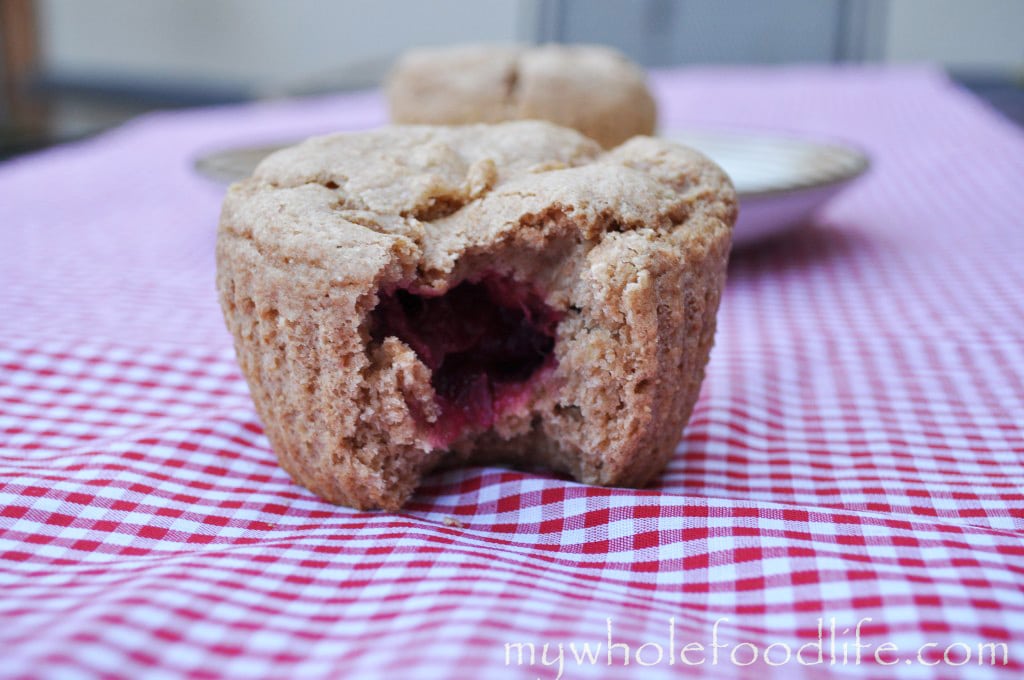
I came up with this muffin recipe because my daughter Meadow always talks about surprises inside the yogurt I make for her.  I just take whole milk yogurt and put a little fruit in the middle.  She gets a huge kick out of that.  It’s almost like finding a hidden treasure.  The sweet thinking of a three year old’s mind. 🙂

What are some sweet things your kids say?

Cranberry Surprise Muffins

Cranberry Surprise Muffins

Prep Time 10 min Cook Time 20 min

Ingredients

  • 1 1/2 cups white whole wheat flour
  • 1/3 cup maple syrup
  • 3/4 cup milk (I used almond milk)
  • 2 tsp baking powder
  • 1/2 tsp salt
  • 1/4 cup applesauce
  • cranberry sauce or your favorite fruit spread

Instructions

  1. Preheat oven to 350. 
  2. Mix all dry ingredients in one bowl.
  3. Mix wet into another. 
  4. Add wet to dry. 
  5. Spoon a bit of the mixture to fill the bottom of the muffin cup. 
  6. Add a small spoonful of cranberry sauce. 
  7. Fill the rest of the muffin cup until it is about 3/4 full. 
  8. Repeat steps for the rest of the muffin cups.
  9. Bake in the oven from anywhere between 15-25 minutes depending on the muffin size you use.  Let them cool completely before removing.  Enjoy!

by

Recipe Notes

I used jumbo cups and only got three muffins. I would suggest using regular sized muffin cups.

Black Rice Stuffed Peppers

Melissa said I could blog this recipe so here we go.  I am her husband, the nerdy guy in the picture on the About page.


Being half-turkish means I ate a lot of Mediterranean food growing up.  We ate everything from baba ghonoush to za’atar. While I was tortured on the playground for eating food that wasn’t stuffed between two very white pieces of Wonder Bread, I did cultivate a bit of a taste for ethnic foods at a young age.

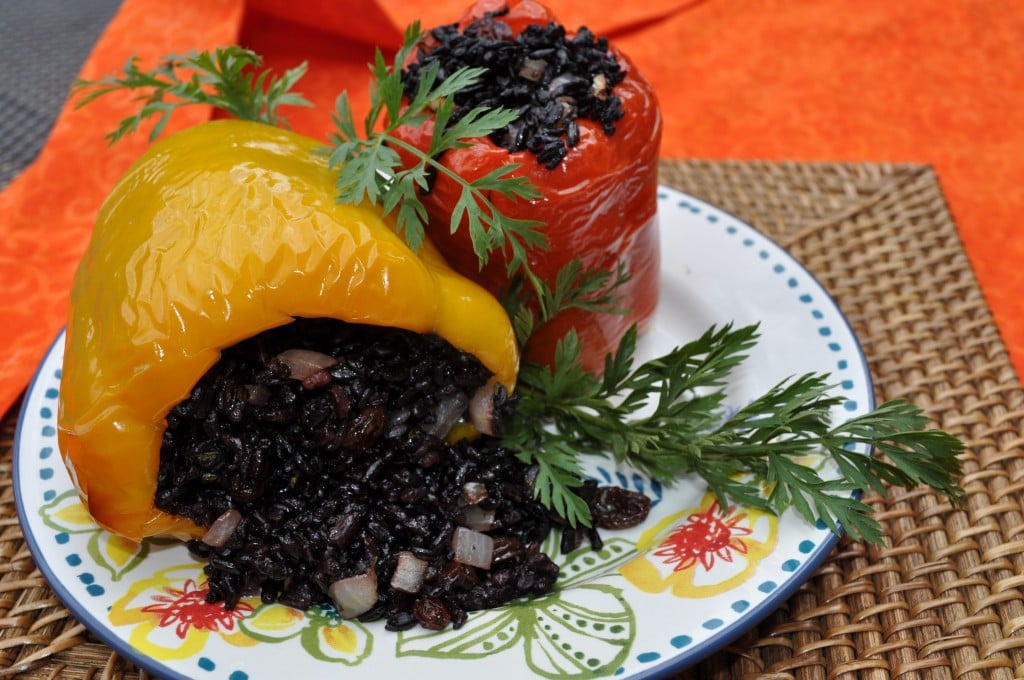
I can still smell the kitchen when my mother would make stuffed peppers. There wasn’t a stuffed pepper I wouldn’t eat. Ground beef, tomato, and rice stuffed peppers were always a good choice, but being that beef and I don’t get along too much anymore, I obviously won’t be sharing that recipe. But, I can say unequivocally, my favorite pepper was rice, onion, and raisin stuff peppers.  I adored these things most likely because they had raisins, and I love raisins.  It’s a kid-in-me thing I guess.

The recipe is below and this is my vegan take on the recipe.  My mother use to add meat to this one as well, but I’ve removed it.  I hope you enjoy.

Black Rice Stuffed Peppers

Prep Time 30 min Cook Time 20 min

Ingredients

  • 2 cups cooked black rice
  • 1/3 diced yellow onion
  • 2 tbsp parsley
  • 3 cloves garlic, minced
  • 1 bay leaf
  • 1/4 cup raisins
  • salt to taste
  • 1 red pepper
  • 1 yellow pepper
  • olive oil (to taste)

Instructions

  1. Put everything but the peppers in a pan and let cook covered for about 10-15 minutes on medium heat.  When you remove the rice mixture, the onions should be soft, but not brown. 
  2. As the rice mixture is cooking, pre-heat oven to 400. 
  3. Also, get your peppers out, wash them off, cut the top off the pepper and remove all the white fleshy bits from the pepper.  I also washed the inside of the pepper to get any straggling seeds left behind.
  4. Once the rice is done, I brushed the peppers with a bit of olive oil to keep them moist in the oven, stuffed them with my rice mixture, and put them in the oven for 20 minutes. 
  5. Enjoy!!!

by

Recipe Notes

If you want a head start, you can cook the rice a night or two before you start this and refrigerate. We always try to keep some cooked rice around and we love black rice but really any non-processed rice would do. I added some oil to the rice to make sure it didn’t burn.

Cranberry Thumbprint Cookies

Yesterday I made some homemade healthy cranberry sauce.

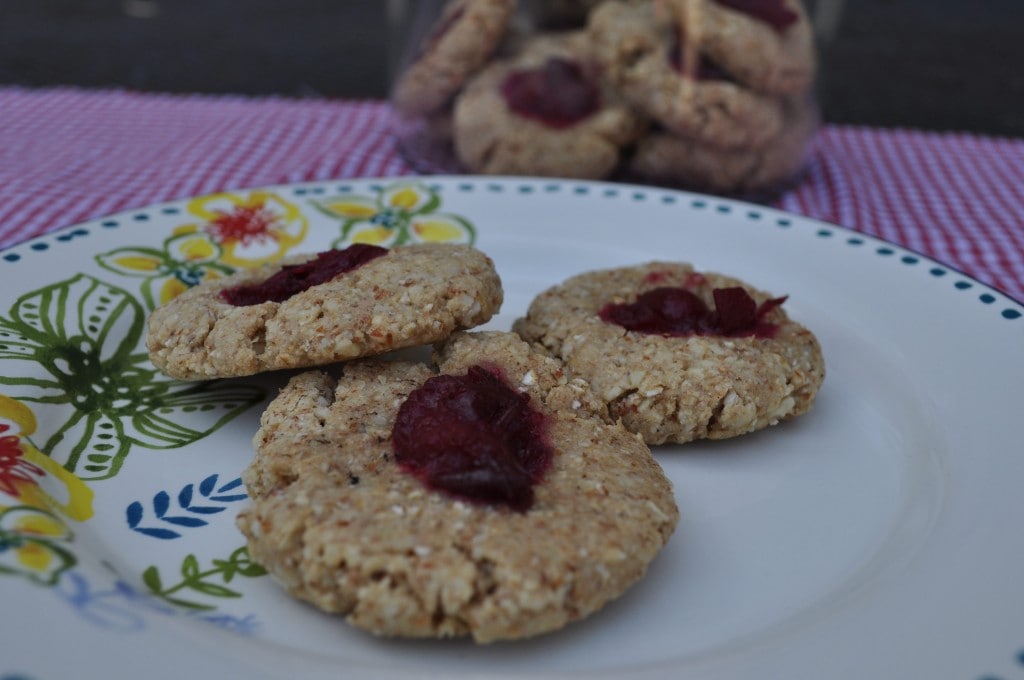
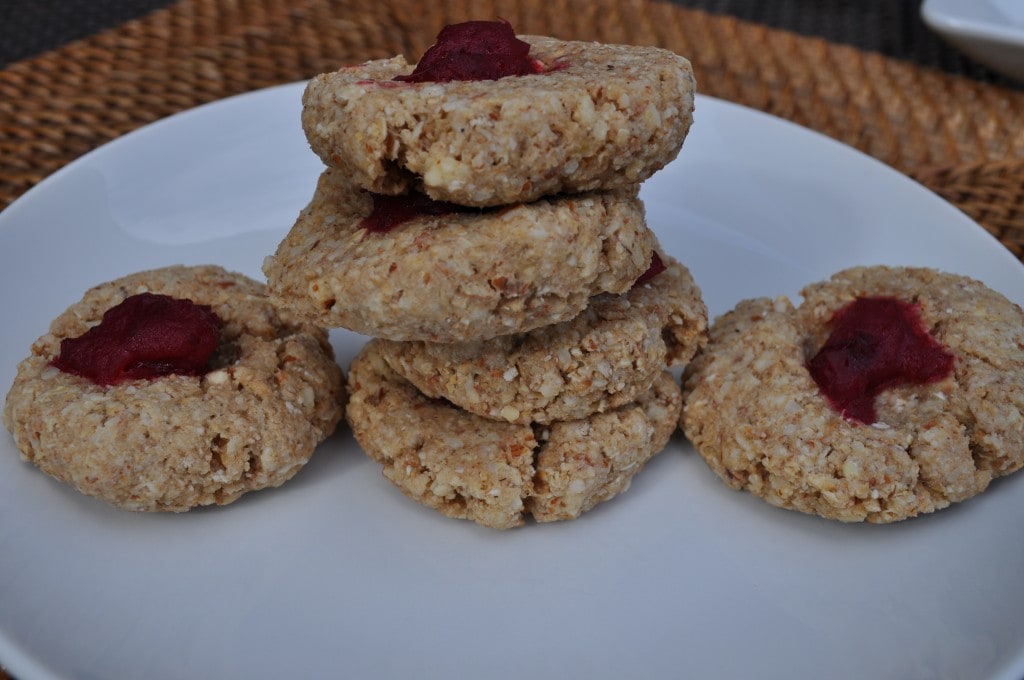
Since it is not quite Thanksgiving, I had to find a way to use up the sauce I made.  So a cookie came to mind and Cranberry Thumbprint Cookies were born!

These are yummy and they are also a fun cookie to make with your kids.  I have made another version of these in the past and my daughter Meadow loved making the thumbprint in each cookie.  She loves eating them too as you can see in this next picture.

My other daughter Olive is to young for nuts, so she had applesauce.

Cranberry Thumbprint Cookies

1 cup rolled oats
1 cup almonds
1 cup spelt flour
1/3 cup maple syrup
1/4 cup coconut oil (measure after melting)
1/4 cup applesauce
2 T milk (I used almond milk)
Any fruit jam you like (I used homemade cranberry sauce)

Preheat oven to 350.  In a food processor, combine the oats and almonds and pulse into a powder. In a large bowl, combine the almond/oat mixture and flour.  In a small bowl combine the applesauce, maple syrup, oil and milk.  Mix wet into dry.  Roll dough into small balls and then flatten the balls with your hand.  Using your thumb, make a thumbprint into each cookie.  Spoon jam into each print.  Bake in the oven for 12-15 minutes.