Blueberries and Cream Popsicles

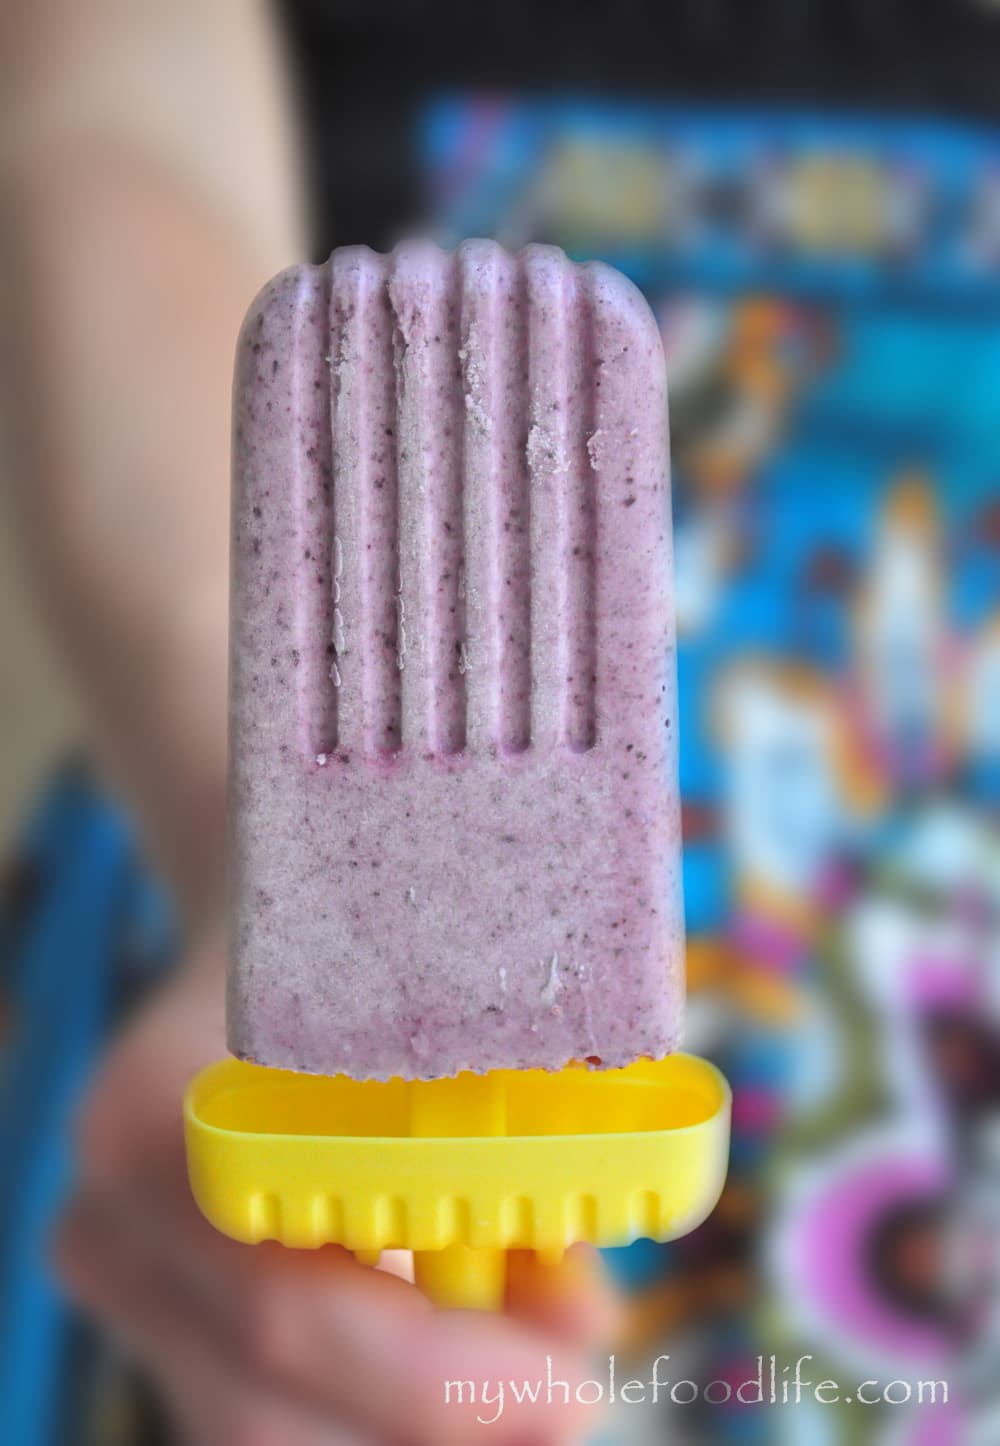
Here in Texas it’s a steamy one hundred degrees this hot summer day.  So, what do you want most on hot days?  Homemade Blueberries and Cream Popsicles!  Kids love food on a stick and ice cream is no exception.

My kids love it.  But, let’s face it, most store-bought frozen treats are laden with excess sugar and too many chemicals.  Not these Blueberries and Cream Popsicles!
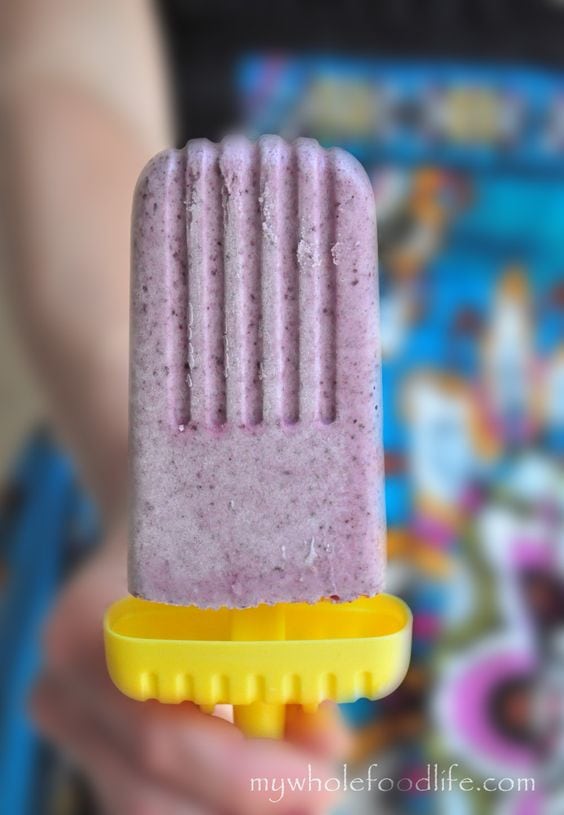
blueberries and cream popsicles

blueberry ice cream watermark

She loves her ice cream!  I love these pop molds too because they have a little tray to catch all the drips.  No mess.  Love that idea!  Well, almost no mess.

olive water mark copy

She may be messy, but she is so darn cute!  I wanted make this popsicle recipe ever since I saw some Pina Colada Popsicles on The Midnight Baker’s blog.  They looked AMAZING!  I just ran out of pineapple, so I subbed blueberries.  Came out super good, but I am trying her recipe as soon as I get my hands on some pineapple!

Blueberries and Cream Popsicles

Blueberries and Cream Popsicles
Prep Time 5 min Serves 6 popsicles     adjust servings

Creamy coconut milk and fresh blueberries is always a winning combination!

Ingredients

Instructions

  1. Pour all ingredients into a blender and blend for about 90 seconds.
  2. Take a taste, if it’s sweet enough, pour into popsicle molds or smoothie pop molds .
  3. If not, feel free to add more maple syrup and blend for a few more seconds.I think I used 2 tablespoons maple syrup total in mine.

by

Recipe Notes

If you don’t have pop molds, you can even make it ice cream, using an ice cream machine . All these options are great. I hope you and your family enjoy them as much as we did. There will be more popsicle recipes coming this summer too!

Strawberry Rhubarb Sorbet

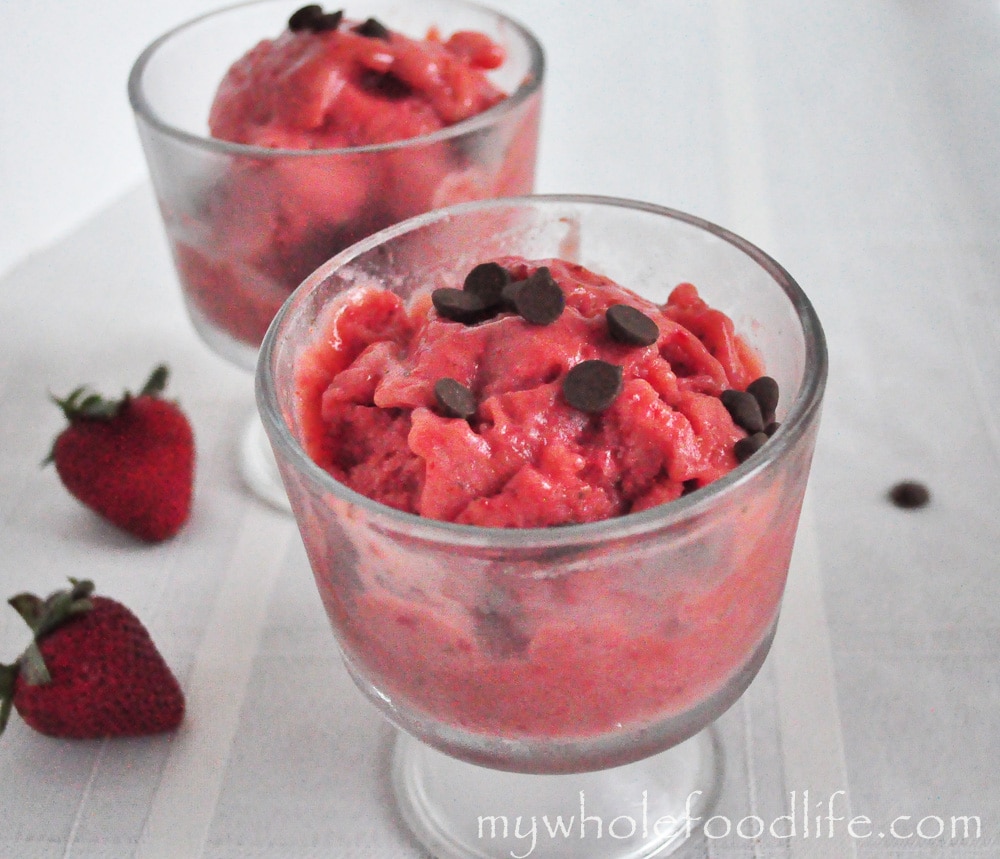
Sorbets are so perfect for this time of year.  Light and refreshing.  I have been wanting  to make a strawberry rhubarb sorbet ever since I got my ice cream machine.  I can honestly say that this is the very first time I attempted anything with rhubarb.  I have eaten it, but I had been intimidated to cook with it.  I know both rhubarb and strawberry are seasonal ingredients so now was the time to make a strawberry rhubarb sorbet recipe. I think this rhubarb sorbet with the strawberry came out pretty good.

strawberry rhubarb sorbet watermark

Yesterday was the perfect day to try.  It was super hot and humid and I had just walked all over the mall with the two kids.  We are doing a family photo this weekend and they needed matching shirts for that.  I was super hot when I got home, so I popped this in the machine real quick.  I must admit, my older daughter was not a fan. Not sure why since my younger daughter and I loved it!  I threw a few carob chips on top for some crunch.  This recipe couldn’t be easier.  If you don’t have an ice cream machine, you can pour the mixture into popsicle molds.  🙂

Strawberry Rhubarb Sorbet

Strawberry Rhubarb Sorbet

Strawberry Rhubarb Sorbet

Prep Time 2 hr Serves 4-5 servings     adjust servings

Ingredients

  • 2-3 large stalks of rhubarb
  • 1 16oz package of strawberries
  • 1/4 cup maple syrup
  • Juice of 1/2 an orange
  • 1 cup water

Instructions

  1. In a sauce pan , add the rhubarb, orange juice, water and maple syrup.
  2. Bring to a boil. Then turn down and simmer, stirring occasionally, until the rhubarb has turned to a mush. Mine took about 10 minutes.
  3. Once it is mushy, turn it off the heat and let it get back to room temp.
  4. Once at room temp, place the mixture in a container in the fridge for a few hours.
  5. Once cooled in the fridge, pour the mixture into a blender with the strawberries. Blend until smooth.
  6. Take a taste test. Mine came out a bit tart. I liked that, but if you prefer a more sweetened sorbet, you can add a few tablespoons of maple syrup or honey and blend for another 30 seconds.
  7. Pour the mixture into the ice cream machine. Mine took about 15 minutes to get to a soft serve consistency. If you like a harder sorbet, you can put it in the freezer for an hour before eating.
  8. Enjoy!

by

Healthy Homemade Pop Tarts

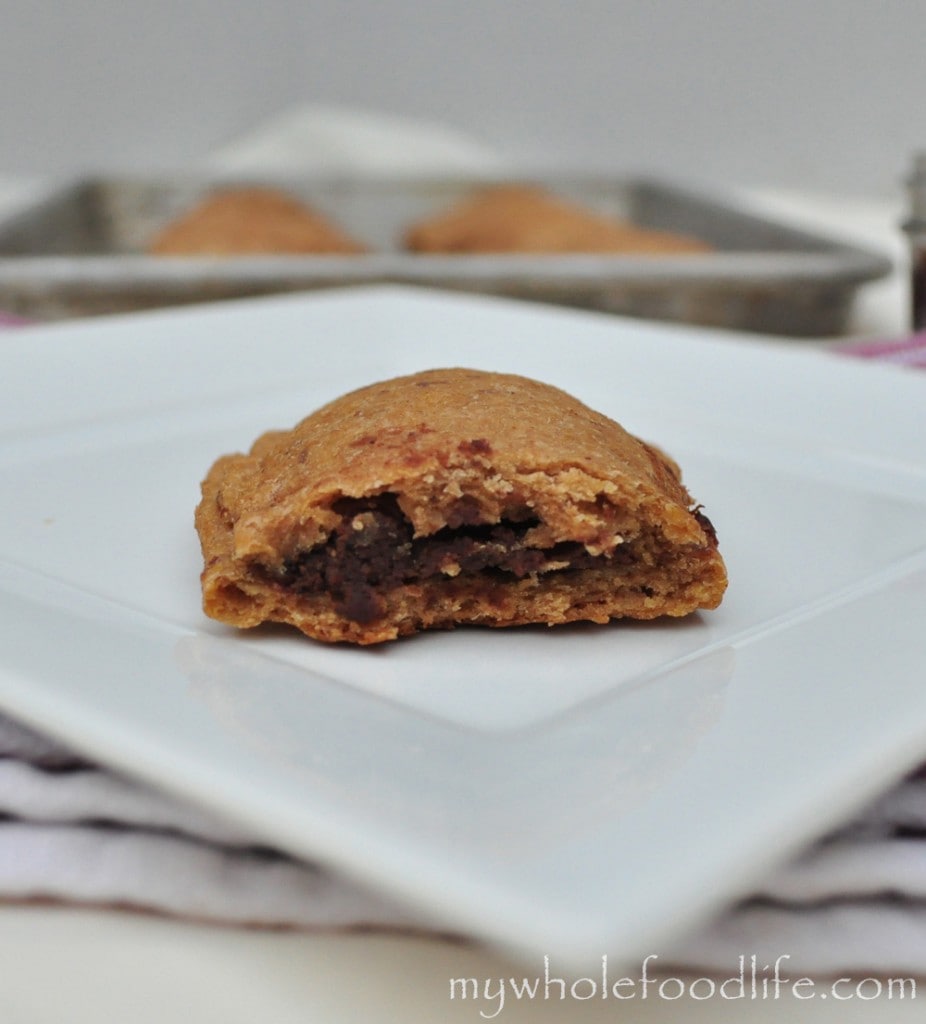
I made Healthy Homemade Pop Tarts for you.  I have been thinking about doing a pop tart recipe for quite some time.  After looking at the ingredients on the label, I knew I would never buy those again.

You can get decent store bought pop tarts with the Nature’s Path brand, but I wanted a homemade pop tart version as well.  Now, I know that store bought pop tarts are normally crisp.  I tried two batches and mine didn’t get crispy.

Mine are on the softer side.  Most likely due to the applesauce and coconut oil.  However, all my taste testers thought they were good.  So I thought I would share anyway. 🙂  Maybe if you put them in a toaster oven, they will crisp up.


healthy homemade pop tarts

I filled mine with two different fillings.  Some have my Blueberry Chia Jam and some have my Homemade Vegan Nutella. Make these ahead of time for a quick breakfast on those busy mornings.

Healthy Homemade Pop Tarts

Healthy Homemade Pop Tarts

Prep Time 30 min Cook Time 15 min Serves 15 pastries     adjust servings

Ingredients

    Healthy Pop Tarts

    For the filling

    • Your favorite fruit spread

    Instructions

    1. Preheat oven to 350. 
    2. Mix all the dry ingredients in one bowl |.
    3. Mix wet in another bowl |. 
    4. Add dry to wet and mix until combined. 
    5. Wrap the dough in plastic and place it in the fridge for at least 30 minutes to firm up. 
    6. Once the dough is firm, cut two pieces of parchment paper the size of your baking sheets
    7. Lay one of the sheets out on the counter. 
    8. Using a bench scraper , cut the dough in half. 
    9. Using a rolling pin , roll the dough ball out onto the parchment, putting the plastic wrap between the rolling pin and the dough. 
    10. Rolling it onto the parchment will make for easy transfer to the baking sheets .
    11. Try to roll the dough into a square shape.  Roll out to about 1/4 in thickness. 
    12. Using a pizza cutter , cut the dough into even squares. 
    13. Put a spoonful of jam on a square and cover with another square of dough. 
    14. Use a fork to press the sides together. 
    15. Repeat this until all have been done. 
    16. Do all the same steps with the other half of the dough. 
    17. Transfer the parchment paper onto the baking sheet and put in the oven. 
    18. Bake for about 15-17 minutes.

    by

    Recipe Notes

    I got 15 small sized pop tarts out of my batch. These should last a couple weeks in the fridge. You can also freeze them for longer storage. Enjoy!

    Wheat Berry Salad with Cranberries

    On Memorial Day, my daughter wanted to have a picnic at the park.  It was kind of impromptu, so we stopped by Whole Foods to pick up a few things.  One thing we got was this delicious salad with wild rice and kamut.  I decided right there that I would have to create my own version.

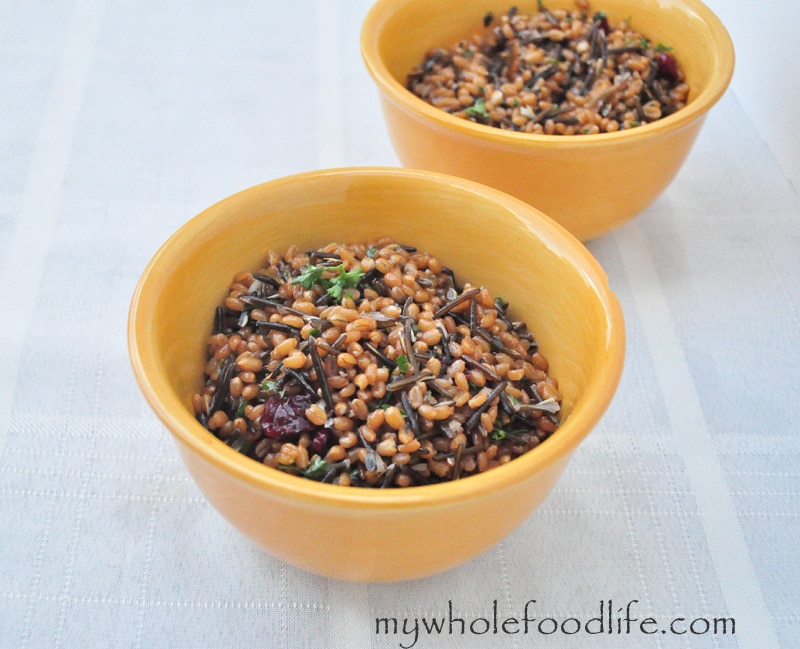
    wheat berries watermark

    I used wheat berries and black rice instead of kamut and wild rice.  It turned out even better that way.  This is perfect for summer.  If you have never had wheat berries, they have a nutty flavor that goes perfect with the long grain black rice.  This is the kind of meal that will keep you full for quite some time.  Since it contains wheat berries and black rice, it could be a complete meal as well.

    Wheat Berry Salad with Cranberries

    Wheat Berry Salad with Cranberries

    Prep Time 10 min Cook Time 30 min

    Ingredients

    • 2 cups wheat berries
    • 7 cups water
    • 1 cup long grain black rice
    • 1/3 cup dried cranberries
    • 2 T fresh thyme
    • 2 T fresh parsley
    • 1/4 cup apple cider vinegar
    • Juice from 1 large orange or 1/4 cup orange juice
    • 2-3 T oil (I used avocado oil)
    • salt to taste

    Instructions

    1. Put the 2 cups of wheat berries and 7 cups of water in a large pot on the stove. 
    2. Bring to a boil and then turn down, cover and simmer until all the liquid has been absorbed.
    3. Cook the rice according to the package instructions.  You can even do both of these steps a day ahead if you like.  I did that myself. 
    4. Once the rice and wheat berries are cooled, add in the thyme, parsley, cranberries and salt. 
    5. In a small bowl, mix the remaining ingredients together to make a dressing. 
    6. Pour the dressing over the dry ingredients and mix well.

    by

    Recipe Notes

    This makes at least 4-5 good sized portions. Enjoy!

    Almond Butter Protein Bars (Vegan)

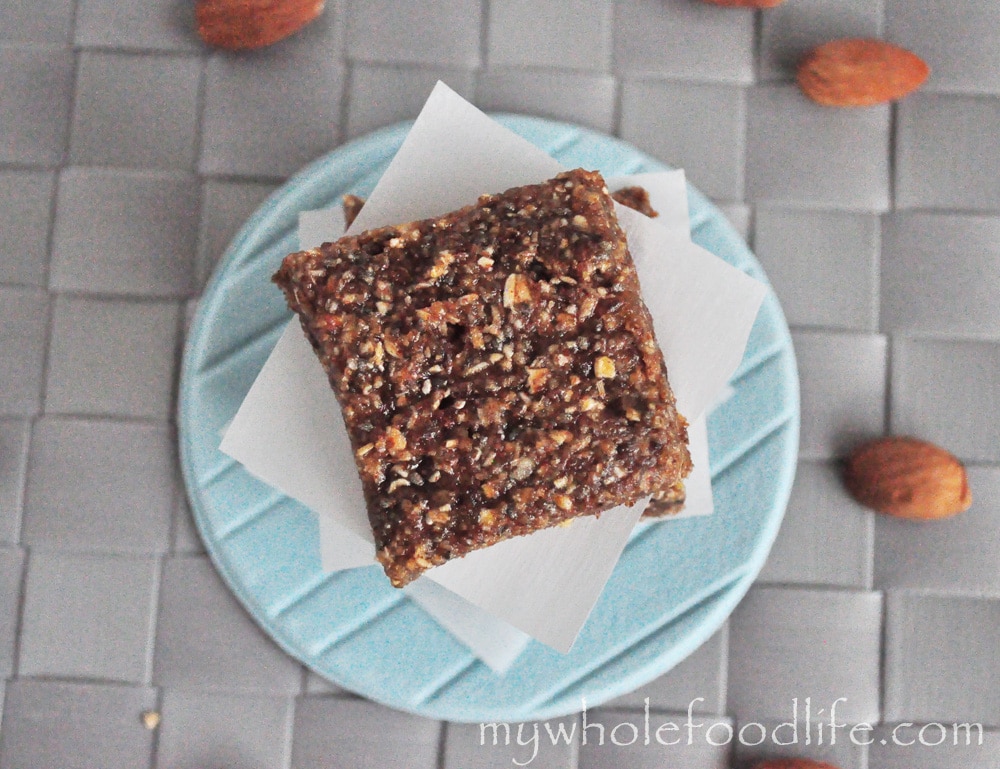
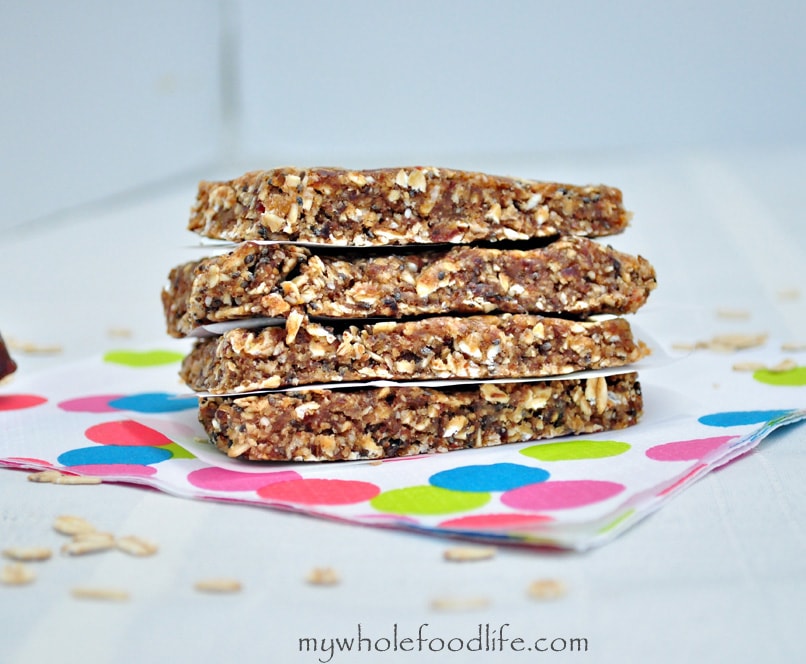
    Almond Butter Protein Bars.  Have I told you how much I love almond butter?  I eat it almost daily.  One of my favorite healthy sweet snacks is a date stuffed with almond butter.

    If you haven’t tried it yet, you really should.  Totally curbs a sweet tooth!  So I created these almond butter protein bars with that snack in mind.


    almond butter protein bars


    These would be a great pre/post workout snack.  Most of the protein shakes on the market are full of unwanted ingredients or too much processed sugar.

    Why not try these instead?  They are filled with wholesome ingredients.  They can be made in minutes and you could enjoy one with my Energizing Green Juice.

    To watch a video of just how easy this is to make on your own, watch me below.  For more videos, you can subscribe to my You Tube Channel.

    Almond Butter Protein Bars

    Almond Butter Protein Bars

    Prep Time 20 min Serves 10 bars     adjust servings

    Ingredients

    Instructions

    1. In the food processor or Vitamix, grind the oats into a course consistency. 
    2. Add the remaining ingredients and mix until a sticky dough is formed. 
    3. From here, you can roll them into balls or make them into bars like I did.  I used an 8 x 8 pan, but I think a slightly smaller pan would work better.  If you use a pan, line it with parchment leaving enough room to come out the sides.  That way they will be easy to pull out and cut. 
    4. I used a pizza cutter to cut mine. 
    5. Let them chill in the fridge for about 30 minutes to an hour.  That’s it.  I cut mine into squares and got about 10 in my batch.  Enjoy!

    by

    Grain Free Blueberry Tart (Vegan)

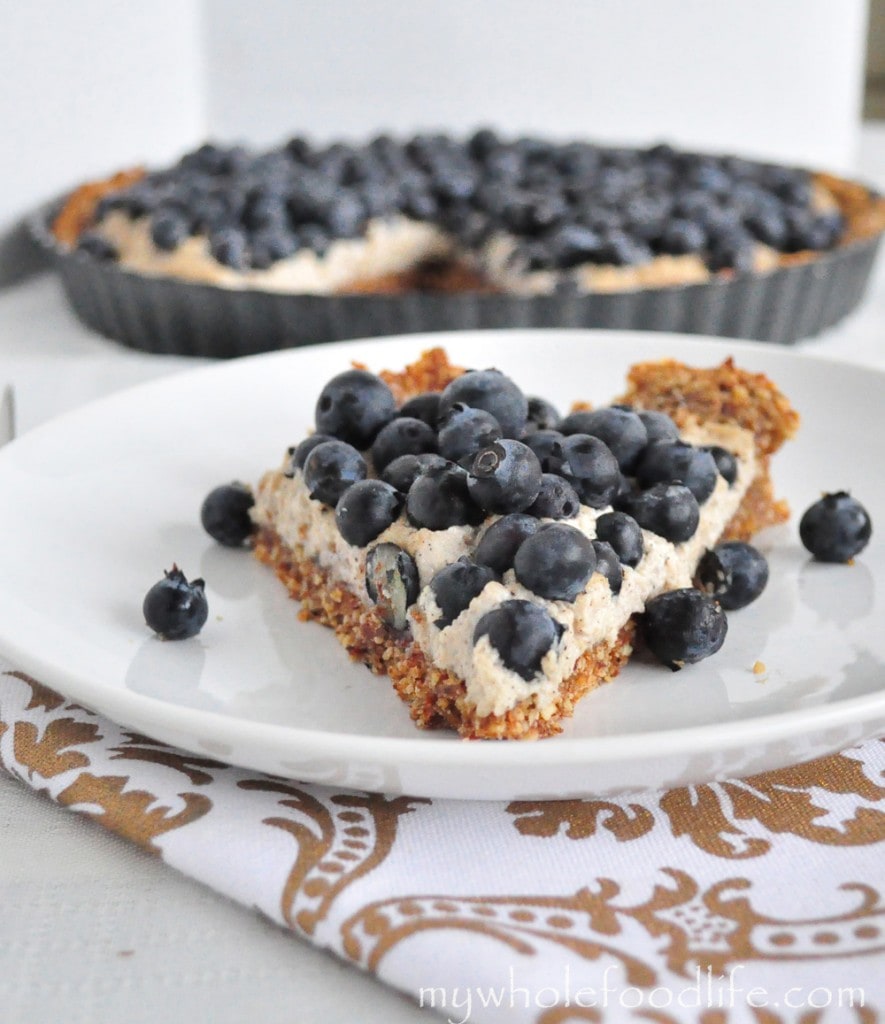
    Grain Free Blueberry Tart.  Today we got our co-op basket.  There was an optional add-on for blueberries so I took it.  12 pints of organic blueberries!

    We gave some to my in-laws and we took the rest.  My older daughter just LOVES blueberries.  She ate a whole pint in one sitting.  I can’t say I blame her!

    They are so good!  I have been wanting to do a fruit tart recipe for a while now, so I thought I would make a grain free blueberry tart. I can tell you my family was not disappointed.


    Grain Free Blueberry Tart


    It was awesome!  This tart is not only grain and gluten free, it’s also vegan! 🙂  It’s super easy to make too.

    Grain Free Blueberry Tart

    Grain Free Blueberry Tart

    Prep Time 20 min Cook Time 10 min Serves 12 slices     adjust servings

    A no fuss dessert that looks fancy, but is really easy to make!

    Ingredients

    Instructions

    1. Preheat oven to 350.
    2. In the food processor, grind the almonds.
    3. Once they are ground to a course consistency, add in the dates, coconut oil and a small amount of water.
    4. Pulse until a dough forms.
    5. Press the mixture into a greased tart pan.
    6. Bake in the oven for about 10 minutes.
    7. While it is baking, drain the soaked cashews and throw them in the blender with the maple syrup and vanilla. You can probably use a food processor for this as well.
    8. Blend up the cashews until they are a smooth cream. You may need to add a small amount of water or milk to get it smooth. You will want a cream-like consistency.
    9. Spread the cashew cream over the tart crust and top with blueberries.

    by

    Recipe Notes

    I would imagine this would keep in the fridge for a week at least. If you can get it to last that long! Enjoy!