Easy Teriyaki Sauce (No Refined Sugar)

Easy Teriyaki Sauce with no refined sugar!  I am a big fan of creating recipes for things I would have bought in the store.  This homemade teriyaki sauce is one of those things.

I have made homemade ketchup, homemade salad dressings and homemade tomato sauce.  Teriyaki sauce is another to add to the list.

Have you looked at your store bought teriyaki sauce?  Most of them are loaded with highly refined sweeteners like high fructose corn syrup.

My homemade teriyaki sauce recipe is made of just a handful of real ingredients and no processed sugars!  Keep in mind, since there is less sugar, it will not be as sweet as store bought sauce.  I promise it is delicious though!


easy teriyaki sauce

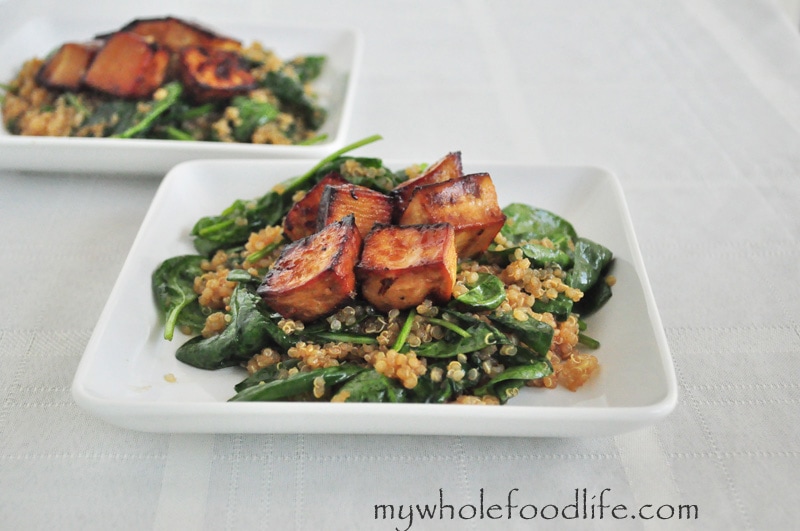
In addition to the sauce,  I wanted to test it out in a dish as well.  So I made an additional recipe. It’s a teriyaki glazed tofu recipe.

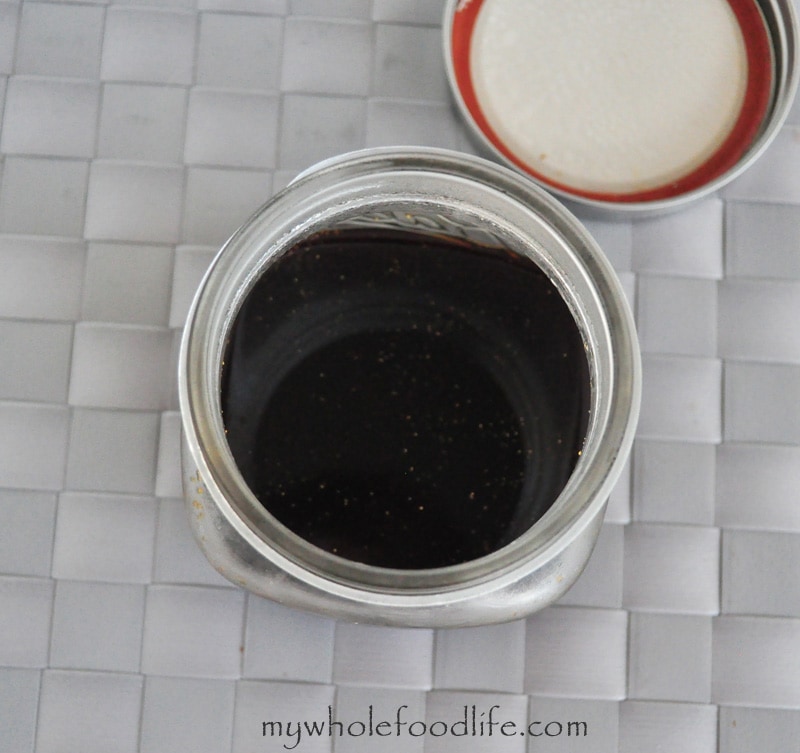
I like to store this homemade vegan teriyaki sauce in mason jars.

Easy Teriyaki Sauce

Easy Teriyaki Sauce
Prep Time 20 min Cook Time 10 min Serves 4 servings     adjust servings

Ingredients

    Easy Teriyaki Sauce

    • 1/2 cups soy sauce or tamari . (Please try to buy these organic)
    • 1/4 cup + 1 T mirin (Japanese cooking wine)
    • 1 1/2 T maple syrup
    • 1/4 tsp ginger
    • 1/2 tsp garlic
    • 1/2 T arrowroot (this is used as a thickening agent.)

    Teriyaki Tofu Stir Fry

    • 1 pkg extra firm tofu (please try to buy this organic)
    • 5-6 handfuls of spinach
    • 2 cups cooked quinoa
    • teriyaki dressing

    Instructions

      Easy Teriyaki Sauce

      1. In a sauce pan , mix all the ingredients on low heat for about 5-7 minutes.
      2. Transfer to a mason jar.

      Teriyaki Tofu Stir Fry

      1. Preheat oven to 375.
      2. Cut the tofu in cubes and place into a container.
      3. Pour the teriyaki mixture into the container and let it marinate for at least an hour.
      4. When it’s done marinating, use a slotted spoon to scoop up the tofu and lay it on a lined baking sheet .
      5. Bake for about 35-45 minutes, stopping halfway through to flip and brush more sauce on the tofu.
      6. Once the tofu is done, set it aside.
      7. In a large saucepan , heat the cooked quinoa with the remaining sauce.
      8. Turn down, cover and simmer for about 5-7 minutes.
      9. Lastly add the spinach and cook just until it is slightly wilted.
      10. Uncover and let the remaining sauce boil off. Top with the roasted tofu. Enjoy!

      by

      Recipe Notes

      The mixture will thicken slightly in the fridge. When ready to use, you can try the quinoa dish. If tofu isn’t your thing, feel free to use your favorite protein.

      Chocolate Peanut Butter Fudge (Vegan)

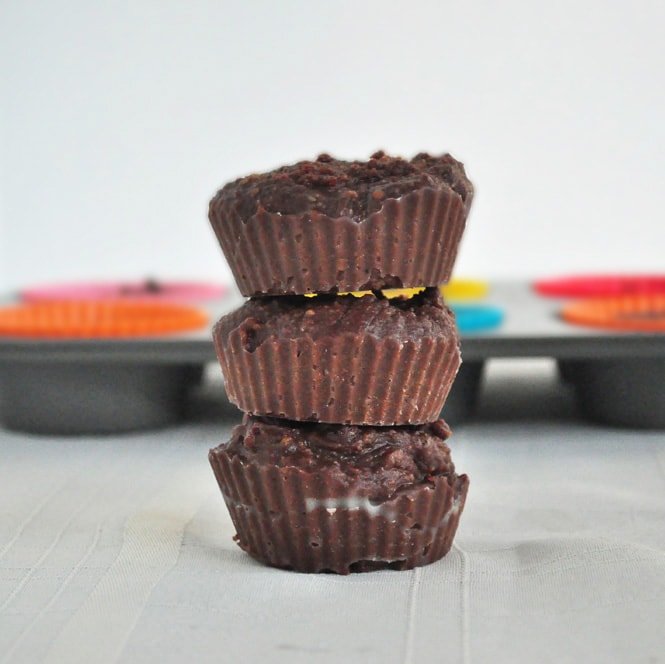
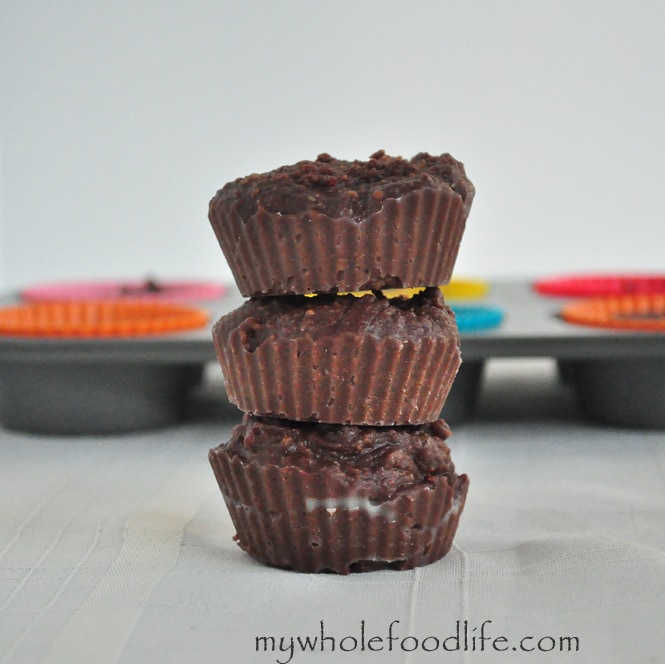
      Chocolate Peanut Butter Fudge that is vegan and gluten free.   I have 5 words for you Chocolate Peanut Butter Vegan Fudge.  Yes.  You heard that right.

      You can make a clean eating peanut butter fudge.  A little bite of heaven that melts in your mouth.  Who doesn’t like chocolate and peanut butter, right?  This healthy fudge recipe is super simple to make!


      Chocolate Peanut Butter Fudge

      When I first created my Coconut Almond Fudge, my husband told me it would be awesome with some chocolate.  So this recipe was born. Let me be the first to tell you, it’s freaking amazing.

      If you are a chocolate and peanut butter fan, you will love this chocolate peanut butter fudge!   These are very rich and decadent, so one will satisfy your sweet craving – maybe even 1/2 of one.

      The recipe makes a lot, so freeze whatever you don’t want to eat in the first week or so.  It would also be equally delicious made with almond butter.  I like to keep mine in the freezer for when I want a super rich dessert.

      Looking for more fudge recipes?

      Chocolate Peanut Butter Fudge

      Chocolate Peanut Butter Fudge

      Prep Time 5 min Cook Time 60 min Serves 12     adjust servings

      This fudge is melt in your mouth delicious!

      Ingredients

      Instructions

      1. In a medium saucepan , mix all the ingredients on medium heat and stir until everything is combined. It should take a few minutes to combine and I suggest stirring it the whole time.
      2. Once the mixture is smooth and combined, transfer to muffin pans with liners .
      3. Store in the fridge to firm up. I used standard sized, but mini muffin pans would work well too.

      by

      Recipe Notes

      I’m not going to lie, this recipe is a good arm workout to make, but is well worth it. You will not disappointed. They can be frozen as well! Enjoy!

      Wheat Berry Salad with Corn and Peppers

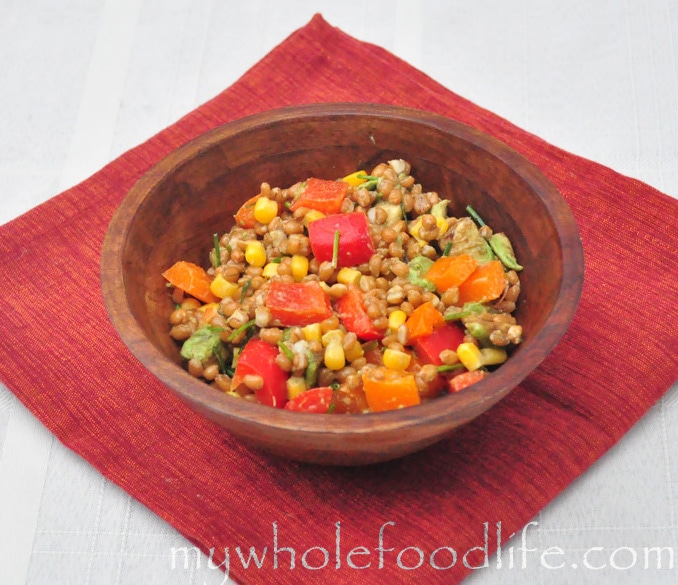
      I love the nutty flavor that wheat berries have.  If you haven’t tried them yet, you really should.  They are delicious!  I also have a Wheat Berry Salad With Cranberries on the blog.  Since it’s summertime, I am still on my cold salad kick.  My husband and I came up with this meal from scraps we had in the fridge.  It turned out to be really good!  We used some of our organic and non GMO corn we had stashed in the freezer.

      wheat berry and corn watermark

      Sometimes when you clean out the fridge, you get the best meals.  This came out so good, we made a second batch the following day.  If you have a gluten allergy, you can replace the wheat berries with quinoa and this will be equally delicious!

      Wheat Berry Salad With Cranberries

      Wheat Berry Salad with Corn and Peppers

      Prep Time 20 min

      Ingredients

      Instructions

      1. Throw all the ingredients in a bowl and mix well.

      by

      Recipe Notes

      To make this even better, let it sit in the fridge for a few hours so the flavors can develop further. It’s even better the next day! This made 4-5 servings. Enjoy!

      Tropical Popsicles

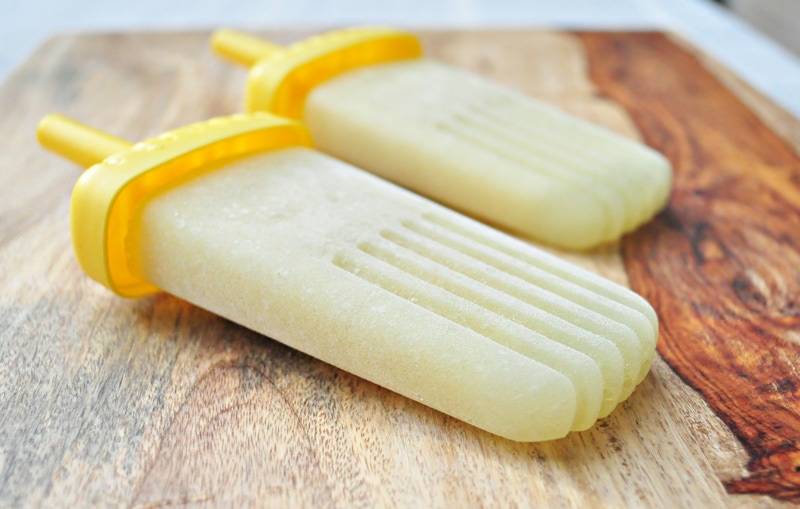
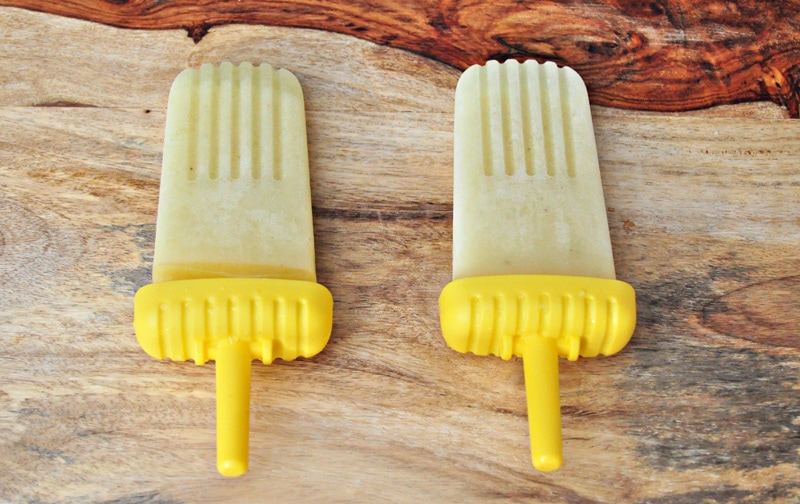
      I love making my own popsicles.  These tropical popsicles are my latest creation  Most store bought brands contain unnecessary ingredients.  When I make my own, I can create whatever I like.  I even take requests from the girls.  It’s been so hot here in Texas, so a frozen treat is perfect. These tropical popsicles are awesome. They are cool and refreshing, and well… tropical.

      Tropical Popsicles

      These tropical popsicles are very easy to make.  Did you know that coconut water is a natural electrolyte replacement?  It totally is!  Much better than Gatorade.  Tastes better too!  These would make the perfect post workout snack.  I hope you enjoy them.

      Tropical Popsicles

      Tropical Popsicles

      Prep Time 10 min Serves 6 popsicles     adjust servings

      Ingredients

      • 2 cups fresh pineapple cubed
      • 2 cups honey dew melon cubed
      • 1 banana
      • 1 cup coconut water

      Instructions

      1. Blend all the ingredients in a blender for about 1-2 minutes.
      2. Pour into popsicle molds . You can also use smoothie pop molds . That’s it! Enjoy!

      by

      Raspberry Nutella Tarts

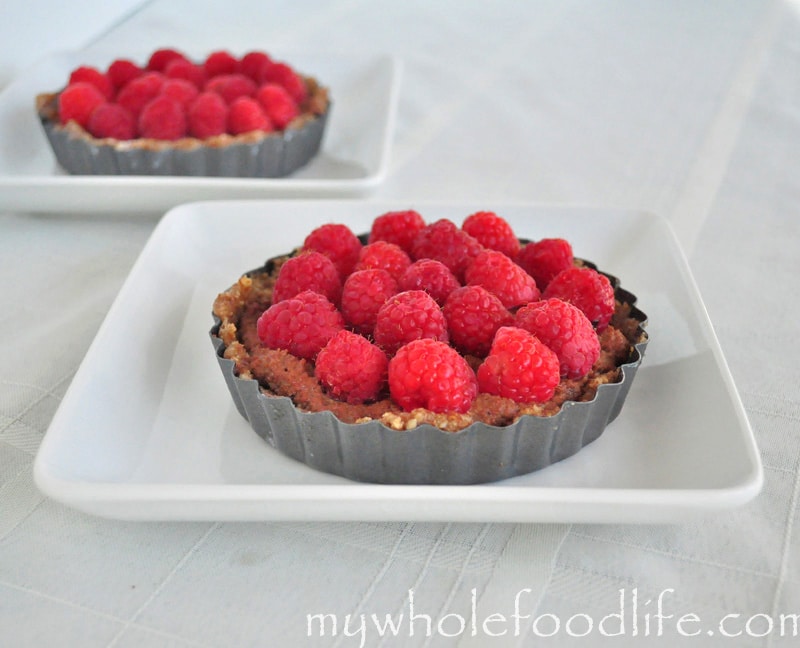
      I have said this before, but growing up with a German mother meant we ate a lot of Nutella.  I loved it as a child.  Now I know that store bought Nutella is very unhealthy.  So I have created my own Healthy Homemade Nutella.  I have used it in many dishes on this blog.  Now it is time for a Raspberry Nutella Tart.

      Nutella Tart 2 watermark

      We all need to enjoy a tart every once and a while.  I love them and they are perfect for summer.  There is no cooking involved!  These are completely raw.  They are also vegan, grain free and gluten free!  If you feel compelled to cook the crust, you can.  You just don’t need to.  These are very easy to make even though they look kind of fancy.

      Raspberry Nutella Tarts

      Raspberry Nutella Tarts

      Prep Time 30 min Serves 5 tarts     adjust servings

      Ingredients

        For the crust

        For the filling

        For the fruit

        • 2 cups fresh raspberries or strawberries

        Instructions

          For the crust

          1. In a food processor , grind up the almonds until they are a course consistency.
          2. Once they are ground, add in the dates and water until the dough comes together. If you are not using a high powered food processor , you might want to soak the dates for 5 minutes in water to soften them.
          3. Grease your tart pan or mini tart pan s and then press the dough into the pan and up the sides. The dough will be sticky and I find that working with wet hands helps.
          4. Once the dough is set into all the tarts, place them in the fridge to firm up. About 30 minutes.

          For the filling

          1. While the tarts are setting up, you can make the filling. In the food processor , grind up the hazelnuts into as fine of a powder you can get them.
          2. Once they are ground, add in the remaining ingredients. If the mixture seems too thick, you can always add a bit more milk.
          3. Once the crusts are set, spoon the filling into each one and top with the fruit.
          4. Enjoy!

          by

          Healthier Corn Fritters (Vegan)

          Healthier Corn Fritters.  So a few weeks ago, our co-op offered an add on of 48 ears of organic and non GMO corn.  I love corn on the cob, so I got the add on.

          That day, we boiled and cut all the corn and stuck most of it in the freezer.  It took all day!  I used some to make my Honey Balsamic Bean Salad.  This weekend, we decided to make corn fritters.  The traditional way calls for deep frying.

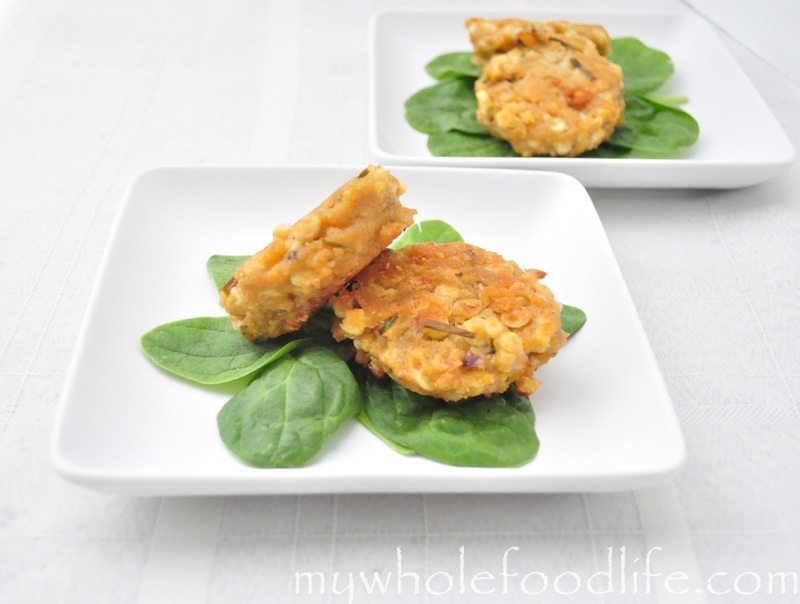
          We pan seared ours and then baked them.  So they still have a crunchy crust, but are mostly baked.  This is one of my husband’s recipes.


          healthier corn fritters


          These came out so good!  It’s been rainy here the last couple days and I didn’t want to eat them before I was able to get photos.

          I am so glad I got a chance to shoot these so I can have them for lunch today.  These fritters would be perfect on top of a salad, eaten as a burger, or just topped with some avocado.

          Healthier Corn Fritters

          Healthier Corn Fritters

          Prep Time 10 min Cook Time 22 min Serves 10 - 12 fritters     adjust servings

          Ingredients

          Instructions

          1. Preheat oven to 425. 
          2. Throw all the ingredients in a bowl , and mix until the batter comes together.  I did this by hand.
          3. Form into small patties. I used a 1/4 cup measurement for this.
          4. Lightly oil a large saucepan on medium to medium high heat.
          5. Lay the patties into the pan and sear for 1-2 minutes on each side. Just enough to give it a nice crispy outside.  You may need to add a bit more oil if the pan looks dry.  
          6. Repeat these steps until all the patties are seared.
          7. Lay the patties on a parchment lined baking sheet. Bake for 20 minutes, stopping in the middle to flip them over. Enjoy!

          by

          Recipe Notes

          I got 10-12 patties out of this batch.