Pina Colada Ice Cream

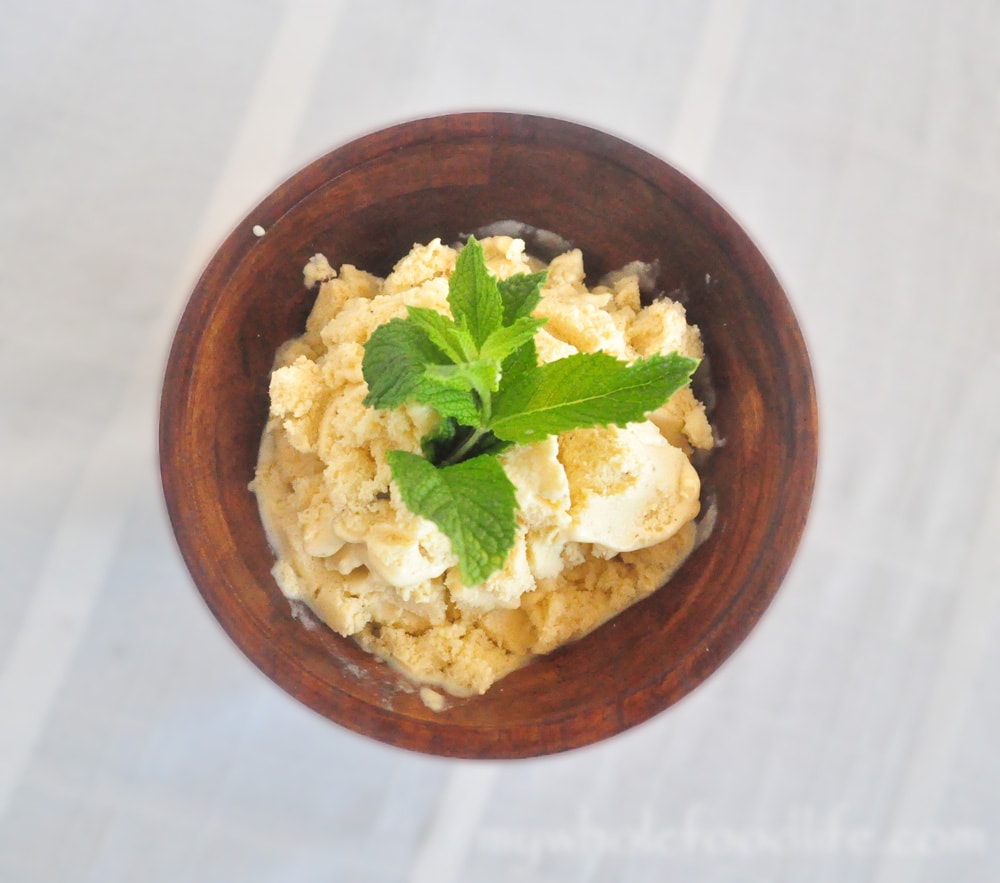
Summer is here and who doesn’t like a frozen treat?  I already have several up in my recipe index.  This pina colada ice cream is just a perfect addition.  The taste of pina colada reminds me of when I lived in Las Vegas.  We would go to the resort pool parties and sip on pina coladas.  Super yummy.  I found this recipe initially at The Midnight Baker’s website.  She made them into popsicles, but I turned them into ice cream.  You could do either.

pina colada ice cream watermark blur

If you don’t have an ice cream machine, you can make them into popsicles
or smoothie pops.  Any way will work great!  We received a pineapple and some vanilla beans in our co-op basket so I used them in this recipe.

Pina Colada Ice Cream

Pina Colada Ice Cream
Prep Time 15 min Serves 4-5 cups     adjust servings

Ingredients

  • 1 can coconut milk (I used Thai Organic)
  • 1 frozen banana
  • 1 vanilla bean (whole) 1tsp extract would work well too.
  • 3 cups pineapple diced
  • 2 T liquid sweetener (optional)

Instructions

  1. Throw all the ingredients in a blender and blend for about 90 seconds. Take a taste. It will be slightly tart. I liked it that way.
  2. You can also add 2 T of maple syrup or honey to sweeten it more if you like. I did not add any sweetener to mine.
  3. Pour contents into ice pop molds or an ice cream machine . Mine took about 20 minutes in the machine.
  4. The ice cream will come out like soft serve. If you prefer a harder ice cream, place in the freezer for 30 minutes to an hour to firm up. Enjoy!

by

Super Easy Tacos

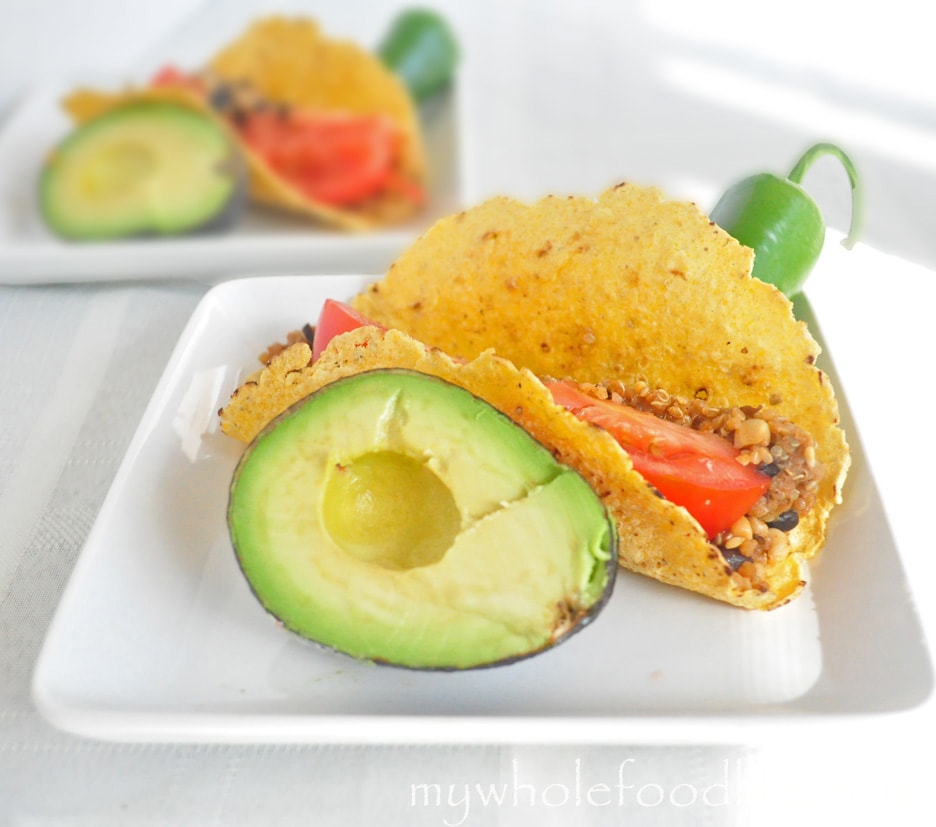
I have said before that my husband is a huge fan of all Tex Mex food.  I swear he could eat tacos everyday.  This is one recipe that he makes that I absolutely love, even though I am not that into Tex Mex.  This recipe is not spicy, because I am a wimp when it comes to spicy food.  I will add in some options if you want it a little hot.

tacos watermark

Last week, in our co-op, there was an option to buy 48 ears of organic and non GMO corn.  We jumped on that deal and have it tucked away in our freezer.  We used some of that corn in this recipe.  There is nothing like the sweet taste of corn on the cob.  It reminds me of summer just like watermelon does.  Yum!

Super Easy Tacos

Super Easy Tacos

Prep Time 10 min Cook Time 15 min

Ingredients

  • 2 cups black beans
  • 2 cups corn (please use organic and non GMO corn if possible)
  • 1-2 cups cooked wild rice or quinoa
  • 1/2 yellow onion chopped
  • 2 tsp cumin
  • 1 tsp garlic
  • 1 tsp chili powder
  • Juice from 1/2 lime
  • 3 T oil (I used Avocado Oil )
  • 1/2 tsp cayenne (optional)
  • 1 pickled jalapino chopped (per taco)

Instructions

  1. Cook the rice or quinoa according to the package instructions. 
  2. I actually always have some kind of a grain cooked in the fridge that I can add to meals to stretch them out. 
  3. In a large sauce pan , saute the onions, beans and spices in your oil of choice.
  4. When onions begin to soften, add corn, rice and lime juice and cook an additional 7 minutes or so on medium heat. That’s it.

by

Recipe Notes

Now you can create the taco with whatever fixings you like. We use Food for Life sprouted corn tortillas, add in the cooked mixture, tomatoes, avocados, cilantro and cheese of your choice. We use our dairy free cheese sauce and it tastes awesome with this recipe. Enjoy!


Coconut Almond Fudge (Vegan and Paleo)

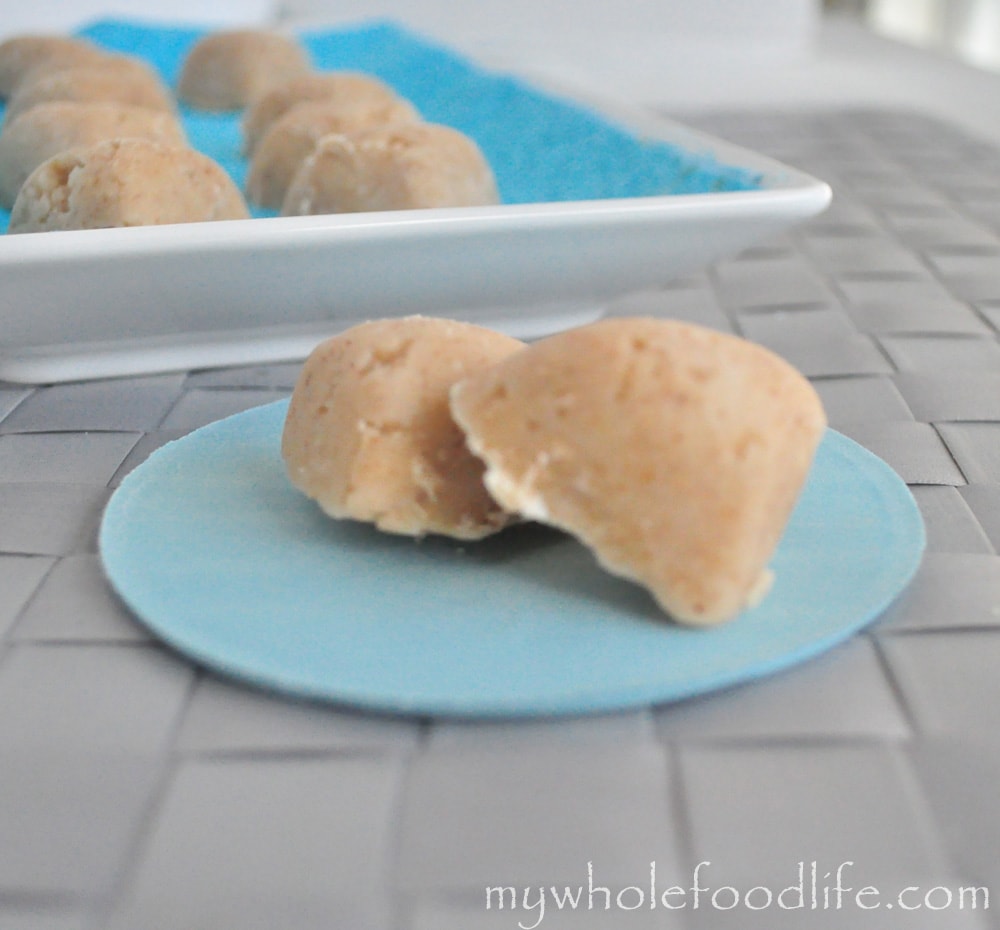
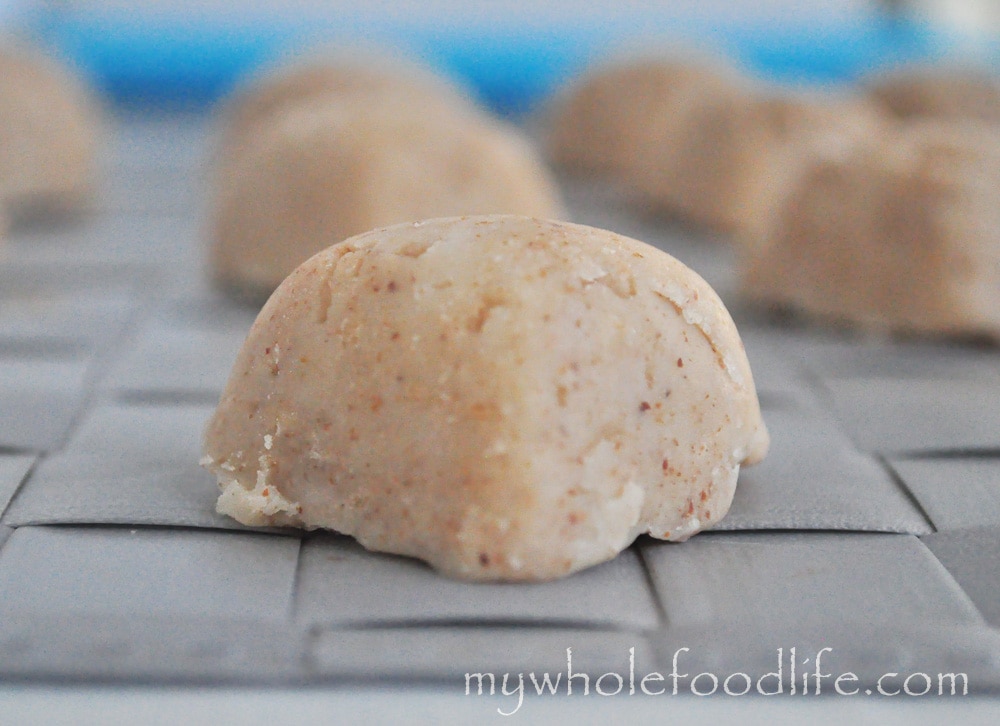
Coconut Almond Fudge.  I thought I would never again enjoy a sweet bite of indulgent coconut fudge eating a clean and vegan diet. Who doesn’t like fudge?  It literally melts in your mouth with it’s velvety texture.

The minute I had my first taste of coconut butter, I knew I could find a way to make it vegan AND clean. Introducing my Coconut Almond Fudge.  This fudge recipe is truly for coconut lovers!


coconut almond fudge


This coconut almond vegan fudge is so good.  If you like my Coconut Truffles, you will love these!  The best part?  They fit almost every diet.  They are grain free, gluten free and vegan.  If you have a nut allergy, you can try making them with sunflower butter.

I am sure they would be great that way too!  I used chocolate molds to set my fudge, but mini muffin cups would work great too!  If using mini muffin cups, please use a paper or silicone wrappers so they can be easily removed.

Looking for more fudge recipes?

Coconut Almond Fudge

Coconut Almond Fudge

Prep Time 10 min Serves 15     adjust servings

Coconut and almonds that go beautifully to create a fudge that melts in your mouth.

Ingredients

Instructions

  1. In a saucepan , combine all the ingredients.
  2. Stir on medium heat until everything is combined.
  3. Pour into molds and store in the fridge to set.

by

Recipe Notes

These should take 1-2 hours to set up in the freezer. Enjoy!

Grain Free Strawberry Tart (Vegan and Gluten Free)

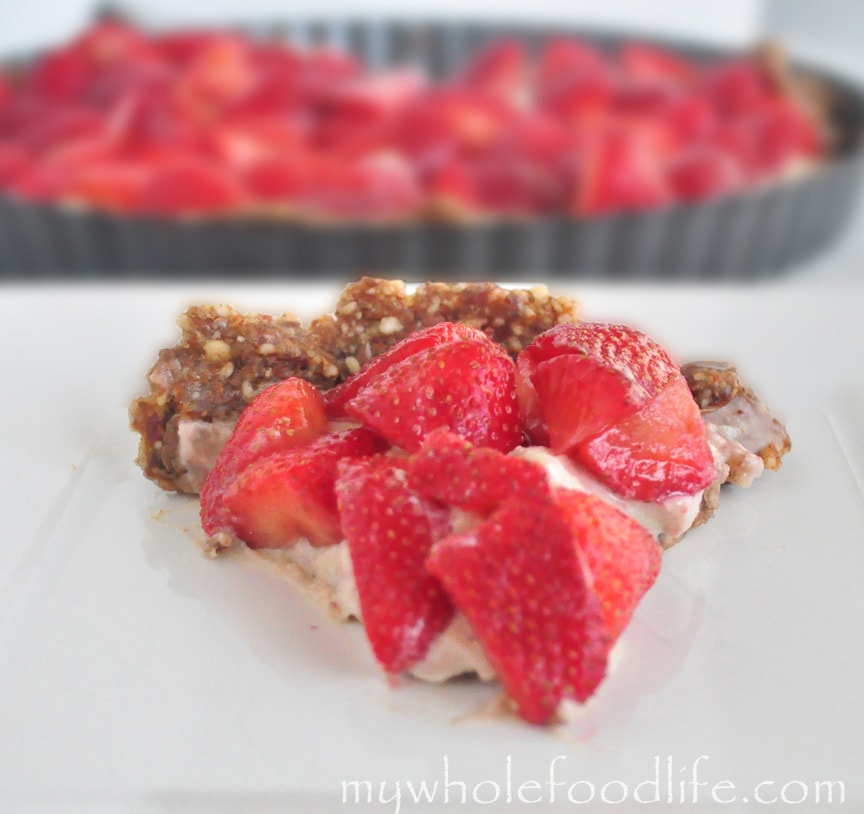
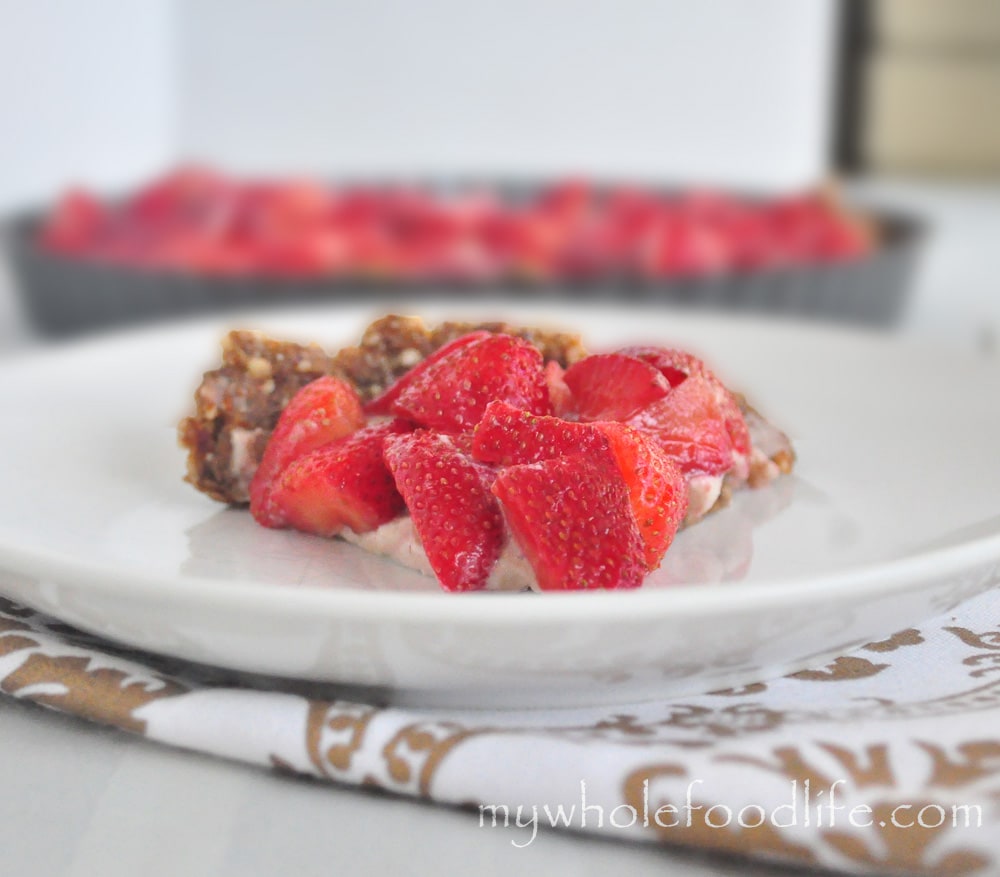
Grain Free Strawberry Tart.  I am a big fan of fruit tarts and strawberry tarts are my favorite.  In fact, strawberry fruit tarts might be my most favorite dessert, especially in the summer.

So I had to make this grain free and vegan strawberry tart!  I already made a Grain Free Blueberry Tart that is on the blog.  It came out amazing, but I think I perfected the custard base this time around with the strawberry tart.

It really tasted like the fruit tarts from Whole Foods except my tart recipe is dairy free!  This week, Whole Foods was selling organic strawberries 3 for $10, so I picked up some.


grain free strawberry tart


I initially was going to create a strawberry shortcake, but the shortcakes didn’t turn out right, so I turned it into a tart instead.  What a blessing because this may be the most delicious thing I ever made!

I had to resort to serious willpower not to inhale half of it.  Another great thing about this is it’s raw, vegan, gluten free, grain free and dairy free.  So almost anyone can enjoy it.

Looking for more strawberry recipes?

Grain Free Strawberry Tart

Grain Free Strawberry Tart

Prep Time 30 min Cook Time 60 min Serves 8-12 slices     adjust servings

Ingredients

    For the crust

    For the strawberry topping

    For the custard

    Instructions

      For the strawberry topping

      1. In a large bowl , add the strawberries, sugar and lemon zest. Place in the fridge for about 3 hours.

      For the tart

      1. In the food processor , combine the almonds, salt and flax seed into a course powder.
      2. Add in the dates and the water and pulse until a dough starts to form.
      3. Once the dough is formed, gently form it into a greased tart pan . Wet hands work best for this.
      4. Once the crust is laid out in the tart pan , place in the fridge for 20 minutes to firm up.

      For the custard

      1. While the crust is firming up, make your cashew cream.
      2. Drain the cashews that have been soaking overnight and add them to a blender with the coconut butter, maple syrup and milk.
      3. Blend until a thick custard-like cream forms.
      4. Remove it from the blender and spread it out over the crust.
      5. With a slotted spoon , spoon the strawberry mixture on top of the custard leaving only the liquid left over in the bowl .

      by

      Recipe Notes

      Save the left over liquid and use as a syrup for pancakes or waffles ! This should keep in the fridge for about a week. Ours didn’t even last that long!

      Watch Your Labels with Lime Juice

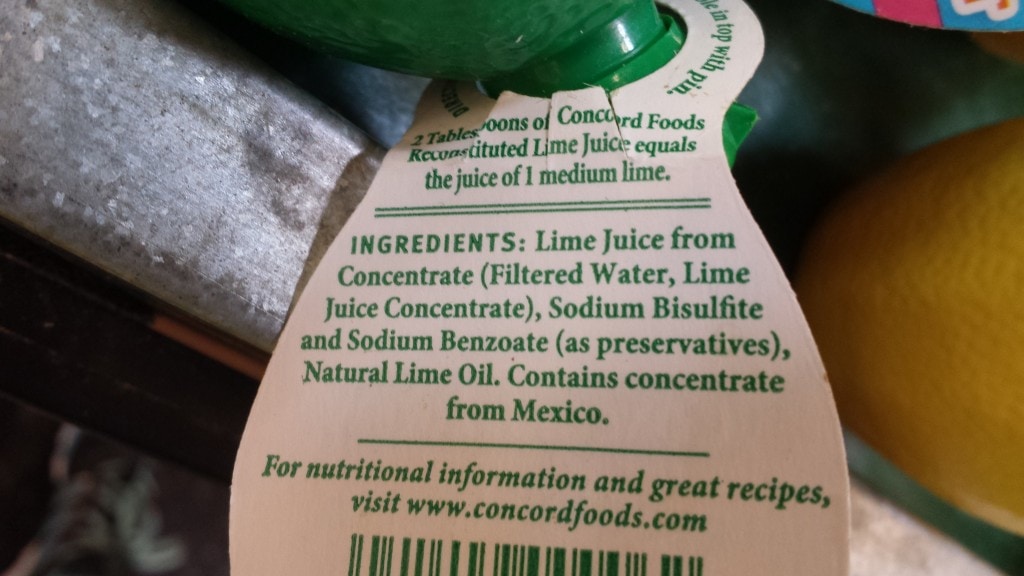
      My husband loves Mexican food.  He will often use lime juice in making his food.  So instead of buying the actual limes, he picked up a bottle of this.  This was actually bought at our local health food store Sprouts.

      20130607_084107

      I noticed in the fridge and I immediately looked at the label – mainly out of curiosity.  I was very surprised at what I found!

      20130607_084130

      All I expected was maybe lime juice concentrate.  Sodium Bisulfite is a food additive that can cause reactions in those sensitive to it.  According to Livestrong, “The U.S. Food and Drug Administration considers sodium bisulfite to be safe – when used in accordance with good manufacturing practice. It is not allowed to be used on fresh produce intended to be served raw, or in any meat or other food that contains vitamin B1”  This strict regulation was called for after the FDA investigated 13 deaths and 500 reactions in those who were allergic.  Wow.  Makes me want to think twice before ever using this.  According to Natural News, “Sodium benzoate chokes out your body’s nutrients at the DNA cellular level by depriving mitochondria cells of oxygen, sometimes completely shutting them down. Just as humans need oxygen to breathe, cells need oxygen to function properly and to fight off infection, including cancer.”  In even more harmful news, If sodium benzoate is combined with vitamin C, it can cause a chemical reaction that causes benzene to be formed.  Benzene is a known carcinogen.  This is supposed to be just lime juice!  From now on, he is only going to use real limes.  Another thing to note, I looked at the lime juice label at Target and it did not contain these additives.  So if you need to buy lime juice instead of limes, you can try theirs.  The main message of this post is make sure to read all labels!


      Pecan Pie Filled Muffins

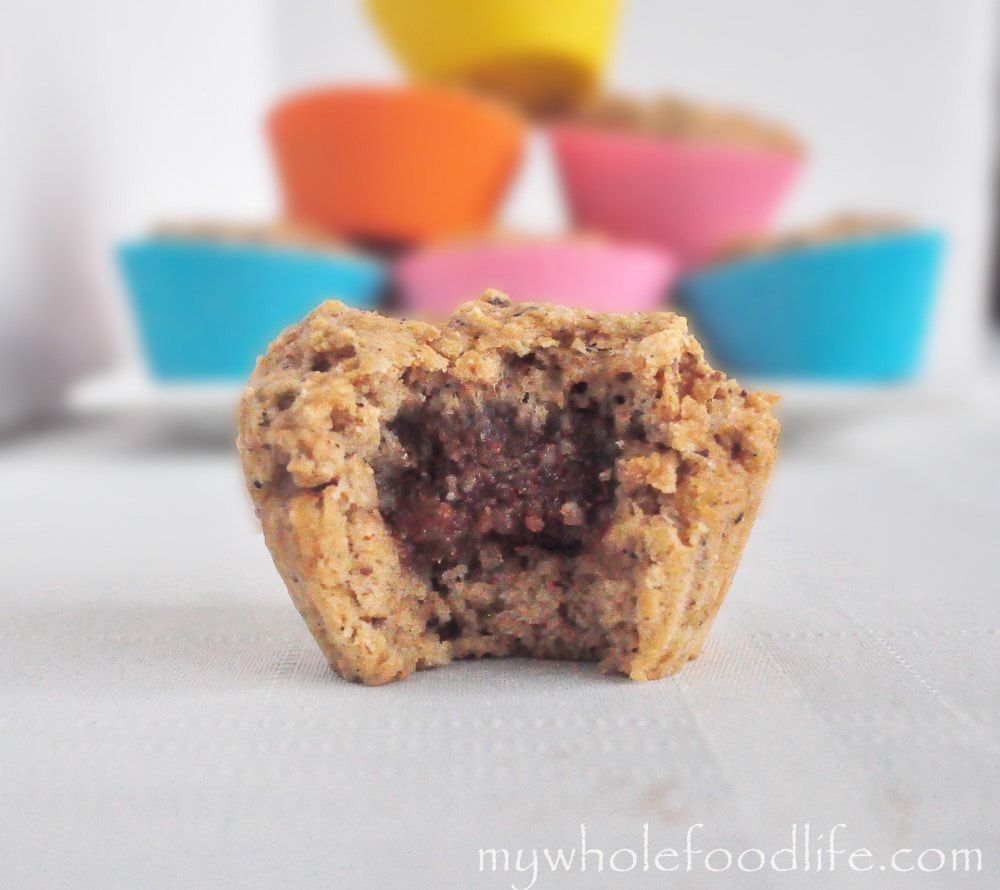
      My daughter loves muffins with surprises inside, so this recipe is for her.  Who doesn’t like a surprise?  I already have my Nutella Filled Banana Muffins on the blog. These muffins contain a sweet little surprise, but they are made with wholesome ingredients.  If you like my Pecan Pie Larabars, you will love these!  This is a great one to make with your kids.

      pecan pie muffins watermark

      I let my daughter put the filling into each muffin.  It was fun to be able to let her help me bake.

      Pecan Pie Filled Muffins

      Pecan Pie Filled Muffins

      Prep Time 10 min Cook Time 13 min Serves 12 muffins     adjust servings

      Ingredients

        For the filling

        For the muffins

        • 1 3/4 cups white whole wheat flour
        • 1/4 cup applesauce
        • 1/4 cup coconut sugar
        • 1 1/2 cups milk
        • 1 egg (I used a flax egg replacement)
        • 2 T coconut oil
        • 2 tsp vanilla beans or extract
        • 1/2 tsp cinnamon
        • 2 tsp baking powder
        • 1/2 tsp salt

        Instructions

        1. Preheat oven to 350.
        2. Mix all the dry ingredients in one bowl .
        3. Mix wet into another.
        4. Add wet to dry. 
        5. Mix only until combined. 
        6. Spoon a small amount of batter into lined
        7. muffin pans.  I used standard sized muffin pans
        8. Take some of the pecan mixture and roll it into a ball. 
        9. Place it on top of the muffin batter. 
        10. Cover the top with more batter. 
        11. Repeat these steps until all are done. 
        12. Bake in the oven for about 13 minutes or until a toothpick comes out clean.

        by

        Recipe Notes

        I got 12 standard sized muffins and 1 jumbo muffin out of my batch. These should last 2 weeks in the fridge, but you can freeze them for longer storage.