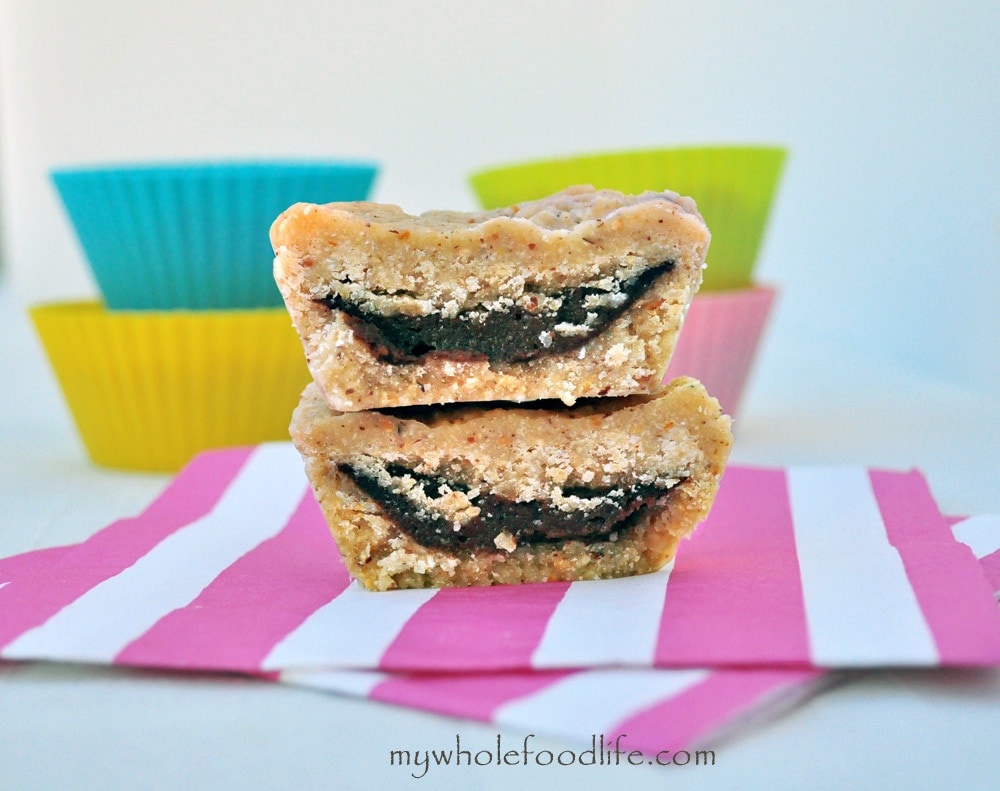
Pumpkin Chocolate Cups

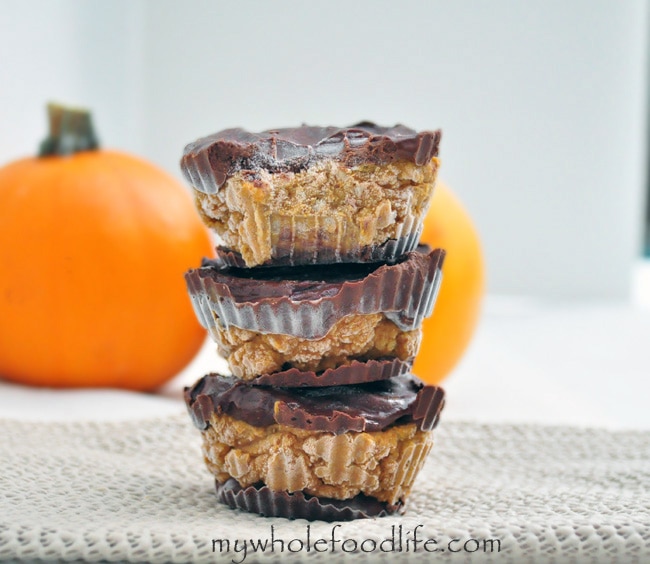
Get ready for another pumpkin recipe!  I have been trying to think outside the box a bit for these pumpkin treats.  This pumpkin chocolate cup is one little dessert I came up with, and they are simply amazing.  If you like pumpkin, are looking for a sweet pumpkin dessert recipe, then this recipe is for you.

Pumpkin Pecan Cups Waterrmark

Instead of adding a lot of sugar to the pumpkin mixture, I mixed it with pecans, spices and only a small amount of maple syrup.  I think it gives the filling a naturally sweetened taste.  These are very easy to make as well.  Vegan, gluten free and paleo.  If you enjoy these you may also enjoy my Clean Eating Peanut Butter Cups or my Banana Chocolate Almond Cups.

Pumpkin Chocolate Cups

Pumpkin Chocolate Cups
Prep Time 15 min Serves 6 cups     adjust servings

Ingredients

Instructions

  1. In a food processor , blend up the pecans into a fine meal.
  2. Then add the pumpkin, maple syrup and spices and continue to pulse until everything is well mixed. Set aside.
  3. In a small saucepan, melt the chocolate and milk on med-low heat. Stir often until the chocolate becomes smooth.
  4. Get a standard sized muffin tin and place some liners into it. I use silicone liners to make the removal super simple.
  5. Place a small amount of chocolate into the bottom of each cup.
  6. Stick the muffin pan in the freezer for 10 minutes.
  7. Once it’s frozen, add the pumpkin/pecan mixture and then top the cups with more chocolate.
  8. Stick back into the freezer for a few hours to firm them up.

by

Recipe Notes

I got 6 cups out of my batch. You can also use a mini muffin pan if you want to make more. I noticed the cups are a little too hard when I went to eat them straight out of the freezer. However the filling is too soft if they are kept in the fridge. I would advise you to let it sit for 5 minutes outside the freezer before you go to eat it. Then it would be perfect. I hope you enjoy these as much as my family did.

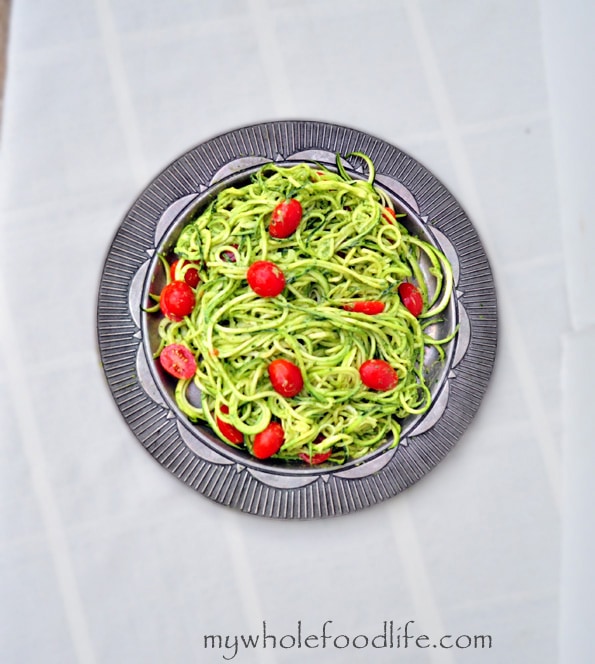
Zucchini Pasta with Avocado Pesto (Vegan)

A while back I got a spiralizer. For some reason, I hadn’t used it yet.  Until now.  I made this zucchini pasta.  I’m so glad I did. The spiralizer is super easy to use and it’s priced very well.

It makes great low carb noodles. This zucchini pasta with avocado pesto is delicious and low carb!  To get the Paderno Spiralizer, click here.


Zucchini Pasta


This whole meal literally took me 10 minutes to make!  Great for those busy days when you have little time to cook dinner.  Perfect for those hot days in the summer where you don’t want to be slaving over a hot stove.

You could top this with your favorite protein to make it complete.  Another quick meal on my blog is my Pesto Portobellos. 


You can learn how to use the spiralizer by watching this short video.


Zucchini Noodles with Avocado Pesto

Zucchini Pasta with Avocado Pesto

Prep Time 20 min

Ingredients

    For the noodles

    • 2 zucchinis with the tops removed
    • 1 cup cherry tomatoes halved

    For the pesto

    • 2 avocados
    • 15 basil leaves
    • 2 cloves garlic
    • 1/4 cup nutritional yeast
    • 2 T olive oil
    • 2 T fresh parsley chopped
    • salt to taste

    Instructions

    1. Using a spiralizer , cut your zucchini into ribbons and set aside. 
    2. In a food processor , combine all the ingredients for the pesto and blend well. 
    3. Take about 1/2 cup of the pesto and toss with the tomatoes and noodles. 
    4. Save the remaining pesto for another time or use it as a sandwich spread.

    by

    Recipe Notes

    If you have a spiralizer, I highly recommend this book . It has amazing recipes for the spiralizer that go well beyond the zucchini noodles. I got about 2-3 servings out of this. Enjoy!

    Chocolate Almond Banana Bites (Vegan)

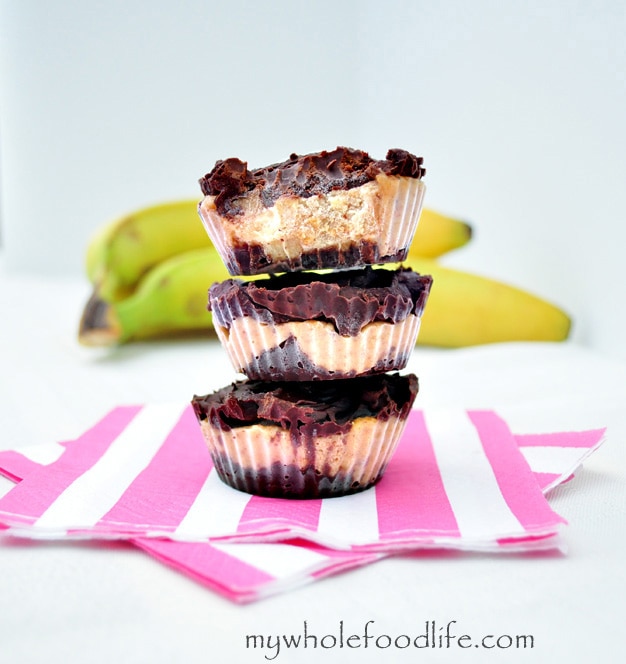
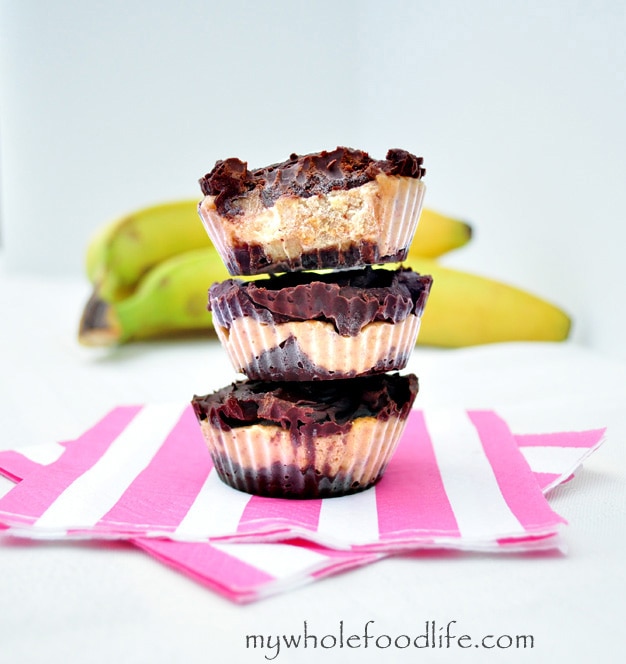
    Chocolate Almond Banana Bites.  These chocolate almond frozen banana bites are so good! I wanted to incorporate the flavors of my 5 minute banana ice cream, which I seem to make at least a few times a week.

    These frozen chocolate treats are so healthy and it feels like you are cheating!  No ice cream maker necessary!

    This recipe actually won a contest on The Today Show.

    Chocolate Almond Banana Bites

    These chocolate almond banana bites contain no added sugars, except for the small amount of sugar in the dark chocolate.   They are a great banana chocolate dessert to keep in your freezer when you have that sweet craving.

    I used standard sized muffin cups to make mine, but you can also use mini cups and make a larger, bite-size batch.

    Looking for more frozen treats?

    Chocolate Almond Banana Bites

    Chocolate Almond Banana Bites

    Serves 6     adjust servings

    Satisfy your sweet tooth with this healthy treat!

    Ingredients

    Instructions

    1. In a small bowl, mix the banana, vanilla and almond butter.
    2. Mash it together well and set aside.
    3. In a saucepan, , melt the chocolate and almond milk on medium heat, stirring constantly.
    4. Once you get a smooth chocolate, add a small amount to the bottom of a lined muffin tin.
    5. I used silicone muffin liners to make removing the chocolate easier when it’s time to eat.
    6. Once you have placed chocolate at the bottom on each cup, stick it in the freezer to firm up. About 10 minutes.
    7. Once the chocolate is firm, add in the banana filling and then cover the top with more chocolate.
    8. Repeat these steps until all are done.

    by

    Recipe Notes

    Using standard sized muffin cups, I got 6 out of my batch. I store them in the freezer. Enjoy!

    No Bake Pumpkin Pie Cookies

    I am obsessing over all things pumpkin.  How about you?  These no bake pumpkin pie cookies cookies are no exception.  They are so good.  My picky 4 year old loved them and she claims to hate pumpkin.  Lol.

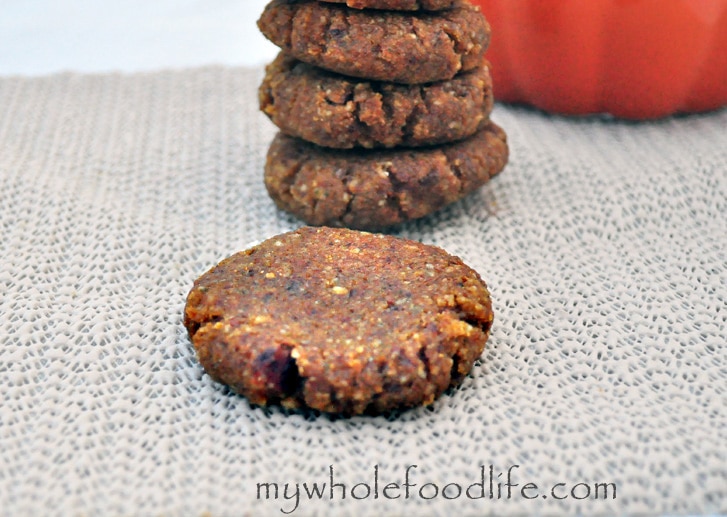
    pumpkin-pie-cookies-my-whole-food-life

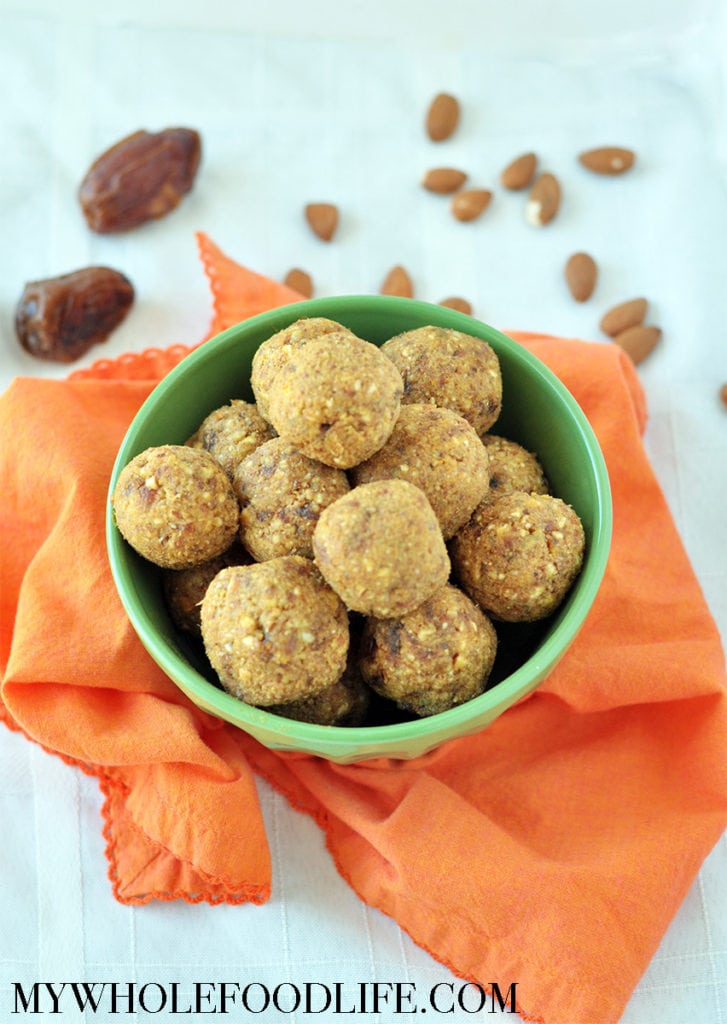
    These no bake pumpkin pie cookies can be made in minutes with almost no dishes to do after.  This is a super easy recipe you can make with your kids.  These pumpkin cookies are vegan, gluten free and paleo.  Can it get better?  I hope you enjoy them as much as we did.

    No Bake Pumpkin Pie Cookies

    No Bake Pumpkin Pie Cookies

    Prep Time 10 min Serves 12 balls     adjust servings

    Ingredients

    Instructions

    1. In the food processor , grind up the almonds, pecans, pepitas and spices. 
    2. Then add in the dates and continue to pulse. 
    3. Lastly add in the pumpkin and pulse until a dough starts to form. 
    4. When the dough is formed, roll into balls and stick in the fridge for 30-60 minutes to firm up.

    by

    Recipe Notes

    I rolled mine into balls and flattened then with my palm once they had firmed up. It’s an easy recipe to do with your kids. I got about 10-12 balls out of my batch. Store them in the fridge or even freeze them for longer storage. Enjoy!

    Coconut “Nutella” Cups

    These things are amazing!  If you like my Homemade Nutella and my Coconut Almond Fudge, you will love these Coconut Nutella Cups!

    Coconut Cups Watermark

    Let me be the first to say that these should be saved for a time when you want to indulge.  However, they are so rich in taste, that you can’t eat more than a couple bites.  Just store them in your fridge or freezer for when you want to treat yourself with a dessert. 🙂

    Coconut “Nutella” Cups 

    Coconut “Nutella” Cups

    Serves 9     adjust servings

    Ingredients

    Instructions

    1. In a saucepan , on medium heat, combine all ingredients except the Nutella and stir well.
    2. Remove from heat.
    3. Line muffin pans with liners. I used standard sized muffin pans and lined them with silicone liners . Paper liners would work well too.
    4. Spoon a small amount of coconut mixture into each cup. Spoon a bit of homemade Nutella on top.
    5. Cover the Nutella with more coconut mixture.
    6. Repeat these steps until all are done.
    7. Place the muffin pans in the fridge to allow the cups to firm up.
    8. I let mine sit about 30-45 minutes.

    by

    Recipe Notes

    I got 9 cups out of my batch. You can use mini muffin pans as well. Enjoy!

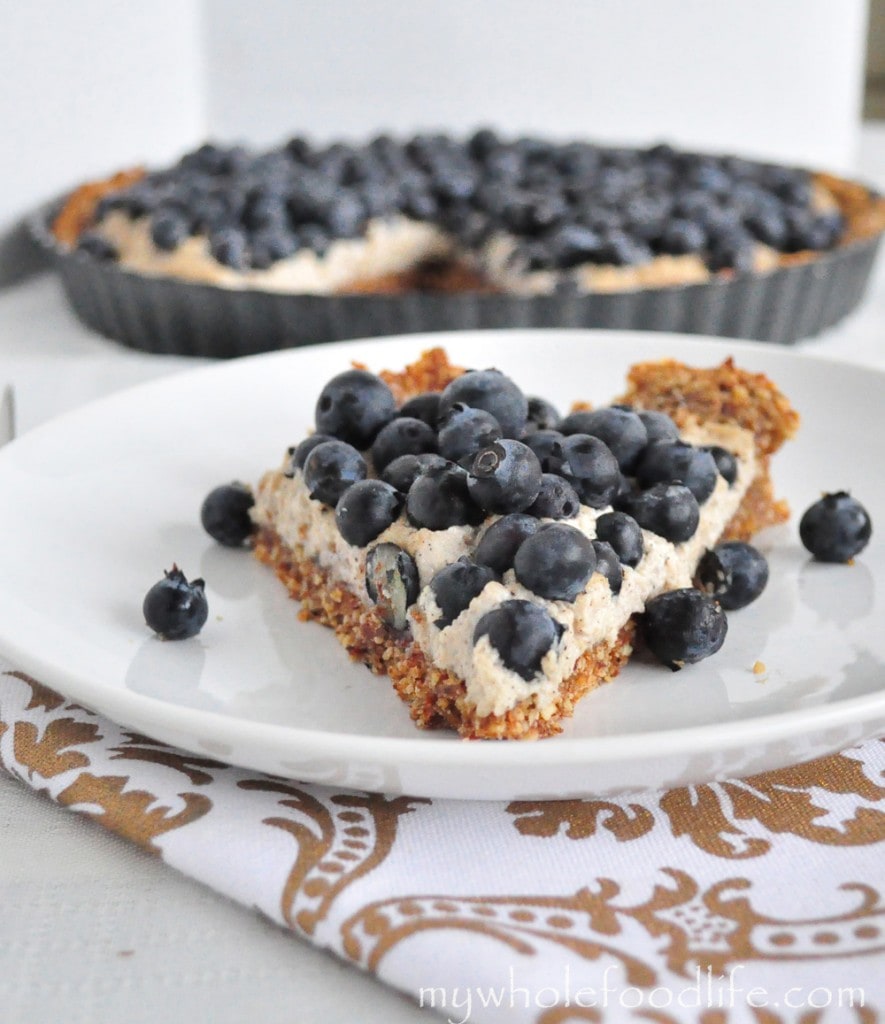
    Grain Free Blueberry Tart (Vegan)

    Grain Free Blueberry Tart.  Today we got our co-op basket.  There was an optional add-on for blueberries so I took it.  12 pints of organic blueberries!

    We gave some to my in-laws and we took the rest.  My older daughter just LOVES blueberries.  She ate a whole pint in one sitting.  I can’t say I blame her!

    They are so good!  I have been wanting to do a fruit tart recipe for a while now, so I thought I would make a grain free blueberry tart. I can tell you my family was not disappointed.


    Grain Free Blueberry Tart


    It was awesome!  This tart is not only grain and gluten free, it’s also vegan! 🙂  It’s super easy to make too.

    Grain Free Blueberry Tart

    Grain Free Blueberry Tart

    Prep Time 20 min Cook Time 10 min Serves 12 slices     adjust servings

    A no fuss dessert that looks fancy, but is really easy to make!

    Ingredients

    Instructions

    1. Preheat oven to 350.
    2. In the food processor, grind the almonds.
    3. Once they are ground to a course consistency, add in the dates, coconut oil and a small amount of water.
    4. Pulse until a dough forms.
    5. Press the mixture into a greased tart pan.
    6. Bake in the oven for about 10 minutes.
    7. While it is baking, drain the soaked cashews and throw them in the blender with the maple syrup and vanilla. You can probably use a food processor for this as well.
    8. Blend up the cashews until they are a smooth cream. You may need to add a small amount of water or milk to get it smooth. You will want a cream-like consistency.
    9. Spread the cashew cream over the tart crust and top with blueberries.

    by

    Recipe Notes

    I would imagine this would keep in the fridge for a week at least. If you can get it to last that long! Enjoy!