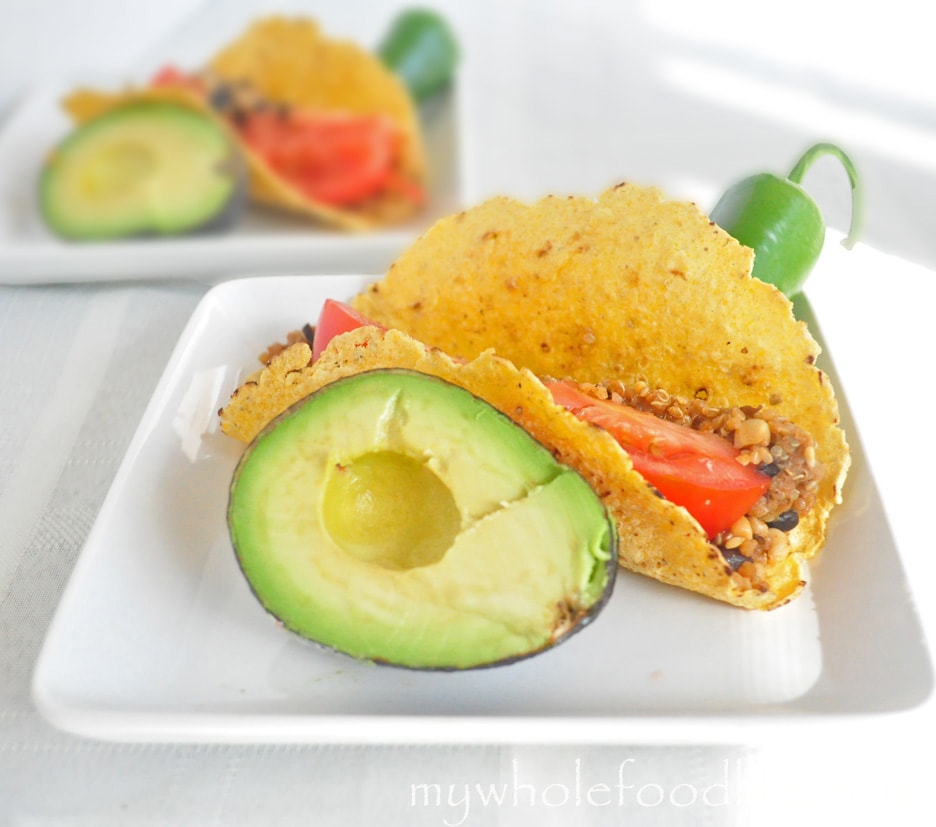
Super Easy Tacos

I have said before that my husband is a huge fan of all Tex Mex food.  I swear he could eat tacos everyday.  This is one recipe that he makes that I absolutely love, even though I am not that into Tex Mex.  This recipe is not spicy, because I am a wimp when it comes to spicy food.  I will add in some options if you want it a little hot.

tacos watermark

Last week, in our co-op, there was an option to buy 48 ears of organic and non GMO corn.  We jumped on that deal and have it tucked away in our freezer.  We used some of that corn in this recipe.  There is nothing like the sweet taste of corn on the cob.  It reminds me of summer just like watermelon does.  Yum!

Super Easy Tacos

Super Easy Tacos
Prep Time 10 min Cook Time 15 min

Ingredients

  • 2 cups black beans
  • 2 cups corn (please use organic and non GMO corn if possible)
  • 1-2 cups cooked wild rice or quinoa
  • 1/2 yellow onion chopped
  • 2 tsp cumin
  • 1 tsp garlic
  • 1 tsp chili powder
  • Juice from 1/2 lime
  • 3 T oil (I used Avocado Oil )
  • 1/2 tsp cayenne (optional)
  • 1 pickled jalapino chopped (per taco)

Instructions

  1. Cook the rice or quinoa according to the package instructions. 
  2. I actually always have some kind of a grain cooked in the fridge that I can add to meals to stretch them out. 
  3. In a large sauce pan , saute the onions, beans and spices in your oil of choice.
  4. When onions begin to soften, add corn, rice and lime juice and cook an additional 7 minutes or so on medium heat. That’s it.

by

Recipe Notes

Now you can create the taco with whatever fixings you like. We use Food for Life sprouted corn tortillas, add in the cooked mixture, tomatoes, avocados, cilantro and cheese of your choice. We use our dairy free cheese sauce and it tastes awesome with this recipe. Enjoy!


Pecan Pie Filled Muffins

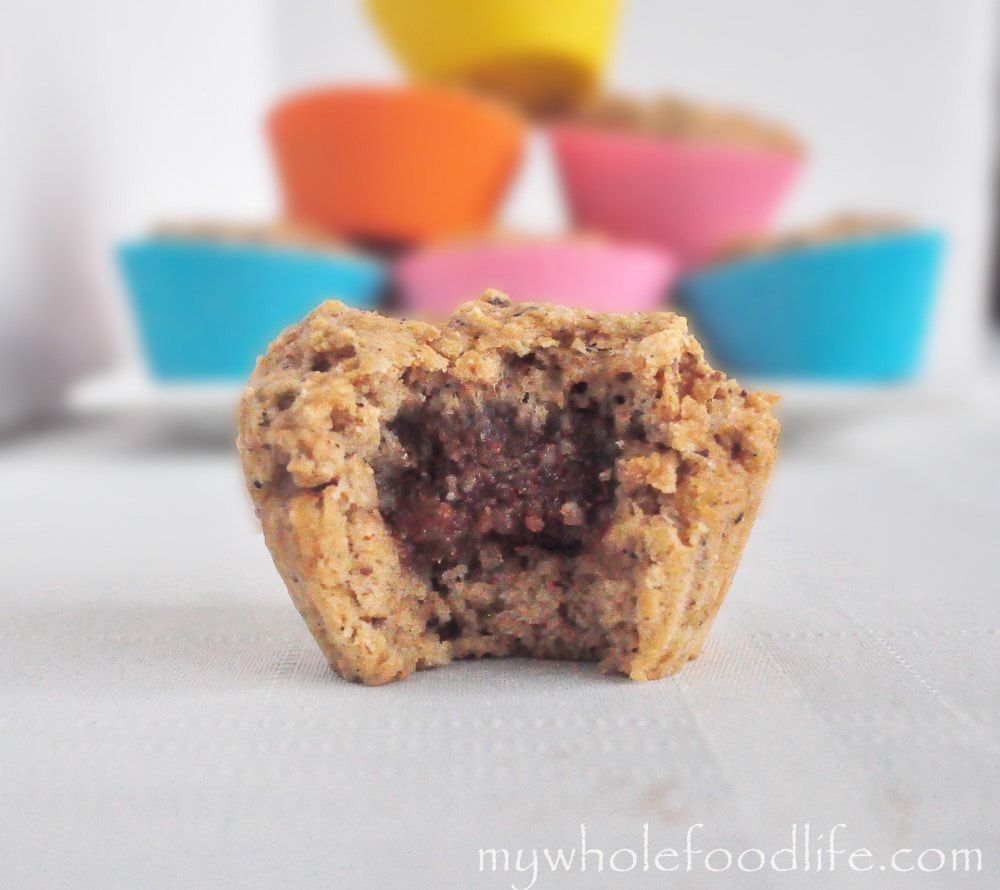
My daughter loves muffins with surprises inside, so this recipe is for her.  Who doesn’t like a surprise?  I already have my Nutella Filled Banana Muffins on the blog. These muffins contain a sweet little surprise, but they are made with wholesome ingredients.  If you like my Pecan Pie Larabars, you will love these!  This is a great one to make with your kids.

pecan pie muffins watermark

I let my daughter put the filling into each muffin.  It was fun to be able to let her help me bake.

Pecan Pie Filled Muffins

Pecan Pie Filled Muffins

Prep Time 10 min Cook Time 13 min Serves 12 muffins     adjust servings

Ingredients

    For the filling

    For the muffins

    • 1 3/4 cups white whole wheat flour
    • 1/4 cup applesauce
    • 1/4 cup coconut sugar
    • 1 1/2 cups milk
    • 1 egg (I used a flax egg replacement)
    • 2 T coconut oil
    • 2 tsp vanilla beans or extract
    • 1/2 tsp cinnamon
    • 2 tsp baking powder
    • 1/2 tsp salt

    Instructions

    1. Preheat oven to 350.
    2. Mix all the dry ingredients in one bowl .
    3. Mix wet into another.
    4. Add wet to dry. 
    5. Mix only until combined. 
    6. Spoon a small amount of batter into lined
    7. muffin pans.  I used standard sized muffin pans
    8. Take some of the pecan mixture and roll it into a ball. 
    9. Place it on top of the muffin batter. 
    10. Cover the top with more batter. 
    11. Repeat these steps until all are done. 
    12. Bake in the oven for about 13 minutes or until a toothpick comes out clean.

    by

    Recipe Notes

    I got 12 standard sized muffins and 1 jumbo muffin out of my batch. These should last 2 weeks in the fridge, but you can freeze them for longer storage.

    Kale and Wheat Berry Salad with Tempeh

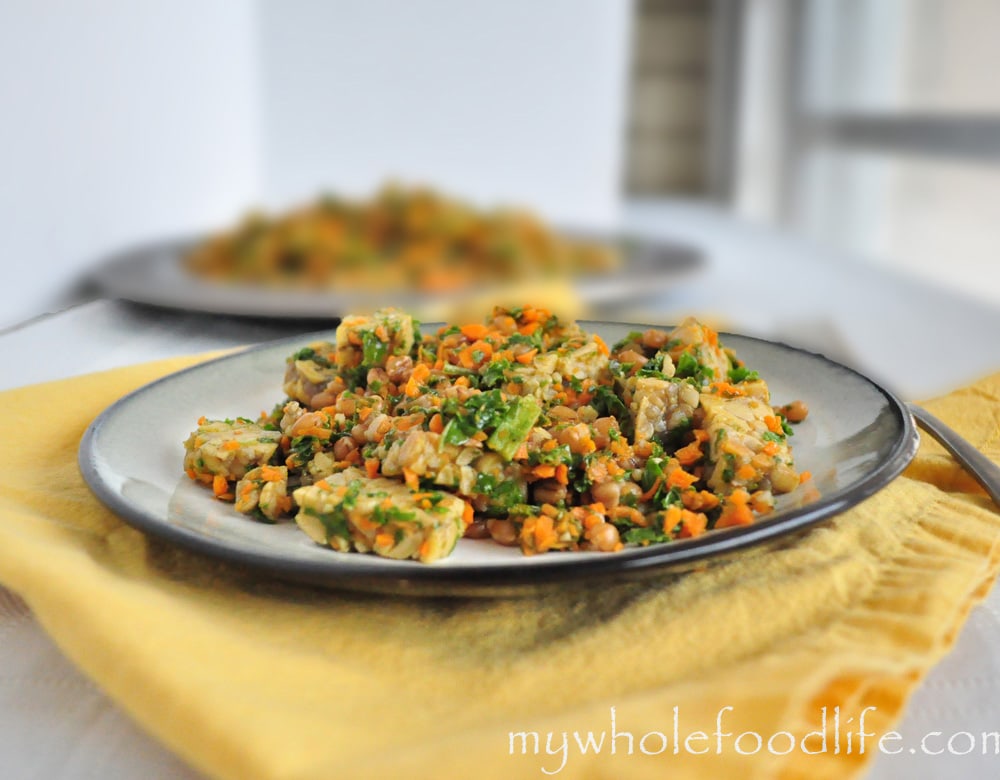
    Are you thinking about getting more kale in your diet, but don’t like the taste/texture?  Then this recipe is for you!  I am right there with you.  The first time I tried kale, I gagged.  I did not like it’s taste.  Up until now, I was able to mask it in smoothies and juice.  I also made an occasional batch of kale chips, but that was it.

    kale and wheat berry salad blurred watermark

    The key to masking the kale is removing the stems and chopping the leaves up fine in the food processor.   Even my husband who says he hates kale, ate this salad.  I used organic and  non GMO tempeh in my recipe, but feel free to replace it with any other protein you like.  For those of you that are unfamiliar with tempeh, it is made from fermented soybeans.  Fermented soy products contain some health benefits, but they are best used in moderation.  Tempeh has a earthy and nutty taste that goes well with the wheat berries.  Also, since most of the soy in this country is GMO, it’s best to look for a brand that is non GMO verified.  If you are gluten free, just replace the wheat berries with quinoa and it will be just as delicious!

    Kale and Wheat Berry Salad with Tempeh

    Kale and Wheat Berry Salad with Tempeh

    Prep Time 30 min Cook Time 20 min

    Ingredients

    • 2 carrots shredded
    • large bunch kale (stems removed. Save them for juicing)
    • 1 pkg tempeh or any other protein sliced in 1 inch cubes
    • 2 cups cooked wheat berries or quinoa
    • 2 T toasted sesame oil
    • 1/4 cup apple cinder vinegar
    • 1/4 cup mirin
    • 1 T soy sauce or tamari
    • 1 tsp garlic powder
    • 1 -2 tsp fresh ginger minced
    • salt and pepper to taste

    Instructions

    1. Cook the wheat berries according to the package instructions.  I cooked mine the day before I made this salad. 
    2. Using a food processor , chop the carrots and kale.  You may have to do each one separately. 
    3. In a sauce pan , combine the sesame oil and tempeh and saute for a few minutes on medium heat. 
    4. Once the tempeh has started to cook, add in the carrots and kale and cook for a couple more minutes.  You also may have to add a tiny bit more oil. 
    5. While all of that is cooking, combine the apple cider vinegar, mirin, soy sauce, garlic, salt and ginger. 
    6. Lastly, add the cooked wheat berries and the dressing and cook for another minute. 
    7. Remove from heat and serve immediately or refrigerate for later.  Enjoy!

    by

    Coconut Truffles (Vegan and Gluten Free)

    Coconut Truffles that are vegan and gluten free.  Let’s be honest, these coconut vegan truffles are not an everyday treat, but when you want to indulge a bit, it makes the perfect little bite of sweetness with none of the bad stuff!

    These were a big hit in our family and I hope you like them too!


    coconut truffles


    They only take minutes to make too!  I must admit, I rolled these a bit big, so they were more than a bite.  I suggest rolling yours into a bite friendly size.

    These should keep in the fridge for quite some time.  I used coconut butter in this so when you take a bite, the coconut literally melts in your mouth.

    If you haven’t tried coconut butter yet, you need too!  That stuff is so good!  I get Nutiva Organic Coconut Manna.  If you like my Coconut Cream Larabars, you will love these!

    Looking for more truffle recipes?

    Coconut Truffles

    Coconut Truffles

    Prep Time 15 min Serves 15 truffles     adjust servings

    Chocolate and coconut make the perfect combination for these delicious truffles!

    Ingredients

    Instructions

    1. In a food processor , combine the dates and shredded coconut.
    2. Then, add in the coconut butter and coconut oil.
    3. Pulse until a dough starts to form.
    4. When the dough is formed, roll into bite sized balls and place in the fridge on a lined baking sheet . Parchment paper works great for this so the balls don’t stick.
    5. Once the balls are firm, heat your chocolate and milk using a double boiler.
    6. Stir constantly until the chocolate is smooth.
    7. Take each ball and roll into the chocolate and place back on the parchment lined sheet.
    8. Put in the fridge for a few hours so the chocolate can set back up.

    by

    Recipe Notes

    I should add, when you go to eat one out of the fridge, it will seem hard to bite into at first. As soon as you chew it though, the coconut melts in your mouth. Enjoy!

    Blueberries and Cream Popsicles

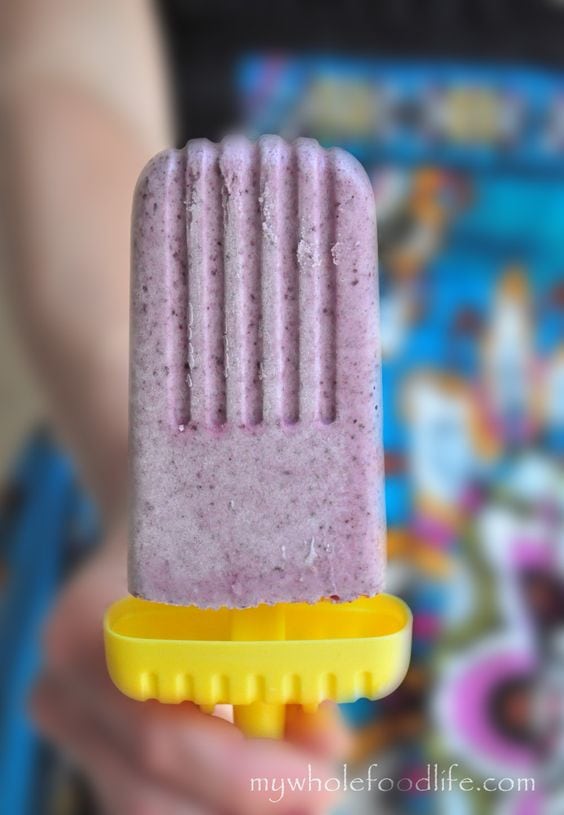
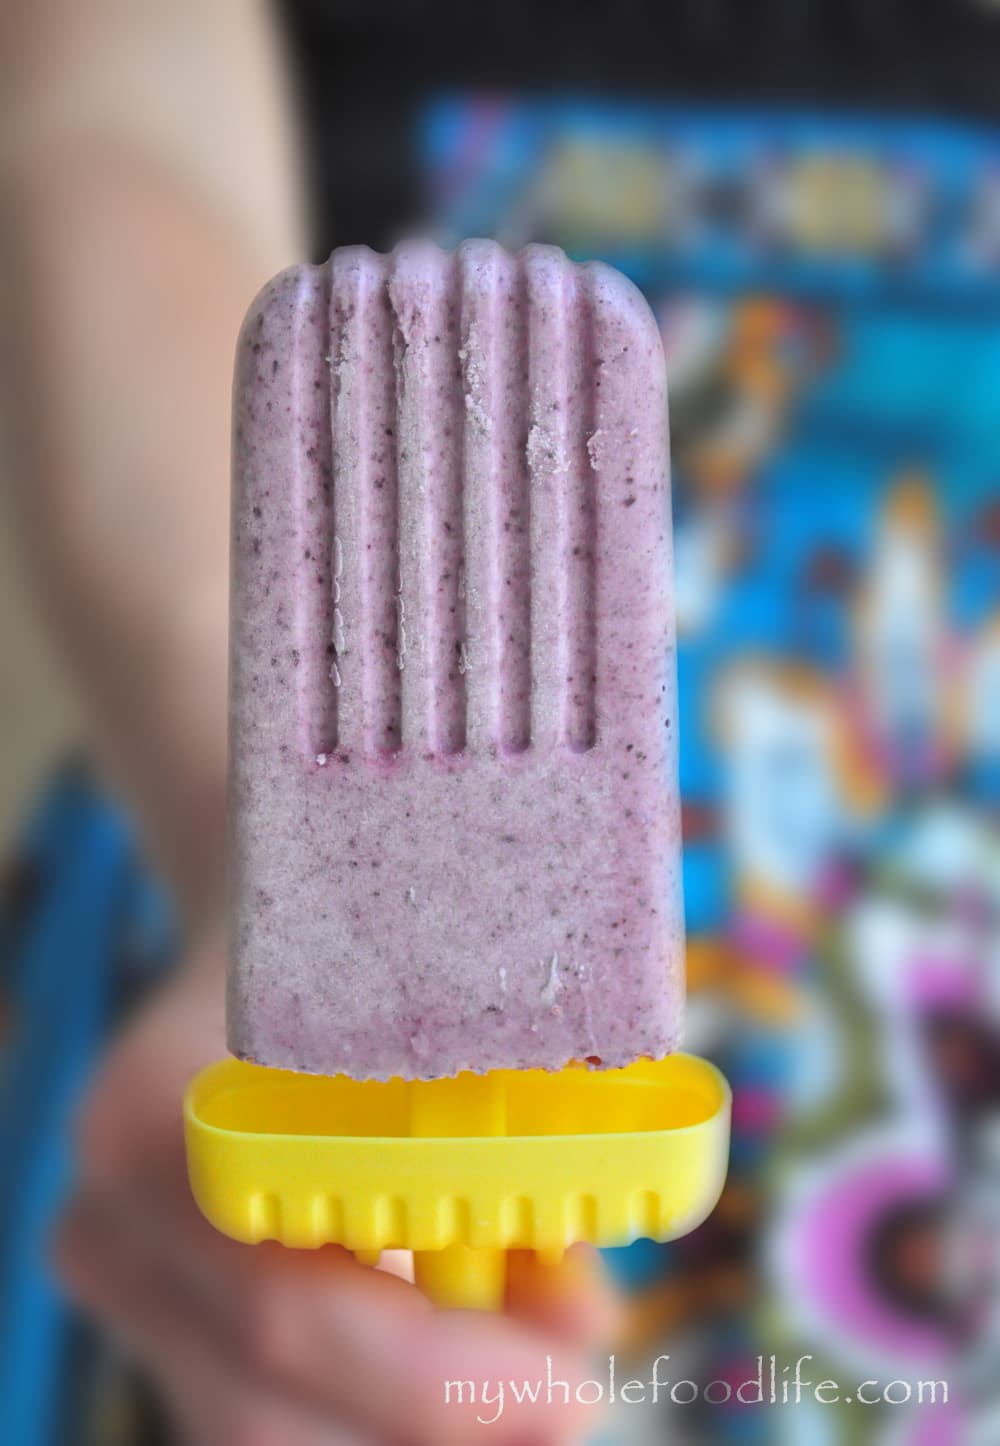
    Here in Texas it’s a steamy one hundred degrees this hot summer day.  So, what do you want most on hot days?  Homemade Blueberries and Cream Popsicles!  Kids love food on a stick and ice cream is no exception.

    My kids love it.  But, let’s face it, most store-bought frozen treats are laden with excess sugar and too many chemicals.  Not these Blueberries and Cream Popsicles!

    blueberries and cream popsicles

    blueberry ice cream watermark

    She loves her ice cream!  I love these pop molds too because they have a little tray to catch all the drips.  No mess.  Love that idea!  Well, almost no mess.

    olive water mark copy

    She may be messy, but she is so darn cute!  I wanted make this popsicle recipe ever since I saw some Pina Colada Popsicles on The Midnight Baker’s blog.  They looked AMAZING!  I just ran out of pineapple, so I subbed blueberries.  Came out super good, but I am trying her recipe as soon as I get my hands on some pineapple!

    Blueberries and Cream Popsicles

    Blueberries and Cream Popsicles

    Prep Time 5 min Serves 6 popsicles     adjust servings

    Creamy coconut milk and fresh blueberries is always a winning combination!

    Ingredients

    Instructions

    1. Pour all ingredients into a blender and blend for about 90 seconds.
    2. Take a taste, if it’s sweet enough, pour into popsicle molds or smoothie pop molds .
    3. If not, feel free to add more maple syrup and blend for a few more seconds.I think I used 2 tablespoons maple syrup total in mine.

    by

    Recipe Notes

    If you don’t have pop molds, you can even make it ice cream, using an ice cream machine . All these options are great. I hope you and your family enjoy them as much as we did. There will be more popsicle recipes coming this summer too!

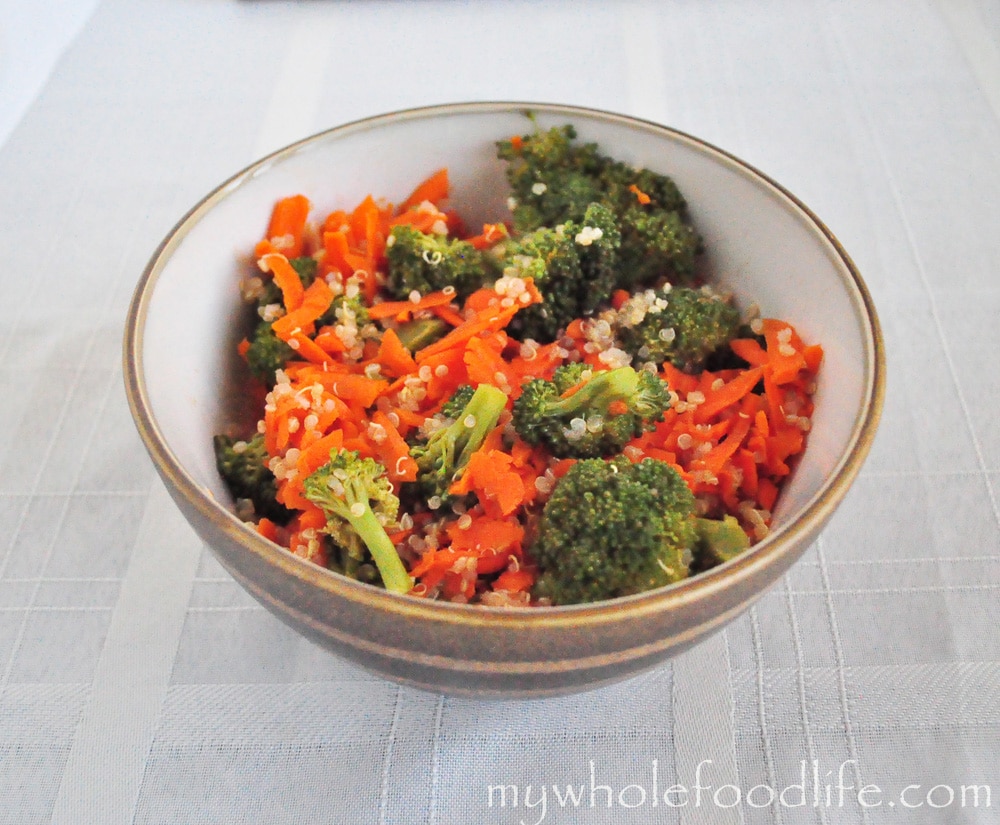
    Carrot Ginger Detox Salad (Vegan, Gluten Free)

    Carrot Ginger Detox Salad.  On Memorial Day, my daughter wanted to have a picnic at the park.  Since it was a spontaneous decision, we stopped at Whole Foods to get some picnic food.

    My husband and I shared two things that day they were absolutely delicious.  The first one was a rice salad.  I re-created that for the blog already with my Wheat Berry Salad with Cranberries.  The other thing we had was a detox salad.  So, this is my version of that.


    carrot ginger detox salad


    This was amazing!  Super easy too.  I just had to share it with all of you.


    Carrot Ginger Detox Salad

    Carrot Ginger Detox Salad

    Ingredients

      For the salad

      • 1-2 heads of broccoli
      • 3 carrots shredded
      • 2 cups cooked quinoa

      For the dressing

      • 2 cloves garlic minced
      • 2 T toasted sesame oil
      • 1/4 cup apple cider vinegar
      • 1/4 cup mirin
      • 1 T soy sauce or Bragg's Aminos (for GF) (I used organic SanJ shoyu )
      • 2 tsp fresh grated ginger
      • salt to taste

      Instructions

      1. Steam the broccoli. I used a rice cooker/steamer to do this. 
      2. In a sauce pan , cook the quinoa according to the package instructions.  I already had some quinoa in my fridge.  We always have some kind of grain in the fridge to make our meals stretch longer. 
      3. While the broccoli is steaming and the quinoa is cooking, throw all the ingredients together for the dressing. 
      4. Whisk them in a small bowl
      5. Once the quinoa and broccoli are done throw everything together in one big bowl .

      by

      Recipe Notes

      This should last at least a week in the fridge. I think it tastes great hot or cold. I got about 4-5 servings out of my batch. Enjoy!