Honey Balsamic Bean Salad

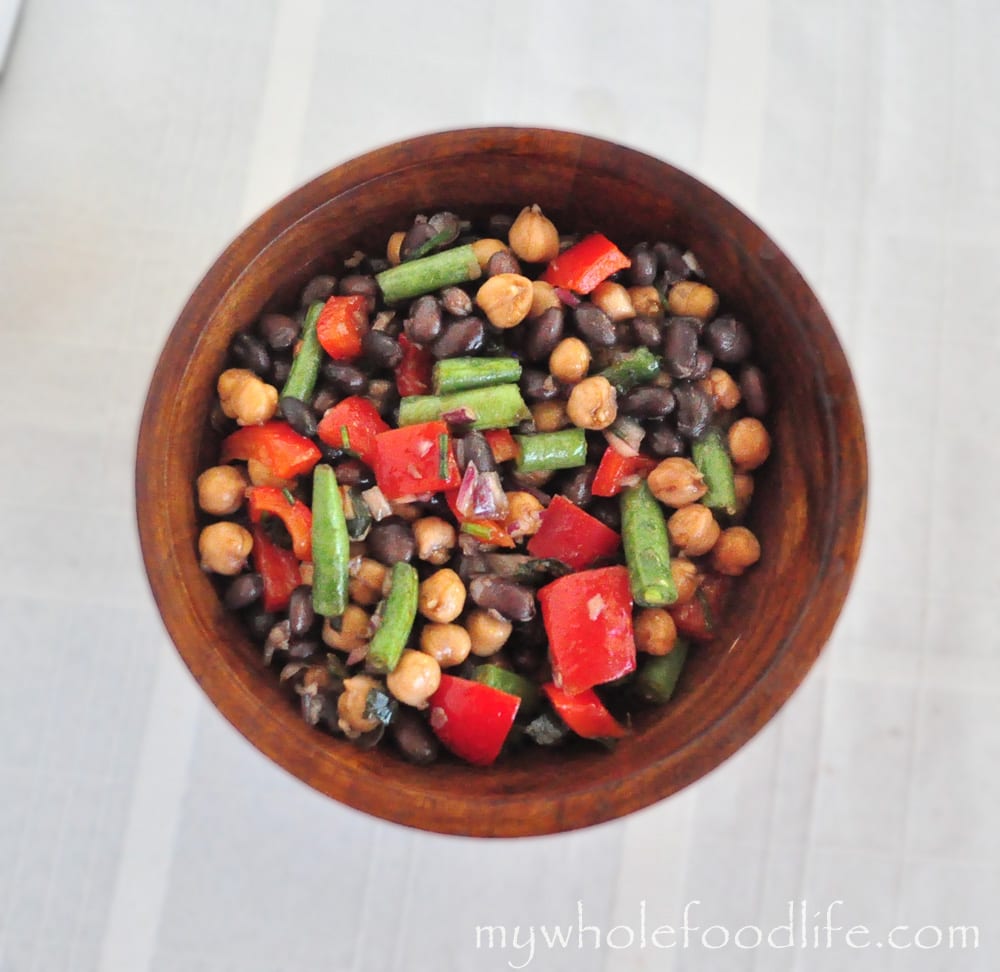
I just love cold salads in the summer.  Here is Texas, it’s in the 100’s and way too hot to cook.  Salads are so easy to throw together and don’t cost a lot to make.  You can find many of my salad recipes in this post.  So I was looking for recipes on Pinterest when I came upon The Clever Carrot’s Bean Salad.  If you haven’t checked out her blog, you should.  Her recipes are great and her photos are stunning.  I LOVED this so much, that I wanted to share it with all of you.

clever carrot salad watermark 1

I am more of a baker than a cook, so I often look on Pinterest for things to make during the week.  This salad was so good, I wished I had made a double batch. I made a few alterations to use what I had on hand.

Honey Balsamic 3 Bean Salad

Honey Balsamic Bean Salad
Prep Time 20 min

Ingredients

  • 4 cups or 2 cans of chickpeas
  • 4 cups or 2 cans of black beans
  • 2 cups green beans halved
  • 1 cup red bell peppers chopped
  • 1/4 cup red onions thinly sliced
  • 2 T chives finely chopped
  • 1/4 cup chopped basil
  • salt and pepper to taste

Dressing

  • 1/4 cup balsamic vinegar
  • 2 tsp raw honey or maple syrup
  • 1 tsp dijon mustard
  • 1/4 cup olive oil

Instructions

  1. Drain and rinse beans if using cans. 
  2. Add all the ingredients in one large bowl. 
  3. Add the dressing ingredients in a small bowl and whisk together. 
  4. Pour the dressing over the ingredients and mix well.

by

Recipe Notes

Adapted from The Clever Carrot

This makes about 4 servings. It should last about 4 days in the fridge. Enjoy!

Thick and Fudgy Brownies

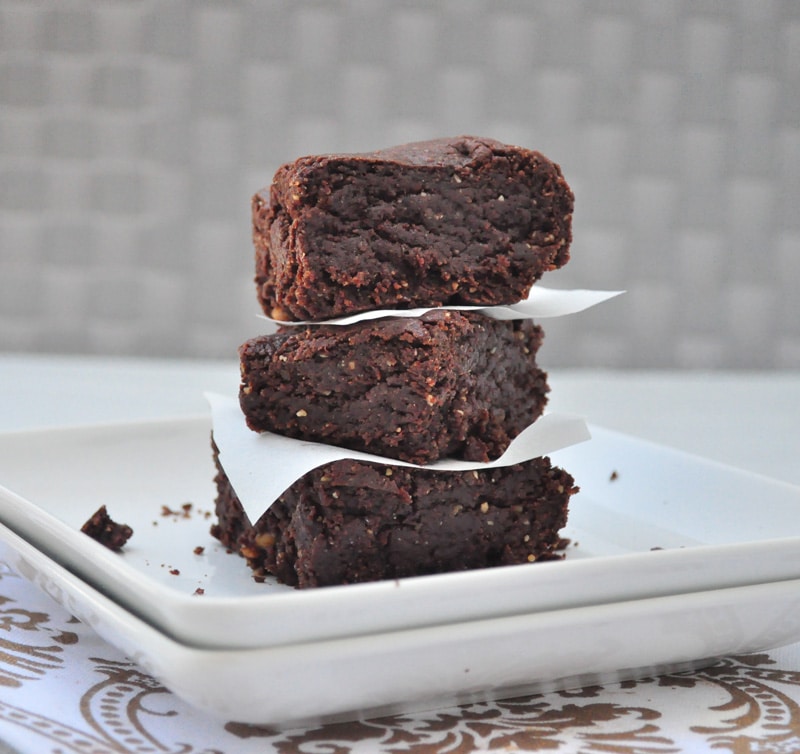
My husband is a huge chocolate lover.   He especially loves fudgy brownies.  I am more of a nut butter girl myself.  So I combined those two things to make these yummy thick and fudgy brownies!  This is attempt number 3 at brownies and these brownies came out so good!  I used white whole wheat in my brownie recipe, but they can easily be done with a gluten free flour as well.

brownies FG 10

These can also be done with peanut butter or sunflower butter as well.  I knew these were a hit because my daughter ate hers right up and asked for another.  My husband said they reminded him of Duncan Hines brownies in a box!.  Without the chemicals of course! I used dark chocolate and cacao powder so these are filled with healthy antioxidants for your body too. A brownie you can feel good about eating. Can it get any better than that really?

Thick and Fudgy Brownies

Thick and Fudgy Brownies

Prep Time 15 min Cook Time 15 min Serves 10 brownies     adjust servings

Ingredients

Instructions

  1. Preheat oven to 350.
  2. In a large bowl , add all the dry ingredients.
  3. In a saucepan , on medium heat, combine the coconut oil, applesauce, maple syrup, almond butter and chocolate.
  4. Stir until everything is well combined. Set aside.
  5. Line an 8X8 pan with a sheet of parchment paper leaving enough room for some paper to come out the sides. This will make the brownies easy to remove.
  6. Add the heated mixture to the dry ingredients and stir only until combined.
  7. Lastly add the egg and milk and stir until everything is mixed well. Be careful not to over-mix or the brownies can come out tough.
  8. Bake in the oven for about 15 minutes. I kept mine slightly gooey and they worked out great that way. The first time I overcooked them and they were so dry.
  9. Once the brownies are cooled, pull them out by grabbing the parchment paper.
  10. Cut with a pizza cutter into squares.

by

Recipe Notes

Store them in a container in the pantry or the fridge. Keep in mind, if you store them in the fridge, they will harden slightly because the coconut oil will solidify. I got about 10 brownies out of my batch. Enjoy!

Pina Colada Ice Cream

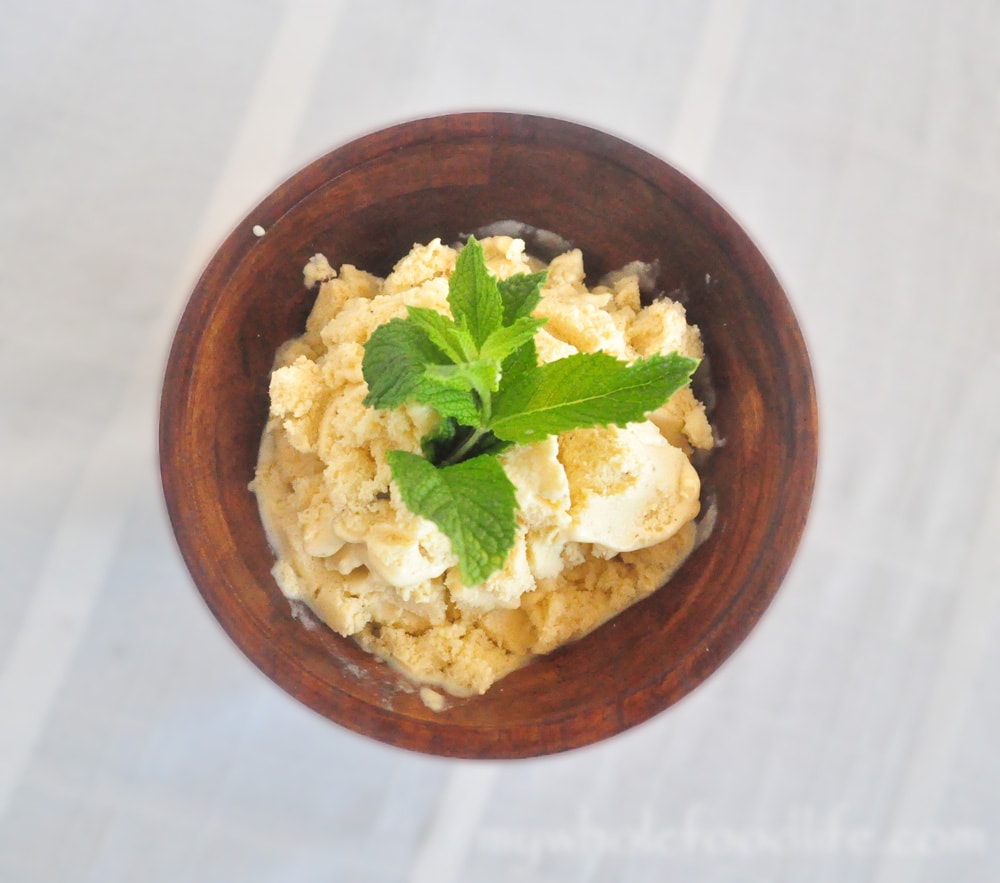
Summer is here and who doesn’t like a frozen treat?  I already have several up in my recipe index.  This pina colada ice cream is just a perfect addition.  The taste of pina colada reminds me of when I lived in Las Vegas.  We would go to the resort pool parties and sip on pina coladas.  Super yummy.  I found this recipe initially at The Midnight Baker’s website.  She made them into popsicles, but I turned them into ice cream.  You could do either.

pina colada ice cream watermark blur

If you don’t have an ice cream machine, you can make them into popsicles
or smoothie pops.  Any way will work great!  We received a pineapple and some vanilla beans in our co-op basket so I used them in this recipe.

Pina Colada Ice Cream

Pina Colada Ice Cream

Prep Time 15 min Serves 4-5 cups     adjust servings

Ingredients

  • 1 can coconut milk (I used Thai Organic)
  • 1 frozen banana
  • 1 vanilla bean (whole) 1tsp extract would work well too.
  • 3 cups pineapple diced
  • 2 T liquid sweetener (optional)

Instructions

  1. Throw all the ingredients in a blender and blend for about 90 seconds. Take a taste. It will be slightly tart. I liked it that way.
  2. You can also add 2 T of maple syrup or honey to sweeten it more if you like. I did not add any sweetener to mine.
  3. Pour contents into ice pop molds or an ice cream machine . Mine took about 20 minutes in the machine.
  4. The ice cream will come out like soft serve. If you prefer a harder ice cream, place in the freezer for 30 minutes to an hour to firm up. Enjoy!

by

Grain Free Strawberry Tart (Vegan and Gluten Free)

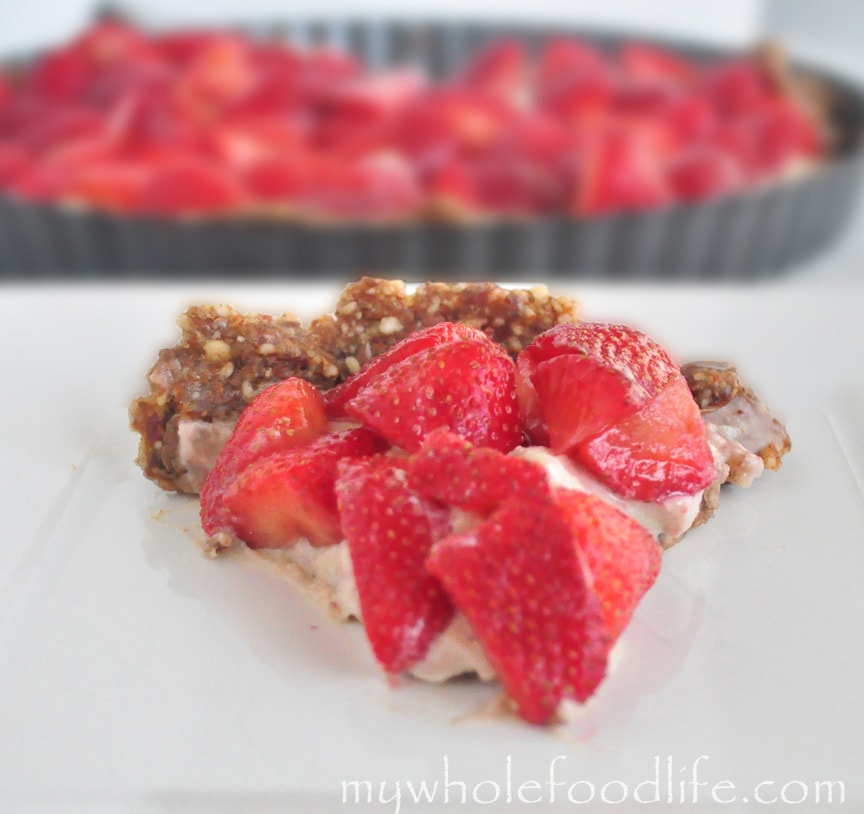
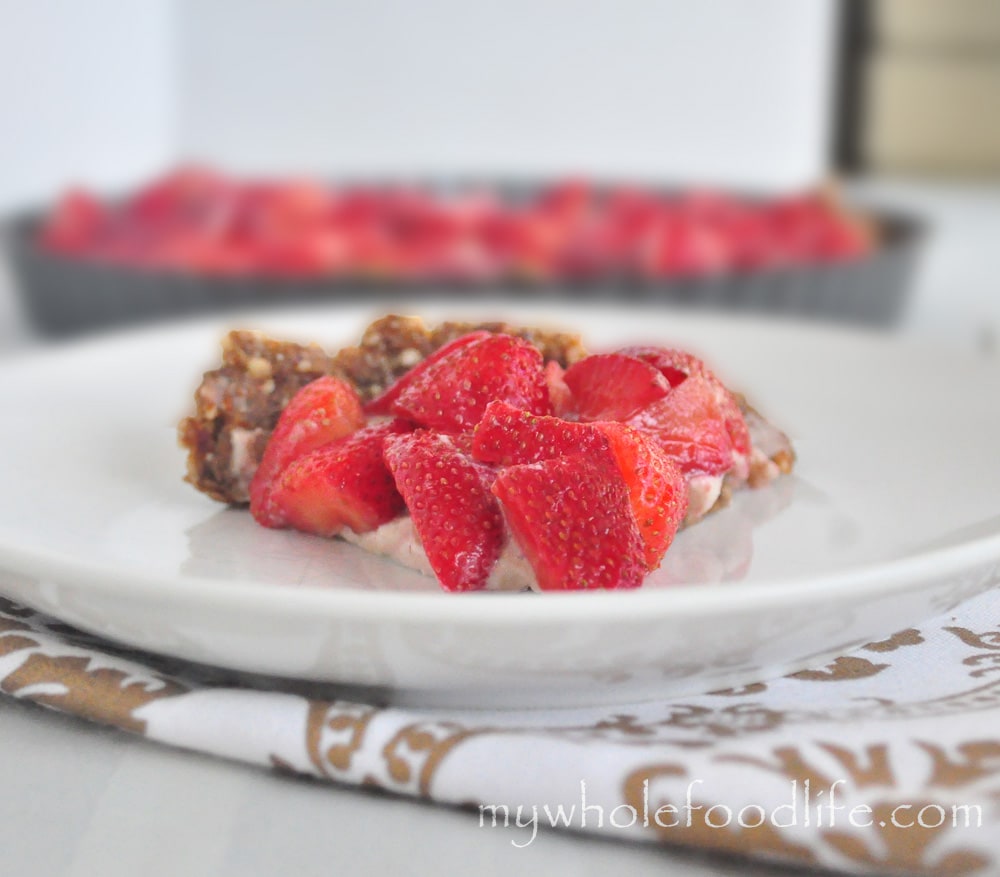
Grain Free Strawberry Tart.  I am a big fan of fruit tarts and strawberry tarts are my favorite.  In fact, strawberry fruit tarts might be my most favorite dessert, especially in the summer.

So I had to make this grain free and vegan strawberry tart!  I already made a Grain Free Blueberry Tart that is on the blog.  It came out amazing, but I think I perfected the custard base this time around with the strawberry tart.

It really tasted like the fruit tarts from Whole Foods except my tart recipe is dairy free!  This week, Whole Foods was selling organic strawberries 3 for $10, so I picked up some.


grain free strawberry tart


I initially was going to create a strawberry shortcake, but the shortcakes didn’t turn out right, so I turned it into a tart instead.  What a blessing because this may be the most delicious thing I ever made!

I had to resort to serious willpower not to inhale half of it.  Another great thing about this is it’s raw, vegan, gluten free, grain free and dairy free.  So almost anyone can enjoy it.

Looking for more strawberry recipes?

Grain Free Strawberry Tart

Grain Free Strawberry Tart

Prep Time 30 min Cook Time 60 min Serves 8-12 slices     adjust servings

Ingredients

    For the crust

    For the strawberry topping

    For the custard

    Instructions

      For the strawberry topping

      1. In a large bowl , add the strawberries, sugar and lemon zest. Place in the fridge for about 3 hours.

      For the tart

      1. In the food processor , combine the almonds, salt and flax seed into a course powder.
      2. Add in the dates and the water and pulse until a dough starts to form.
      3. Once the dough is formed, gently form it into a greased tart pan . Wet hands work best for this.
      4. Once the crust is laid out in the tart pan , place in the fridge for 20 minutes to firm up.

      For the custard

      1. While the crust is firming up, make your cashew cream.
      2. Drain the cashews that have been soaking overnight and add them to a blender with the coconut butter, maple syrup and milk.
      3. Blend until a thick custard-like cream forms.
      4. Remove it from the blender and spread it out over the crust.
      5. With a slotted spoon , spoon the strawberry mixture on top of the custard leaving only the liquid left over in the bowl .

      by

      Recipe Notes

      Save the left over liquid and use as a syrup for pancakes or waffles ! This should keep in the fridge for about a week. Ours didn’t even last that long!

      Pecan Pie Filled Muffins

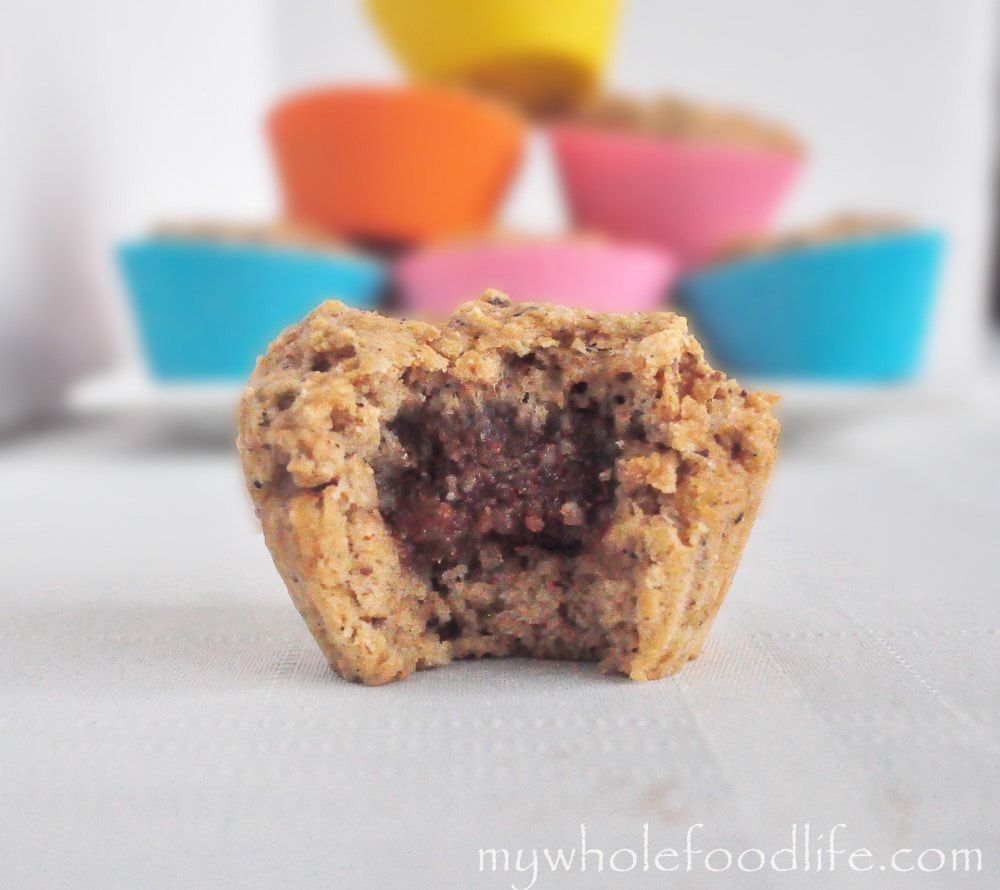
      My daughter loves muffins with surprises inside, so this recipe is for her.  Who doesn’t like a surprise?  I already have my Nutella Filled Banana Muffins on the blog. These muffins contain a sweet little surprise, but they are made with wholesome ingredients.  If you like my Pecan Pie Larabars, you will love these!  This is a great one to make with your kids.

      pecan pie muffins watermark

      I let my daughter put the filling into each muffin.  It was fun to be able to let her help me bake.

      Pecan Pie Filled Muffins

      Pecan Pie Filled Muffins

      Prep Time 10 min Cook Time 13 min Serves 12 muffins     adjust servings

      Ingredients

        For the filling

        For the muffins

        • 1 3/4 cups white whole wheat flour
        • 1/4 cup applesauce
        • 1/4 cup coconut sugar
        • 1 1/2 cups milk
        • 1 egg (I used a flax egg replacement)
        • 2 T coconut oil
        • 2 tsp vanilla beans or extract
        • 1/2 tsp cinnamon
        • 2 tsp baking powder
        • 1/2 tsp salt

        Instructions

        1. Preheat oven to 350.
        2. Mix all the dry ingredients in one bowl .
        3. Mix wet into another.
        4. Add wet to dry. 
        5. Mix only until combined. 
        6. Spoon a small amount of batter into lined
        7. muffin pans.  I used standard sized muffin pans
        8. Take some of the pecan mixture and roll it into a ball. 
        9. Place it on top of the muffin batter. 
        10. Cover the top with more batter. 
        11. Repeat these steps until all are done. 
        12. Bake in the oven for about 13 minutes or until a toothpick comes out clean.

        by

        Recipe Notes

        I got 12 standard sized muffins and 1 jumbo muffin out of my batch. These should last 2 weeks in the fridge, but you can freeze them for longer storage.

        Kale and Wheat Berry Salad with Tempeh

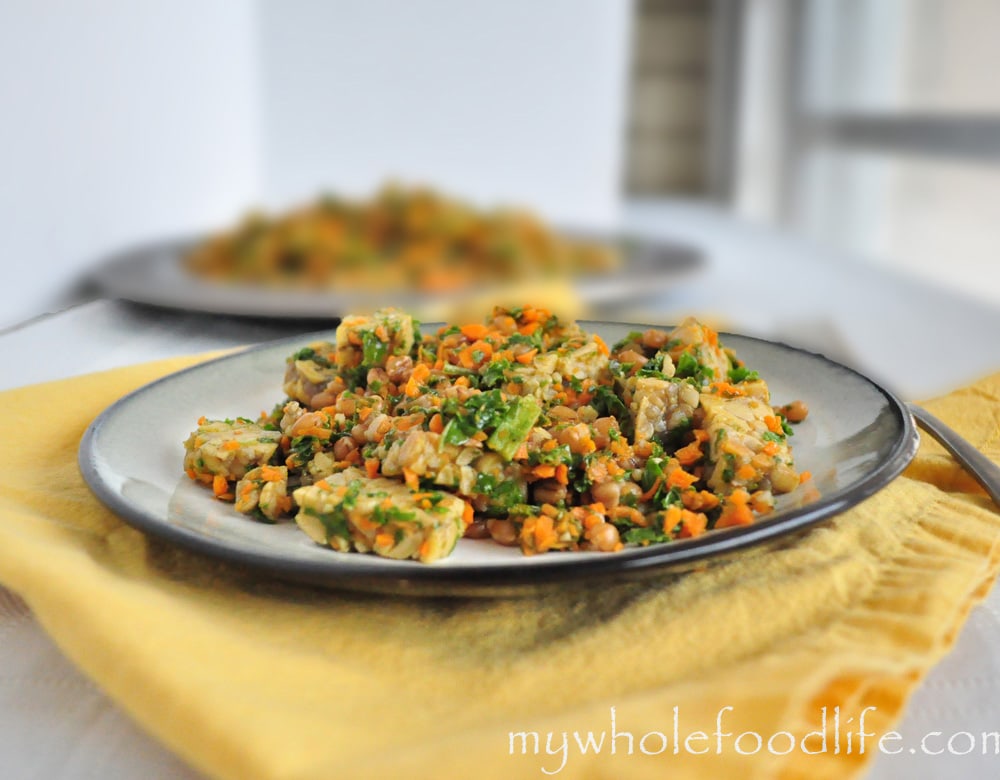
        Are you thinking about getting more kale in your diet, but don’t like the taste/texture?  Then this recipe is for you!  I am right there with you.  The first time I tried kale, I gagged.  I did not like it’s taste.  Up until now, I was able to mask it in smoothies and juice.  I also made an occasional batch of kale chips, but that was it.

        kale and wheat berry salad blurred watermark

        The key to masking the kale is removing the stems and chopping the leaves up fine in the food processor.   Even my husband who says he hates kale, ate this salad.  I used organic and  non GMO tempeh in my recipe, but feel free to replace it with any other protein you like.  For those of you that are unfamiliar with tempeh, it is made from fermented soybeans.  Fermented soy products contain some health benefits, but they are best used in moderation.  Tempeh has a earthy and nutty taste that goes well with the wheat berries.  Also, since most of the soy in this country is GMO, it’s best to look for a brand that is non GMO verified.  If you are gluten free, just replace the wheat berries with quinoa and it will be just as delicious!

        Kale and Wheat Berry Salad with Tempeh

        Kale and Wheat Berry Salad with Tempeh

        Prep Time 30 min Cook Time 20 min

        Ingredients

        • 2 carrots shredded
        • large bunch kale (stems removed. Save them for juicing)
        • 1 pkg tempeh or any other protein sliced in 1 inch cubes
        • 2 cups cooked wheat berries or quinoa
        • 2 T toasted sesame oil
        • 1/4 cup apple cinder vinegar
        • 1/4 cup mirin
        • 1 T soy sauce or tamari
        • 1 tsp garlic powder
        • 1 -2 tsp fresh ginger minced
        • salt and pepper to taste

        Instructions

        1. Cook the wheat berries according to the package instructions.  I cooked mine the day before I made this salad. 
        2. Using a food processor , chop the carrots and kale.  You may have to do each one separately. 
        3. In a sauce pan , combine the sesame oil and tempeh and saute for a few minutes on medium heat. 
        4. Once the tempeh has started to cook, add in the carrots and kale and cook for a couple more minutes.  You also may have to add a tiny bit more oil. 
        5. While all of that is cooking, combine the apple cider vinegar, mirin, soy sauce, garlic, salt and ginger. 
        6. Lastly, add the cooked wheat berries and the dressing and cook for another minute. 
        7. Remove from heat and serve immediately or refrigerate for later.  Enjoy!

        by