Coconut Truffles (Vegan and Gluten Free)

Coconut Truffles that are vegan and gluten free.  Let’s be honest, these coconut vegan truffles are not an everyday treat, but when you want to indulge a bit, it makes the perfect little bite of sweetness with none of the bad stuff!

These were a big hit in our family and I hope you like them too!


coconut truffles


They only take minutes to make too!  I must admit, I rolled these a bit big, so they were more than a bite.  I suggest rolling yours into a bite friendly size.

These should keep in the fridge for quite some time.  I used coconut butter in this so when you take a bite, the coconut literally melts in your mouth.

If you haven’t tried coconut butter yet, you need too!  That stuff is so good!  I get Nutiva Organic Coconut Manna.  If you like my Coconut Cream Larabars, you will love these!

Looking for more truffle recipes?

Coconut Truffles

Coconut Truffles

Prep Time 15 min Serves 15 truffles     adjust servings

Chocolate and coconut make the perfect combination for these delicious truffles!

Ingredients

Instructions

  1. In a food processor , combine the dates and shredded coconut.
  2. Then, add in the coconut butter and coconut oil.
  3. Pulse until a dough starts to form.
  4. When the dough is formed, roll into bite sized balls and place in the fridge on a lined baking sheet . Parchment paper works great for this so the balls don’t stick.
  5. Once the balls are firm, heat your chocolate and milk using a double boiler.
  6. Stir constantly until the chocolate is smooth.
  7. Take each ball and roll into the chocolate and place back on the parchment lined sheet.
  8. Put in the fridge for a few hours so the chocolate can set back up.

by

Recipe Notes

I should add, when you go to eat one out of the fridge, it will seem hard to bite into at first. As soon as you chew it though, the coconut melts in your mouth. Enjoy!

Almond Joy Cookies

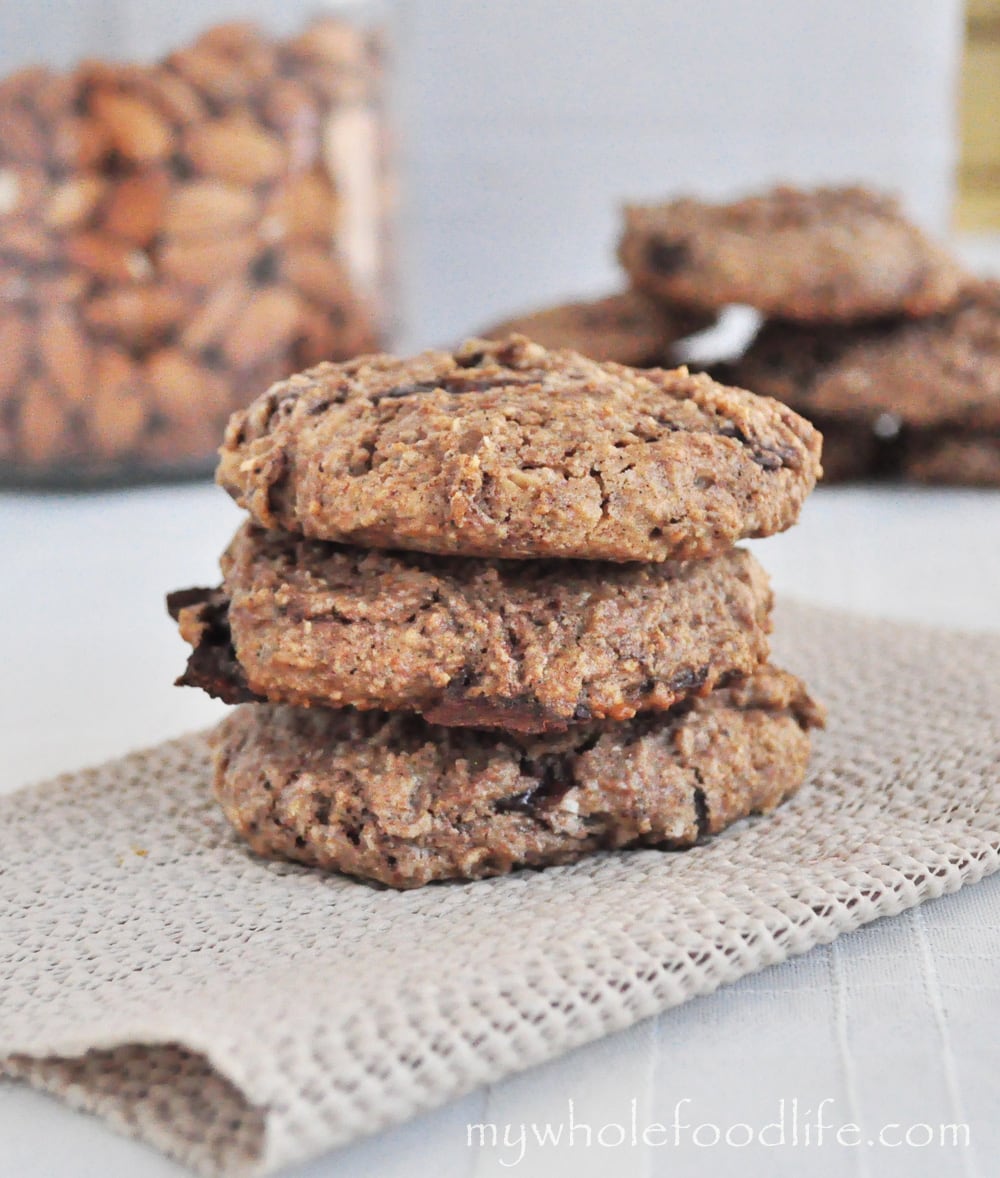
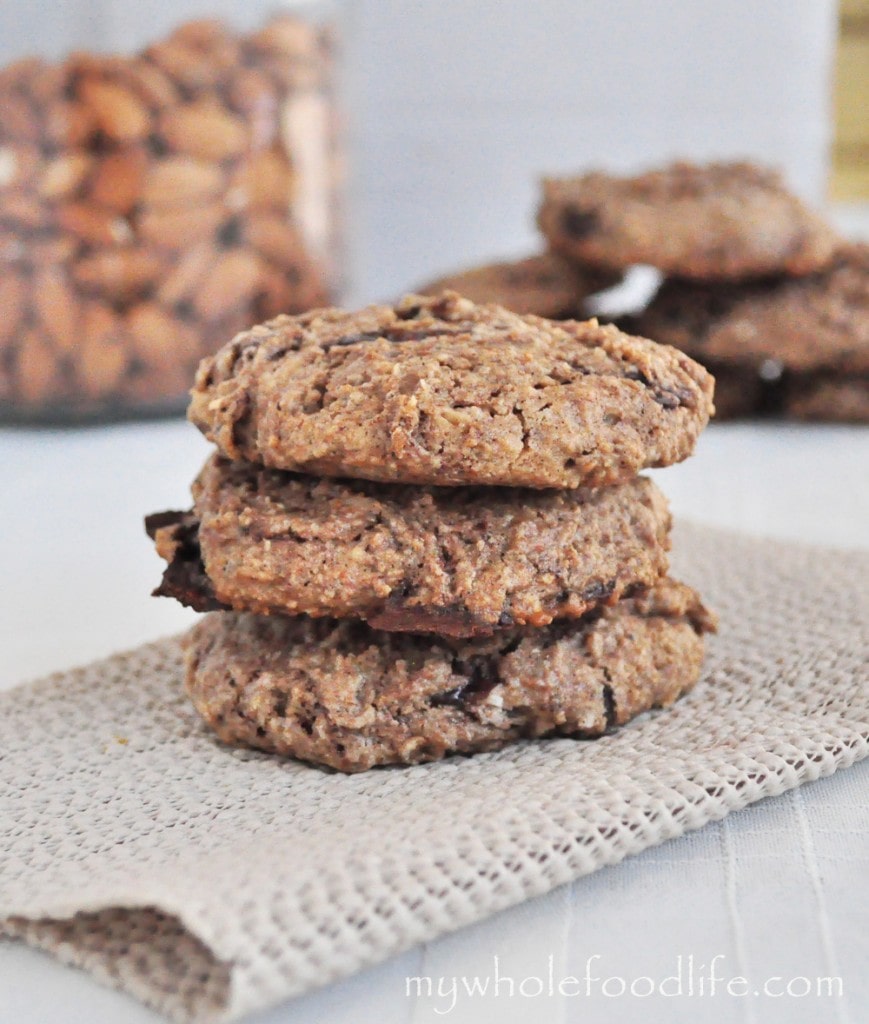
If you have been following this blog for quite some time, you know that I love to bake.  Before I started to eat clean, I loved to bake all of those decadent gooey desserts that you see on sites like Pinterest.  Changing my diet has taught me to be creative in baking healthier sweets.  My husband is a big fan of almond joy, so he had the idea to make almond joy cookies.

almond joy cookies watermark

These cookies were inspired by my Almond Joy Energy Bites.  They are gluten free as well as vegan.  My husband worked from home yesterday and he got to taste test them right out of the oven.  To quote him verbatim, “These may be the most delicious things you have ever made.”  So I had to share them with all of you!

Almond Joy Cookies

Almond Joy Cookies

Prep Time 10 min Cook Time 12 min Serves 12 cookies     adjust servings

The taste of the candy bar with none of the guilt.

Ingredients

Instructions

  1. Preheat oven to 350.
  2. Mix all the dry ingredients in one bowl.  (I actually ground up some rolled oats to make my oat flour.)
  3. In a saucepan on med heat, combine the almond butter, coconut oil and maple syrup and stir until smooth.
  4. Let mixture cool.
  5. Once it’s cooled add it to the dry ingredients and also add the vanilla, egg and almond extract.
  6. Once everything is well combined, fold in the dark chocolate.
  7. Drop cookies onto a lined baking sheet. 
  8. Bake for about 12 minutes and serve.

by

Recipe Notes

Store them in a jar if they will be eaten quickly. For longer storage, keep them in the fridge or even freeze them . Enjoy!

Grain Free Blueberry Tart (Vegan)

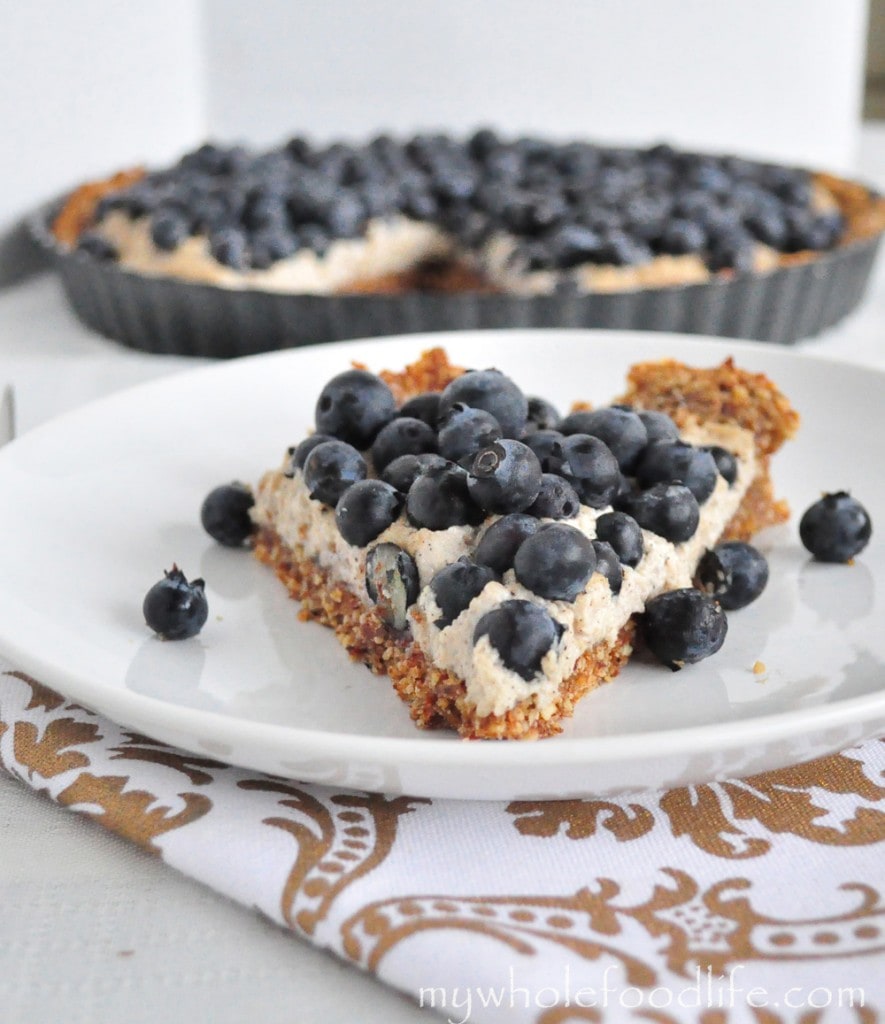
Grain Free Blueberry Tart.  Today we got our co-op basket.  There was an optional add-on for blueberries so I took it.  12 pints of organic blueberries!

We gave some to my in-laws and we took the rest.  My older daughter just LOVES blueberries.  She ate a whole pint in one sitting.  I can’t say I blame her!

They are so good!  I have been wanting to do a fruit tart recipe for a while now, so I thought I would make a grain free blueberry tart. I can tell you my family was not disappointed.


Grain Free Blueberry Tart


It was awesome!  This tart is not only grain and gluten free, it’s also vegan! 🙂  It’s super easy to make too.

Grain Free Blueberry Tart

Grain Free Blueberry Tart

Prep Time 20 min Cook Time 10 min Serves 12 slices     adjust servings

A no fuss dessert that looks fancy, but is really easy to make!

Ingredients

Instructions

  1. Preheat oven to 350.
  2. In the food processor, grind the almonds.
  3. Once they are ground to a course consistency, add in the dates, coconut oil and a small amount of water.
  4. Pulse until a dough forms.
  5. Press the mixture into a greased tart pan.
  6. Bake in the oven for about 10 minutes.
  7. While it is baking, drain the soaked cashews and throw them in the blender with the maple syrup and vanilla. You can probably use a food processor for this as well.
  8. Blend up the cashews until they are a smooth cream. You may need to add a small amount of water or milk to get it smooth. You will want a cream-like consistency.
  9. Spread the cashew cream over the tart crust and top with blueberries.

by

Recipe Notes

I would imagine this would keep in the fridge for a week at least. If you can get it to last that long! Enjoy!

Clean Eating Peanut Butter Cups (Vegan)

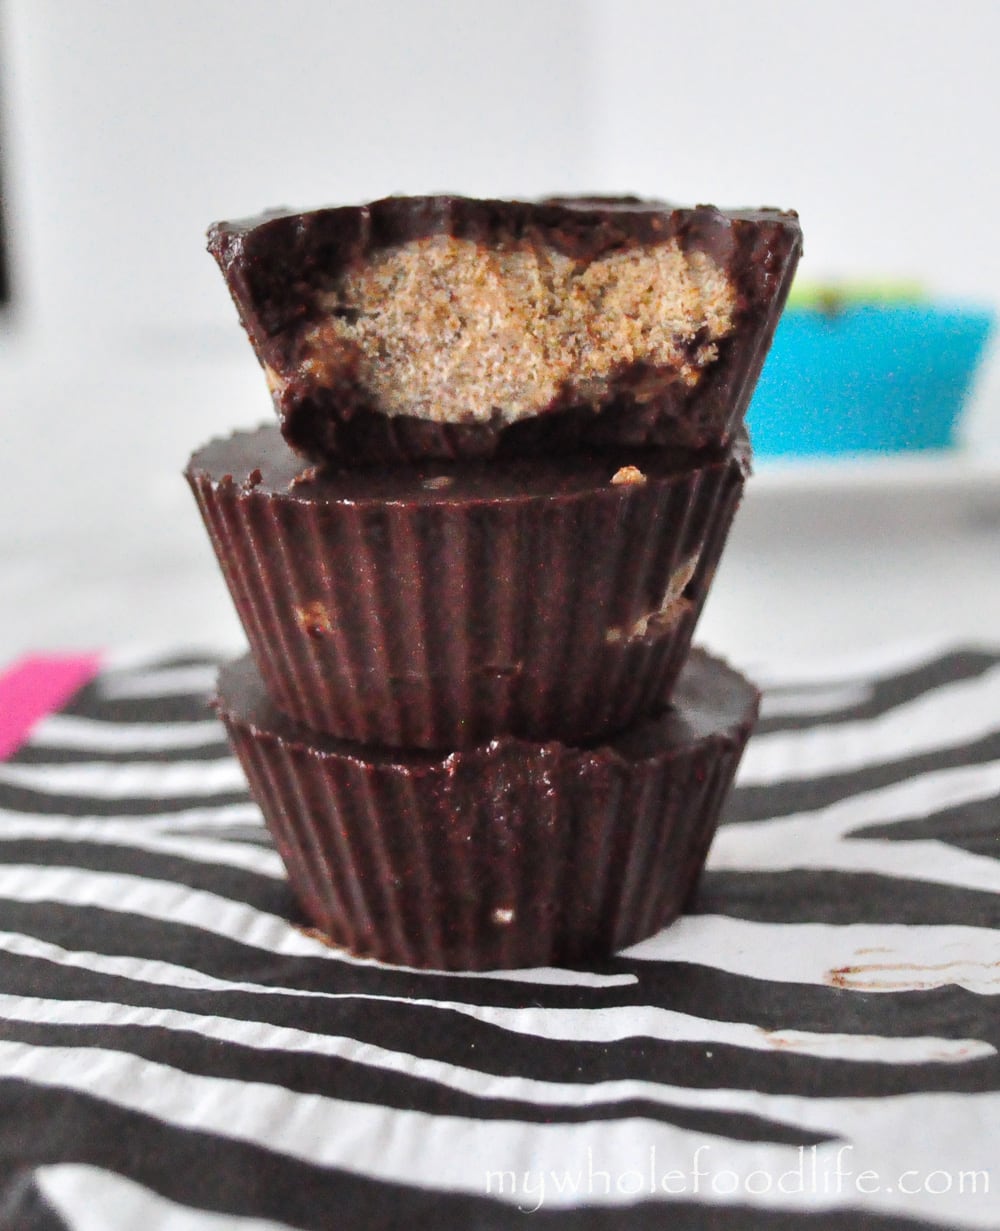
Clean Eating Peanut Butter Cups.  Let’s face it.  We all need a little something sweet every once and a while.  Who says you need to give up peanut butter cups?  While I will never eat Reese’s Peanut Butter Cups again, I will have a homemade peanut butter cup every now and then!


clean eating peanut butter cups


I made these with homemade peanut butter and also almond butter.  Both worked out well, but I think I liked the peanut butter cups better.  Most homemade peanut butter cup recipes call for powdered sugar.  This does not.  I just dropped some freshly made peanut butter in the middle of these.

So much better that way and also much less sugar too!  The chips I used are from Enjoy Life.  You can also make your own chocolate with 1 cup coconut oil, 1/2 cup cacao powder and a few tablespoons of liquid sweetener.  Or you could melt a couple of bars of dark chocolate with a bit of milk.  Any way works.

The Enjoy Life chips have a pretty clean ingredient list and are gluten free as well.  They do contain a bit of processed sugar which is why I gave some other options.  I have tried the chips and the coconut oil chocolate.

I chopped one of these homemade peanut butter cups and ate it in my 5 Minute Banana Ice Cream.  OMG!  Best.Thing.Ever.  A healthier dessert option.

If you don’t want to use chocolate chips, you can use my 3 ingredient chocolate recipe in this video.

Looking for more candy recipes?


Clean Eating Peanut Butter Cups

Clean Eating Peanut Butter Cups

Prep Time 10 min Cook Time 20 min Serves 12     adjust servings

It's a healthier version of a Reece's Cup.

Ingredients

  • 1 bag chocolate chips (I used Enjoy Life gluten free and soy free chips)
  • 3/4 cup almond milk
  • Roughly 3/4 cup peanut butter or almond butter

Instructions

  1. Get out a couple of muffin tins and line them with paper or silicone cups. . I used standard sized muffin pans, but the mini cups would work well too.
  2. Using a double boiler, melt the chips and milk in a glass bowl, stirring constantly to get the lumps out. It makes a great arm workout.
  3. Once the chocolate and milk have combined and are smooth, pour a little bit of chocolate in the bottom of each muffin cup.
  4. Place them in the freezer for about 20 minutes to set.
  5. When they are hard, pull them out and put a dollop on nut butter on top of each one.
  6. Fill the remaining cup with chocolate.
  7. Repeat until all the cups are filled.
  8. Place back in the freezer.

by

Recipe Notes

I would give them a few hours to set. Actually, I store mine in the freezer as well. I think they would get too soft in the fridge. That’s it!

Homemade Fig Newtons Recipe

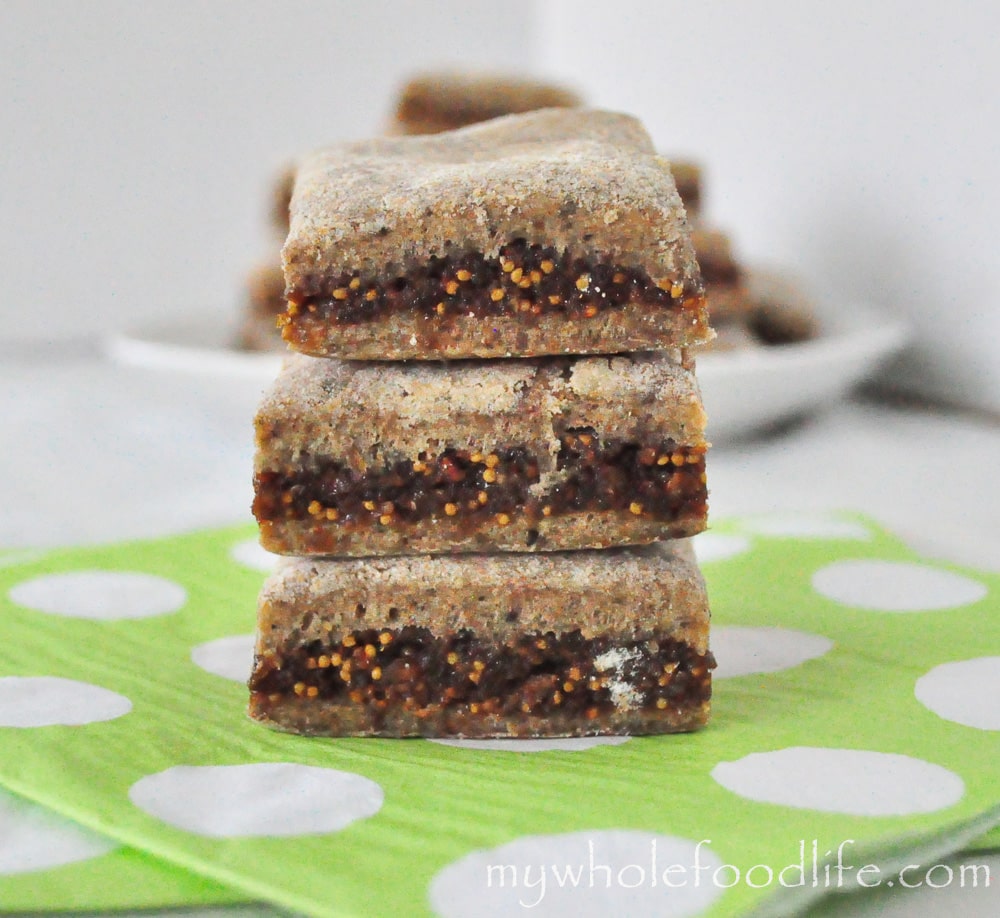
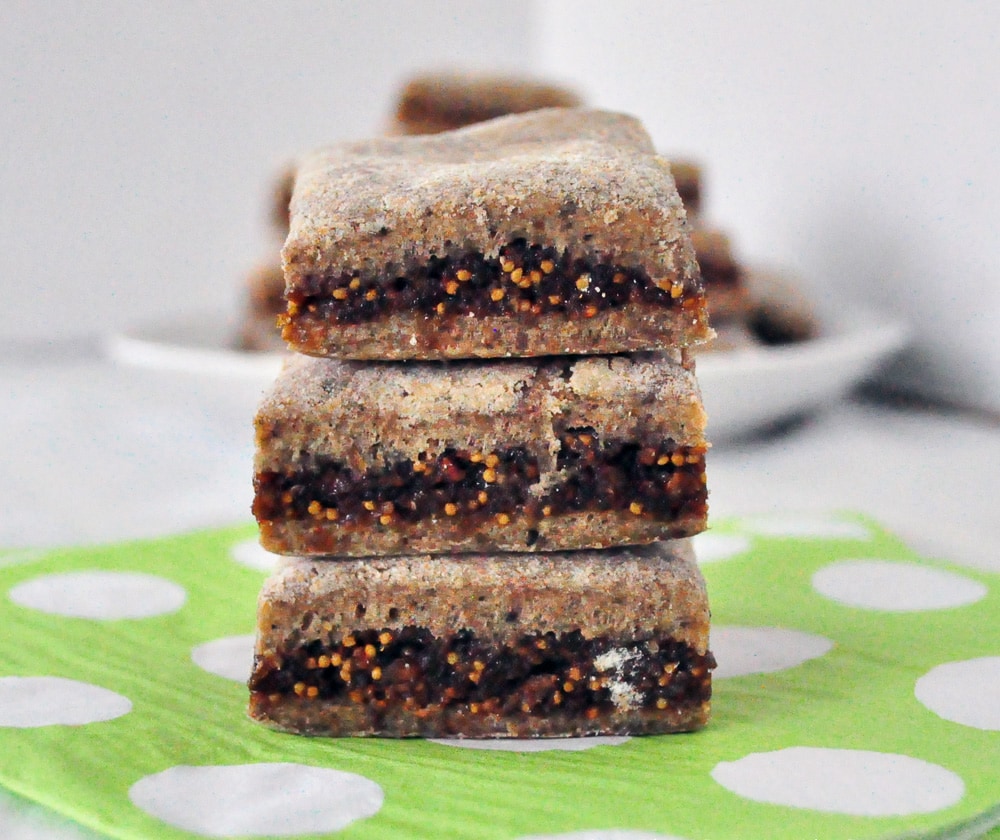
Homemade Fig Newtons for you.  Before we cleaned up our diet, Fig Newtons were a big staple around here.  We all know how fig newtons are often touted as a healthy cookie option for kids.  But if you ever looked at the ingredients, most are not good.

My healthy fig newton recipe is so much healthier than store bought ones and a fig newton you can feel good about giving your kids. These fig newtons also taste better in my opinion. You definitely need to try them.

Homemade Fig Newtons

These are made with whole grains and no refined sugars, unlike the real cookies.  The real cookies contain high fructose corn syrup. 🙁  You can also use the recipe as a base to add in your own fillings.  If you filled these with fruit, they would almost taste like a Nutri-Grain bar as well.

The possibilities are endless.  I also added a little cinnamon to the dough to spice it up a bit.  I think it turned out well that way.  One other thing to note is, using the coconut oil will not make them taste like coconut at all, but it does help add a sweetness to the cookies.

Another great thing about this recipe is that it freezes well.  So you can make up a huge batch and freeze some for later. I suggest storing them in an air-tight container with a piece or parchment between each row of cookies.  That way, you don’t have to worry about them sticking together.

Homemade Fig Newtons

Homemade Fig Newtons

Prep Time 1 hr Cook Time 15 min Serves 16 cookies     adjust servings

A healthier version of the classic cookie.

Ingredients

    For the cookie

    For the filling

    • 15-20 figs (I used dried Turkish Figs I got at Sprouts)
    • 1 T maple syrup
    • water

    Instructions

      For the filling

      1. In a food processor, grind up the figs, 1 T maple syrup and a bit of water. You want the figs to be the consistency of peanut butter so only add a bit of water. I think I used about 1 tablespoon.
      2. Blend into a paste and set aside.

      For the cookie

      1. Preheat oven to 350.
      2. In one bowl mix all the dry ingredients.
      3. In another bowl, mix the wet.
      4. Add dry to wet and mix only until combined. Be careful not to over-mix. The dough will be sticky and a bit wet.
      5. Gather it in a ball and wrap it.
      6. Put the dough in the fridge for about an hour to firm up.
      7. Once firm, roll the dough onto a floured surface. I tried to roll my dough as square as possible.
      8. Once the dough is rolled out, spread the fig mixture onto half of the dough.
      9. Once the fig mixture is spread, fold 1 half of the dough onto the other and cut into squares. I cut mine into about 2×2 squares and used a pizza cutter to do so.
      10. Place on lined baking sheet and bake for about 12-15 minutes.
      11. I got about 16 out of my batch.

      by

      Recipe Notes

      They should last a couple of weeks, but you can refrigerate them to make them last even longer. Enjoy!

      Healthier Chocolate Chip Cookies

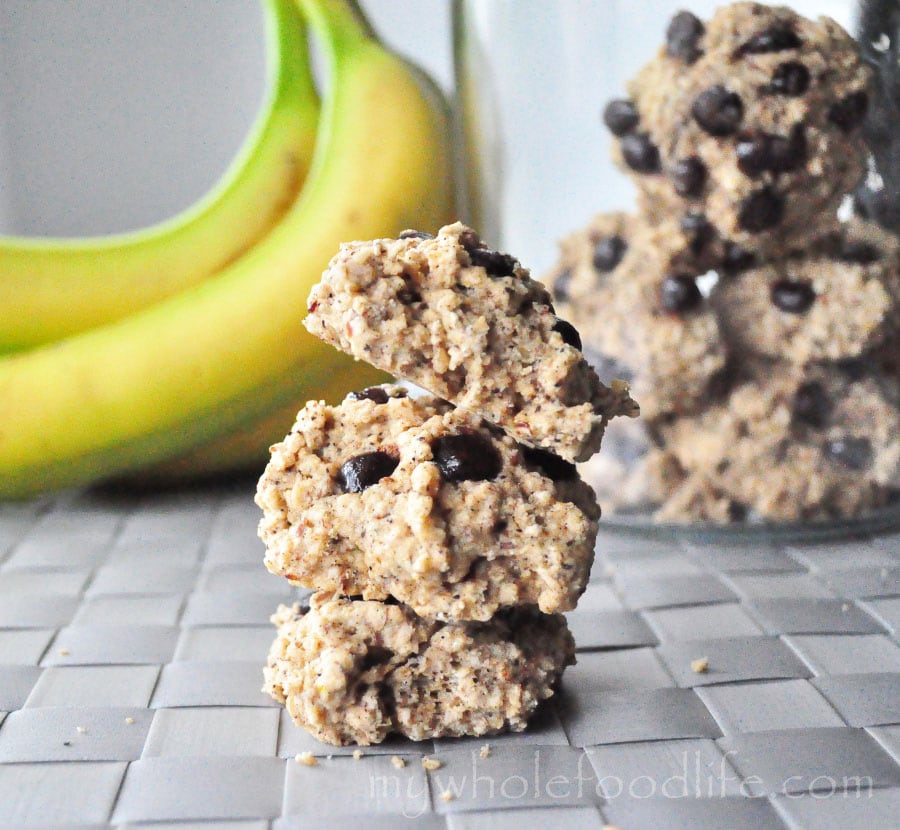
      I love cookies.  I love chocolate chip cookies. I mean, what’s not to love?  Cookies have always been my go to food for something sweet and chocolate chip cookies have always been one of my faves. It was about time I created a healthier chocolate chip cookie recipe to satisfy my cravings. I already have my Healthy Oatmeal Cookies and my Healthier Peanut Butter Cookies on the blog, so this was a natural fit.

      cookies

      I think one of the things that makes these taste so good is the ground vanilla bean.  It adds a nice sweetness.  I had my doubts that this recipe would work and was pleasantly surprised when I tasted the batter.  These are so amazingly good! I did use a little more sweetener than I normally do, because I didn’t know how it would turn out.   Next time I may attempt them with less.  I also might try sweetening them with dates.  They are still far healthier than traditional cookies, which usually contain 1 1/2 cups of sugar.

      Healthier Chocolate Chip Cookies

      Healthier Chocolate Chip Cookies

      Prep Time 15 min Cook Time 13 min Serves 18 Cookies     adjust servings

      Ingredients

      Instructions

      1. Preheat oven to 350.
      2. In a food processor, grind the rolled oat into a fine consistency.
      3. Add them to a bowl with the rest of the dried ingredients.
      4. Mix all the wet ingredients in another bowl.
      5. Add the dry to wet and stir just until everything is combined.
      6. Fold in the chocolate chips. The batter will be on the wet side.
      7. Drop cookies onto a lined baking sheet and bake for 10-13 minutes.

      by

      Recipe Notes

      Enjoy!